Last Minute Commissions

Holidays are often good for metal clay artists. Commisions come in. People want to buy pieces as gifts. However, many people don’t understand how long making something by hand takes. This is the tale of a holiday commission for which the client did not give me enough time to finish.

A client, named O’Haggerty, wanted a piece based on the family crest. The crest is three birds, on a dark background, above a tree, on a light background. The client wanted a silver pendant on a circular background.

I would have enjoyed sculpting this. However, the commission came in on Dec 10, about two weeks. Having both a house and a full time job (not to mention part time gigs as a musician) to attend to, there was no way I could sculpt this. That didn’t mean I was stymied, though.

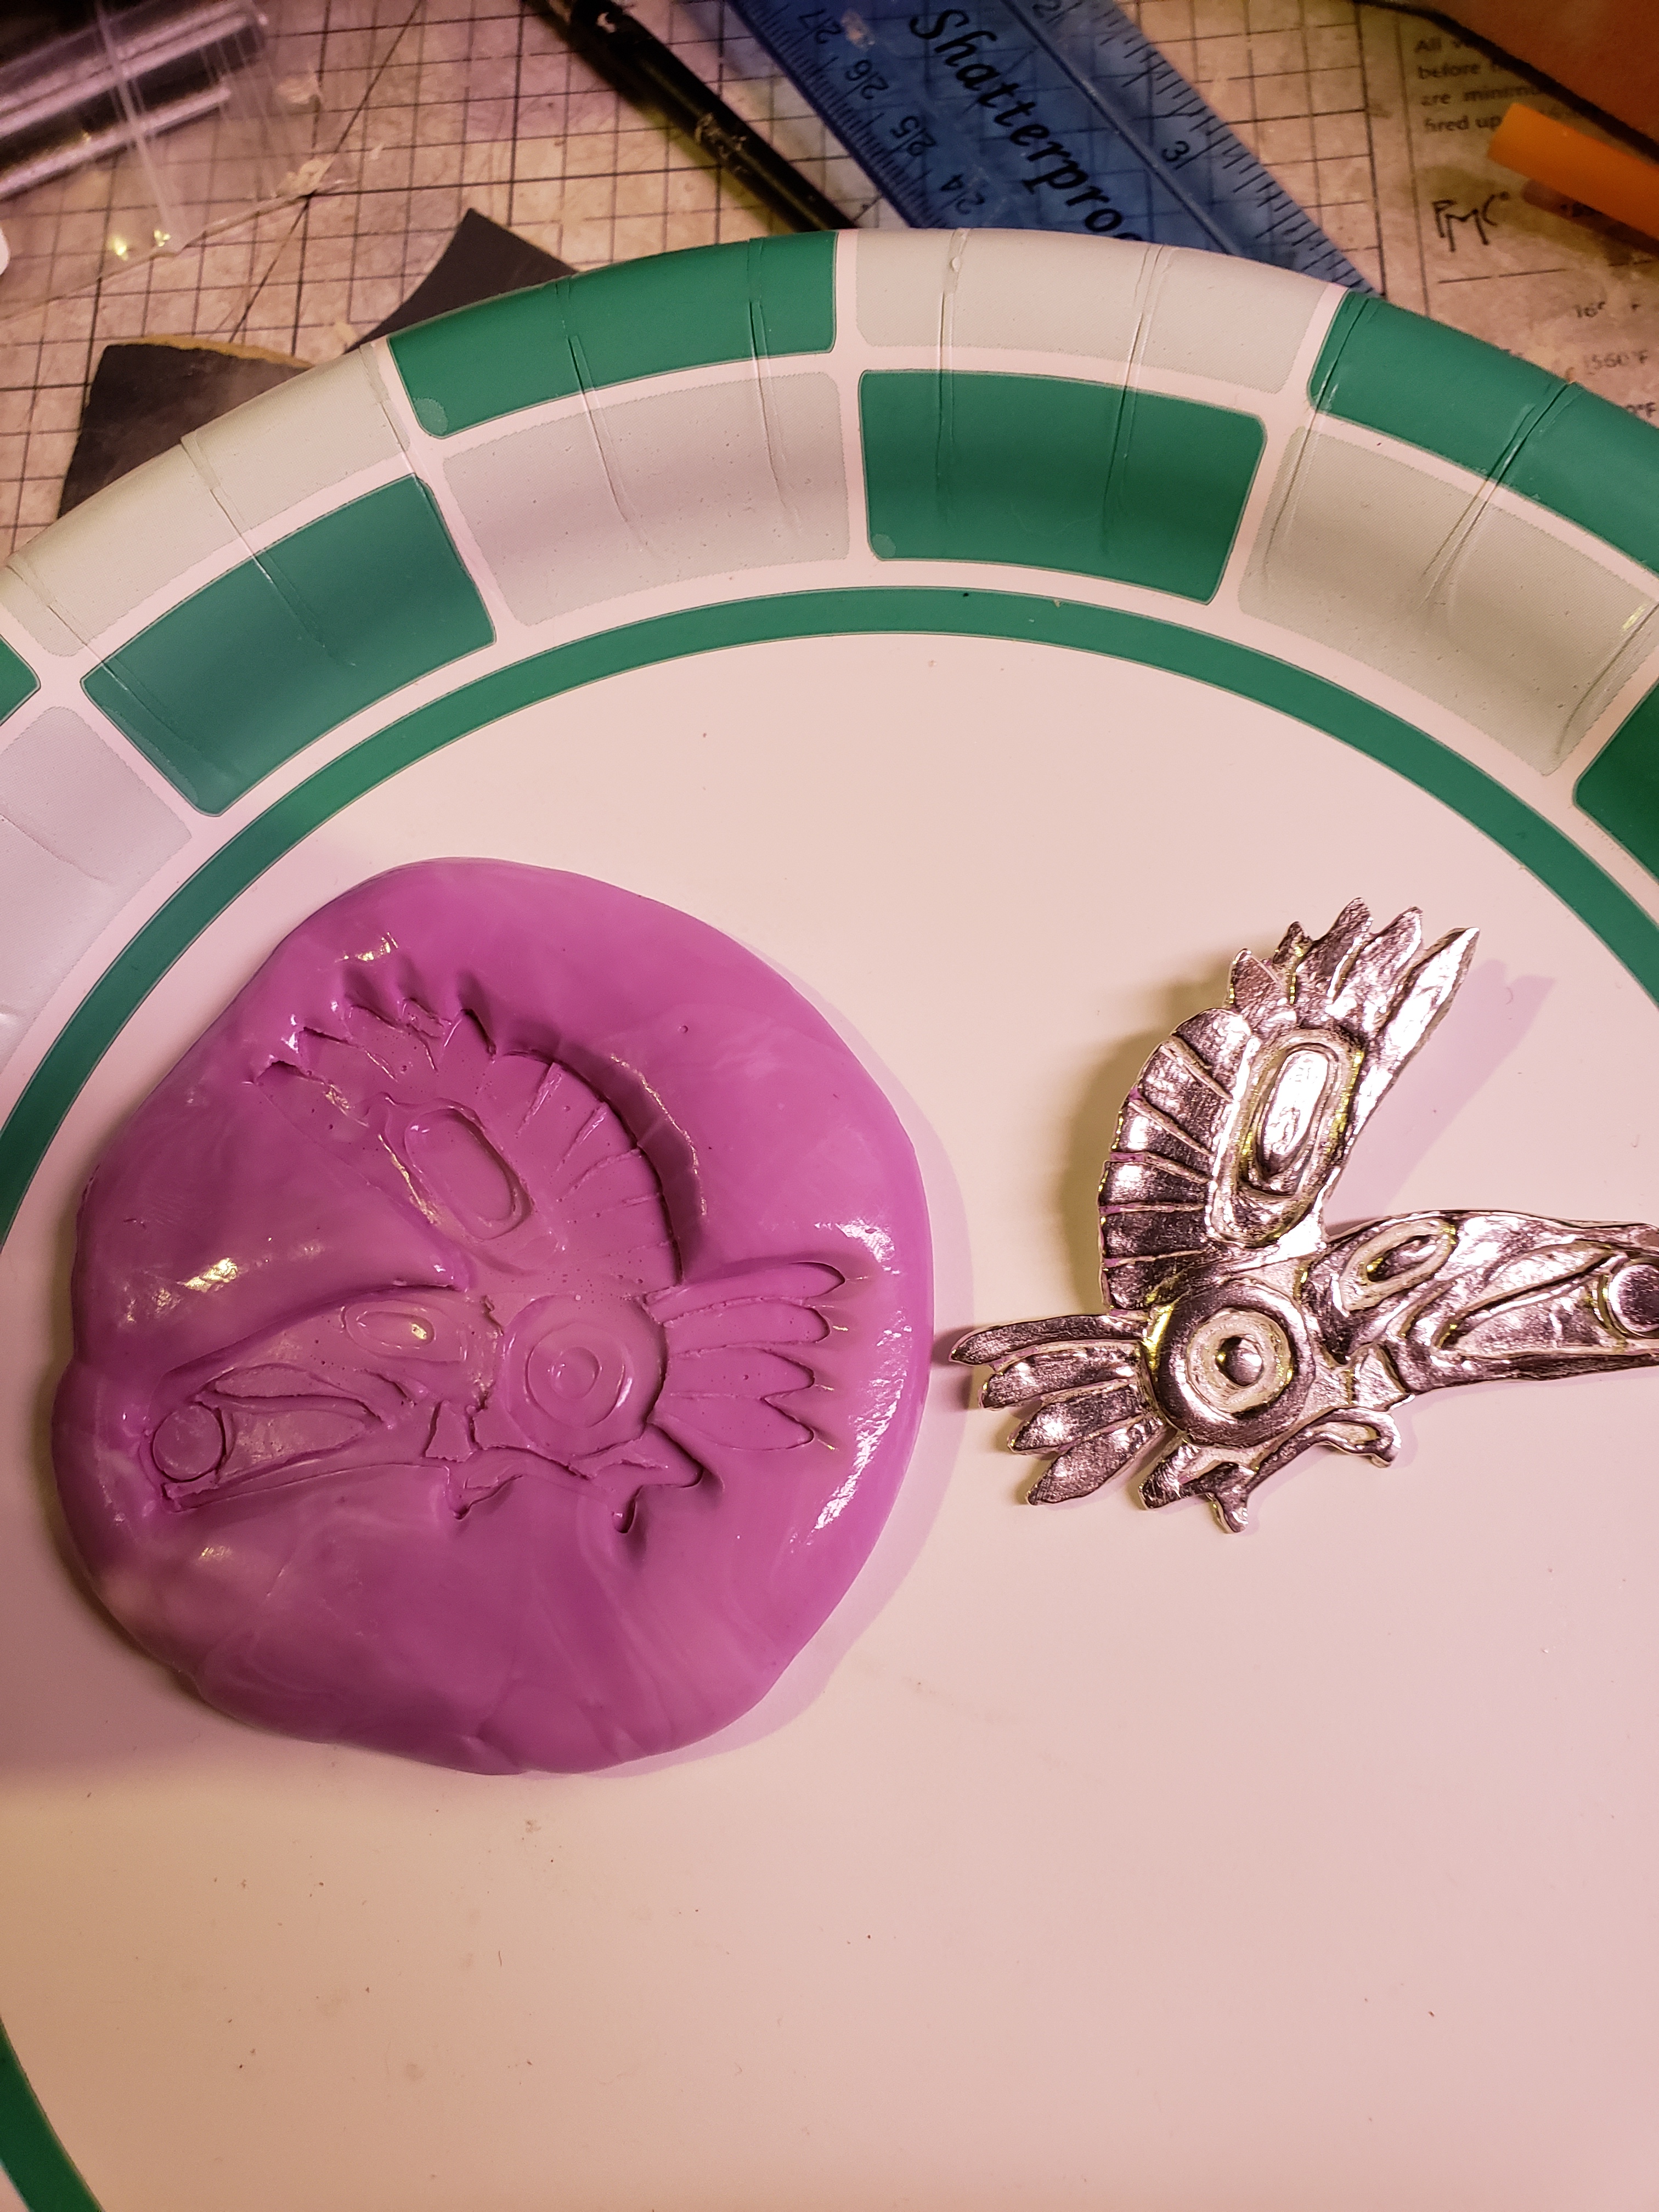
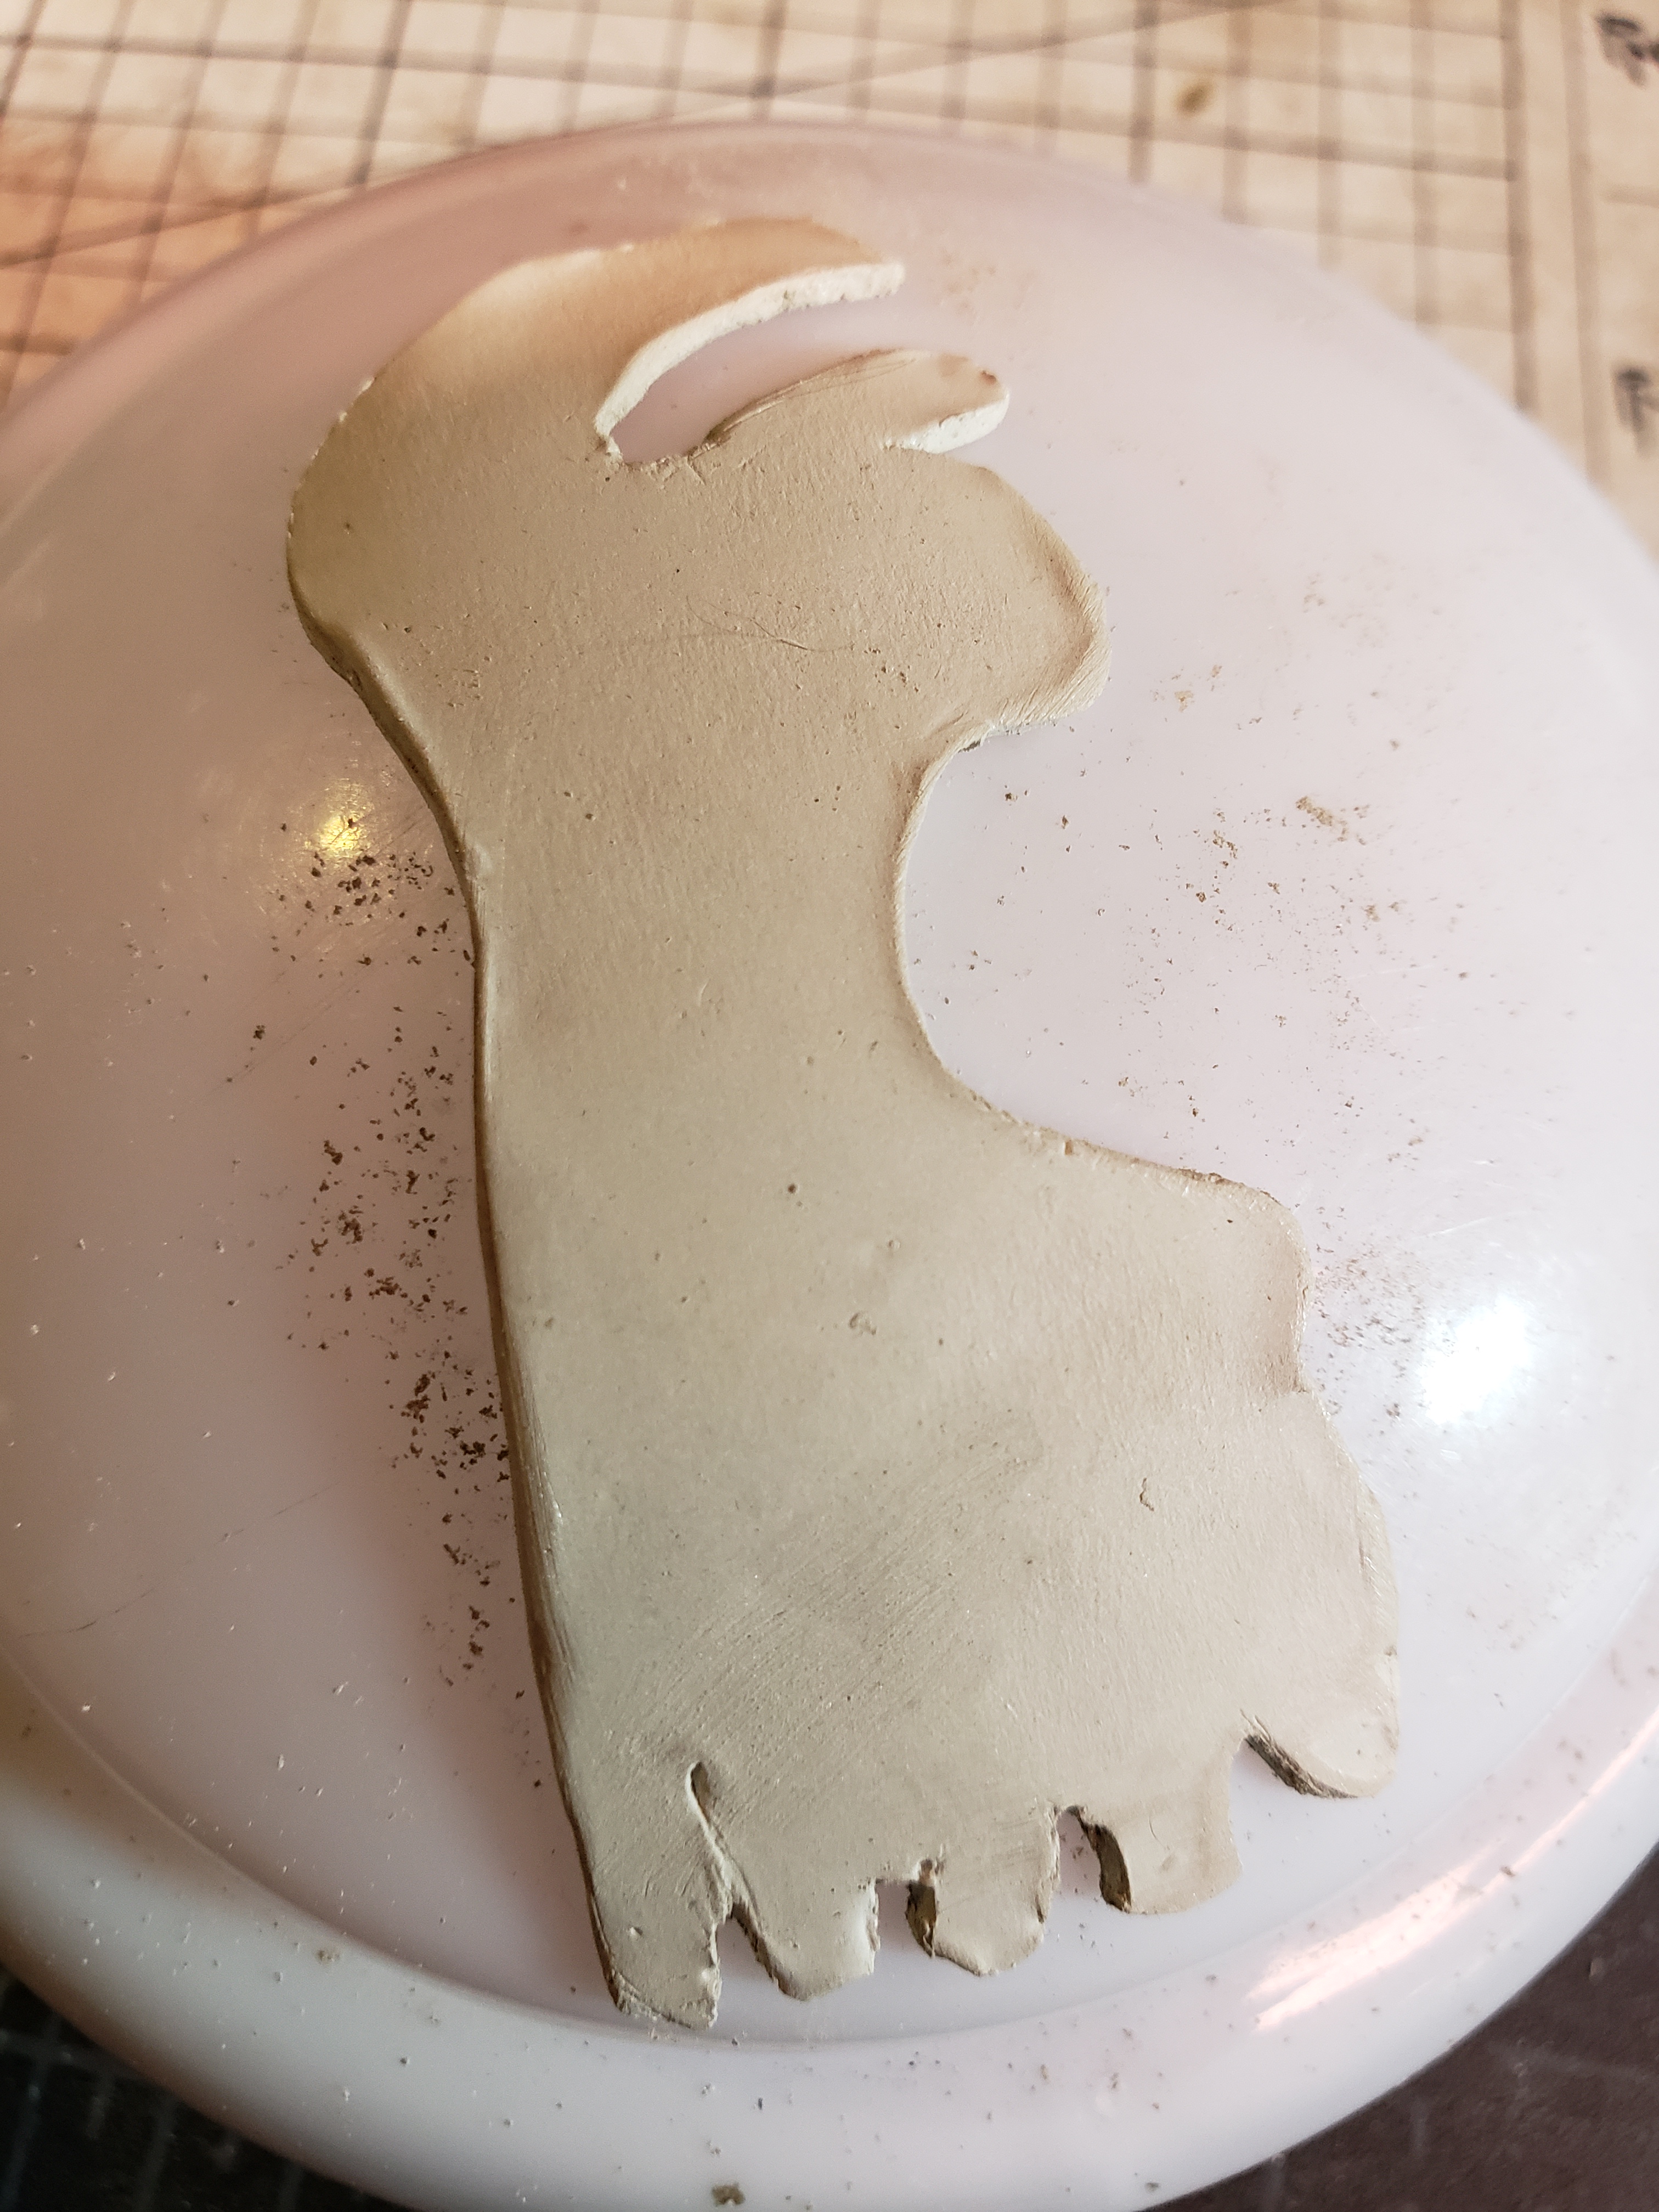
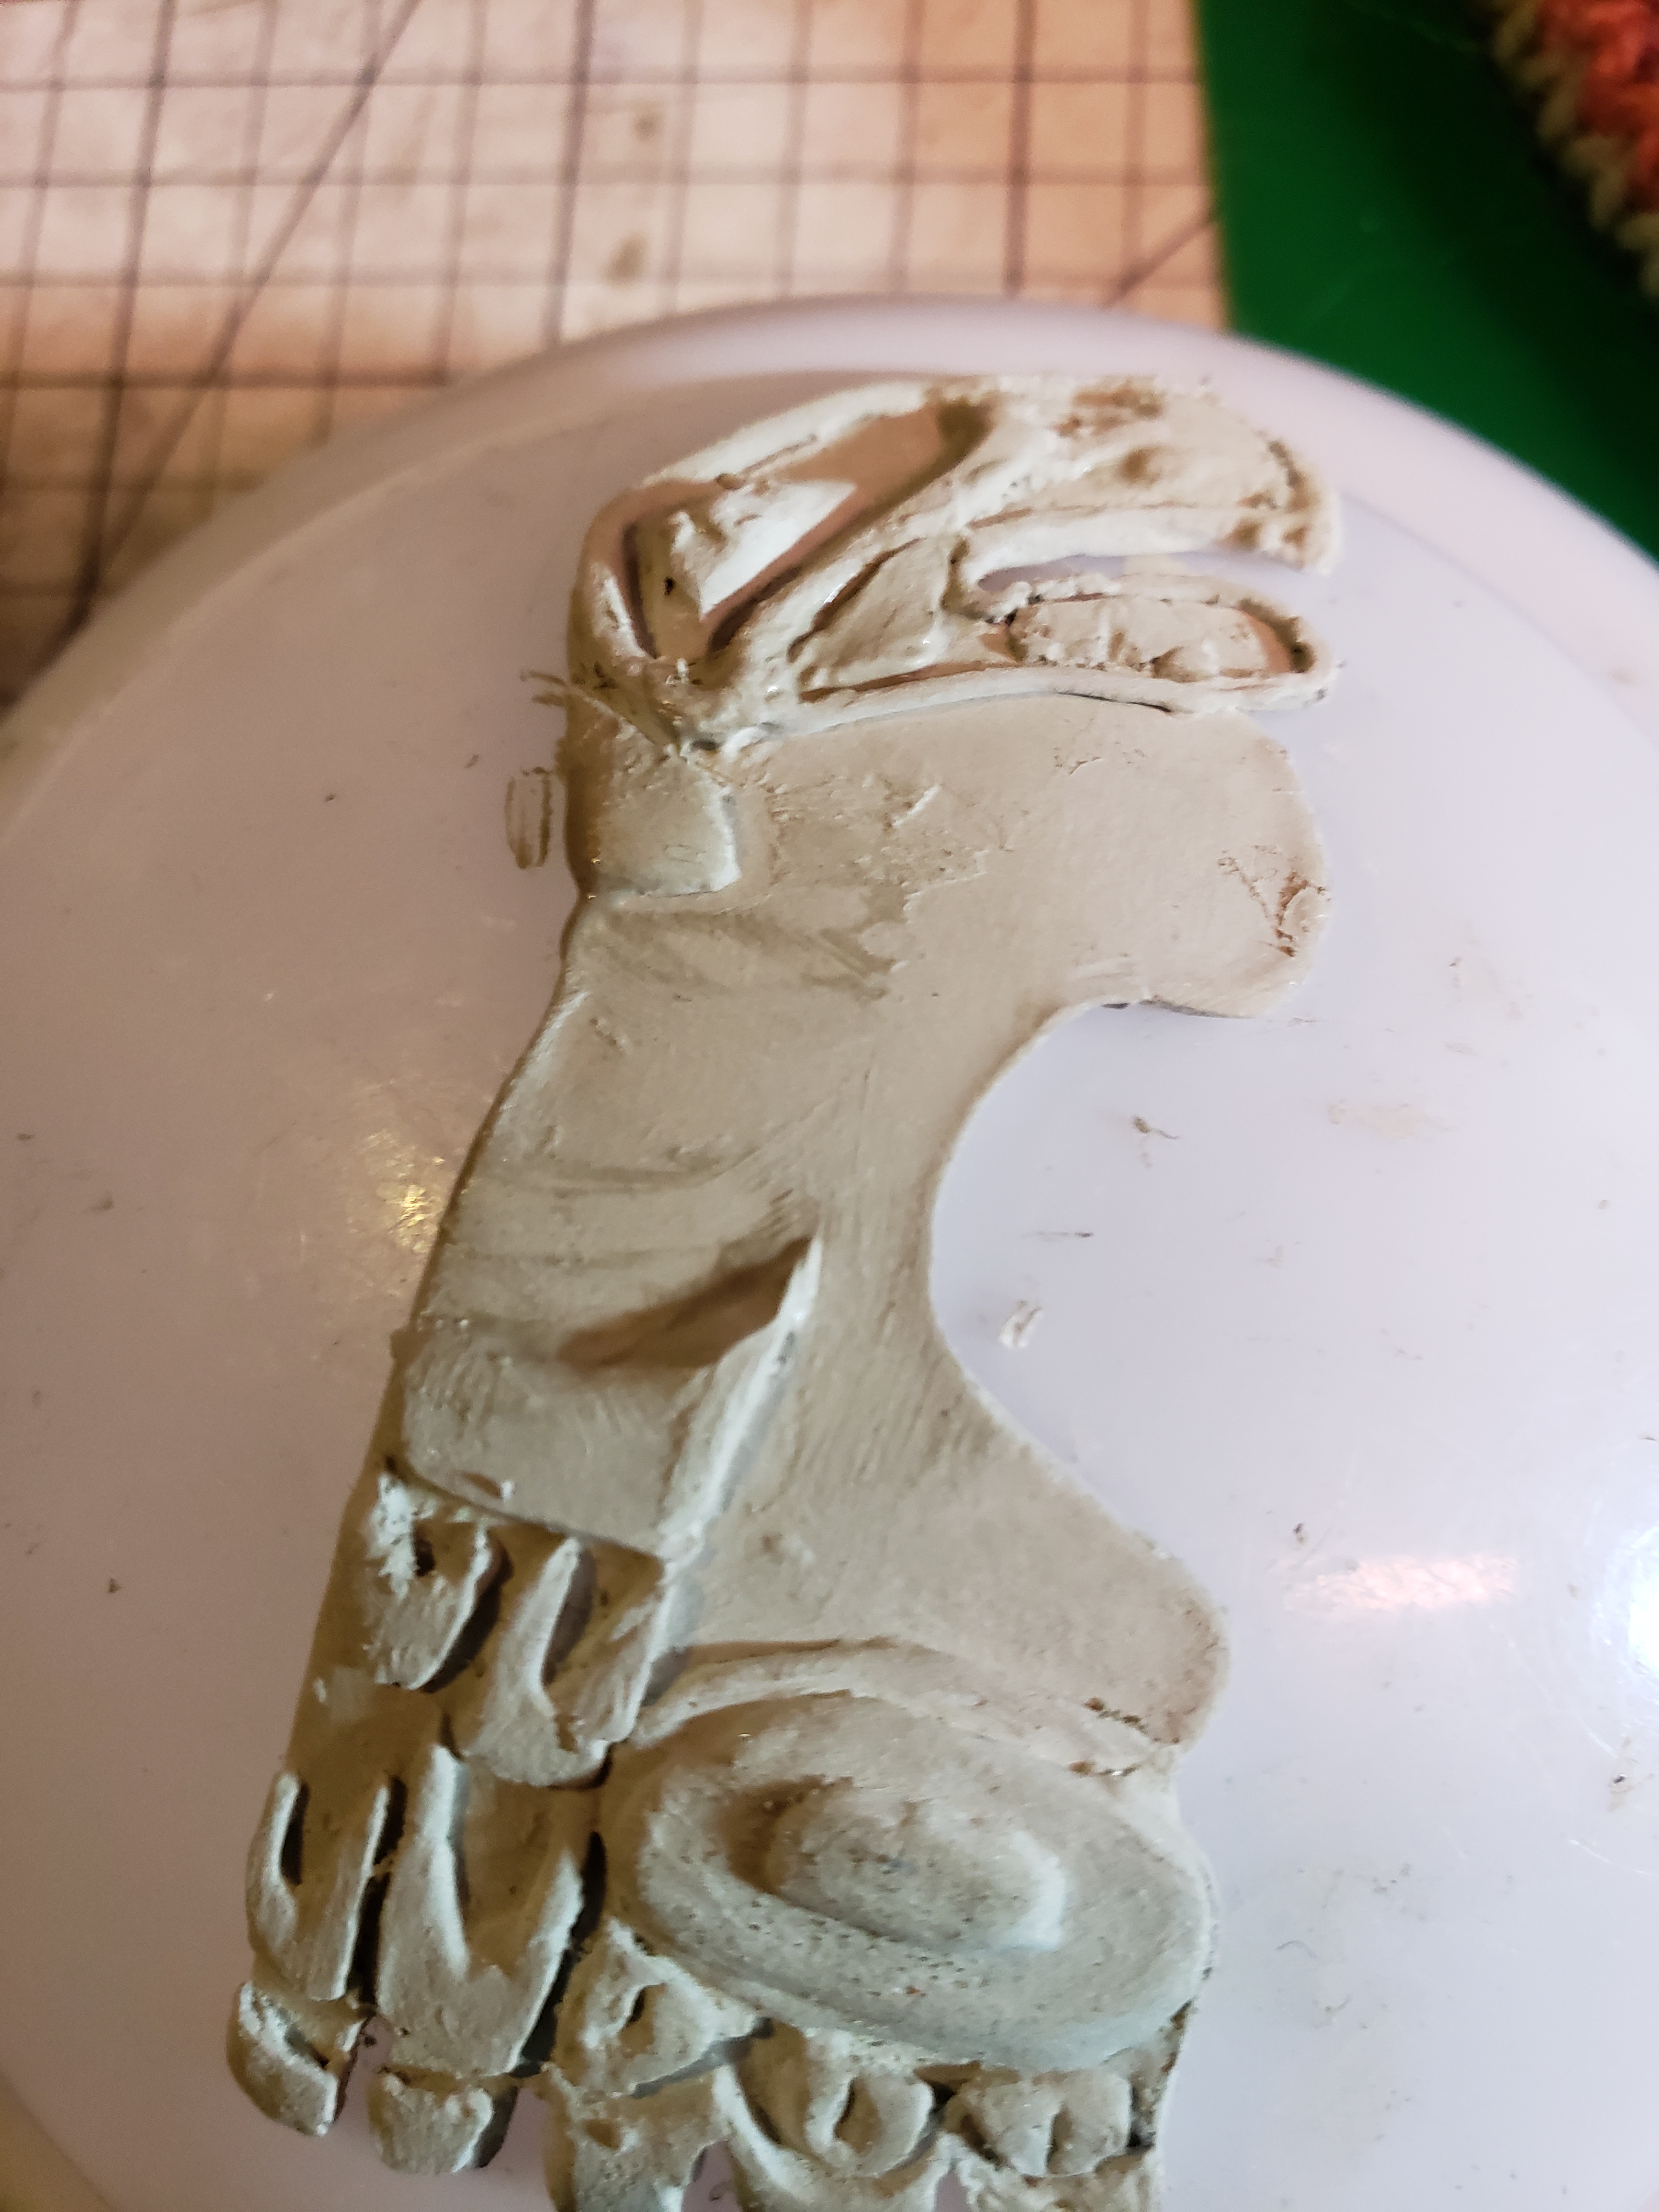
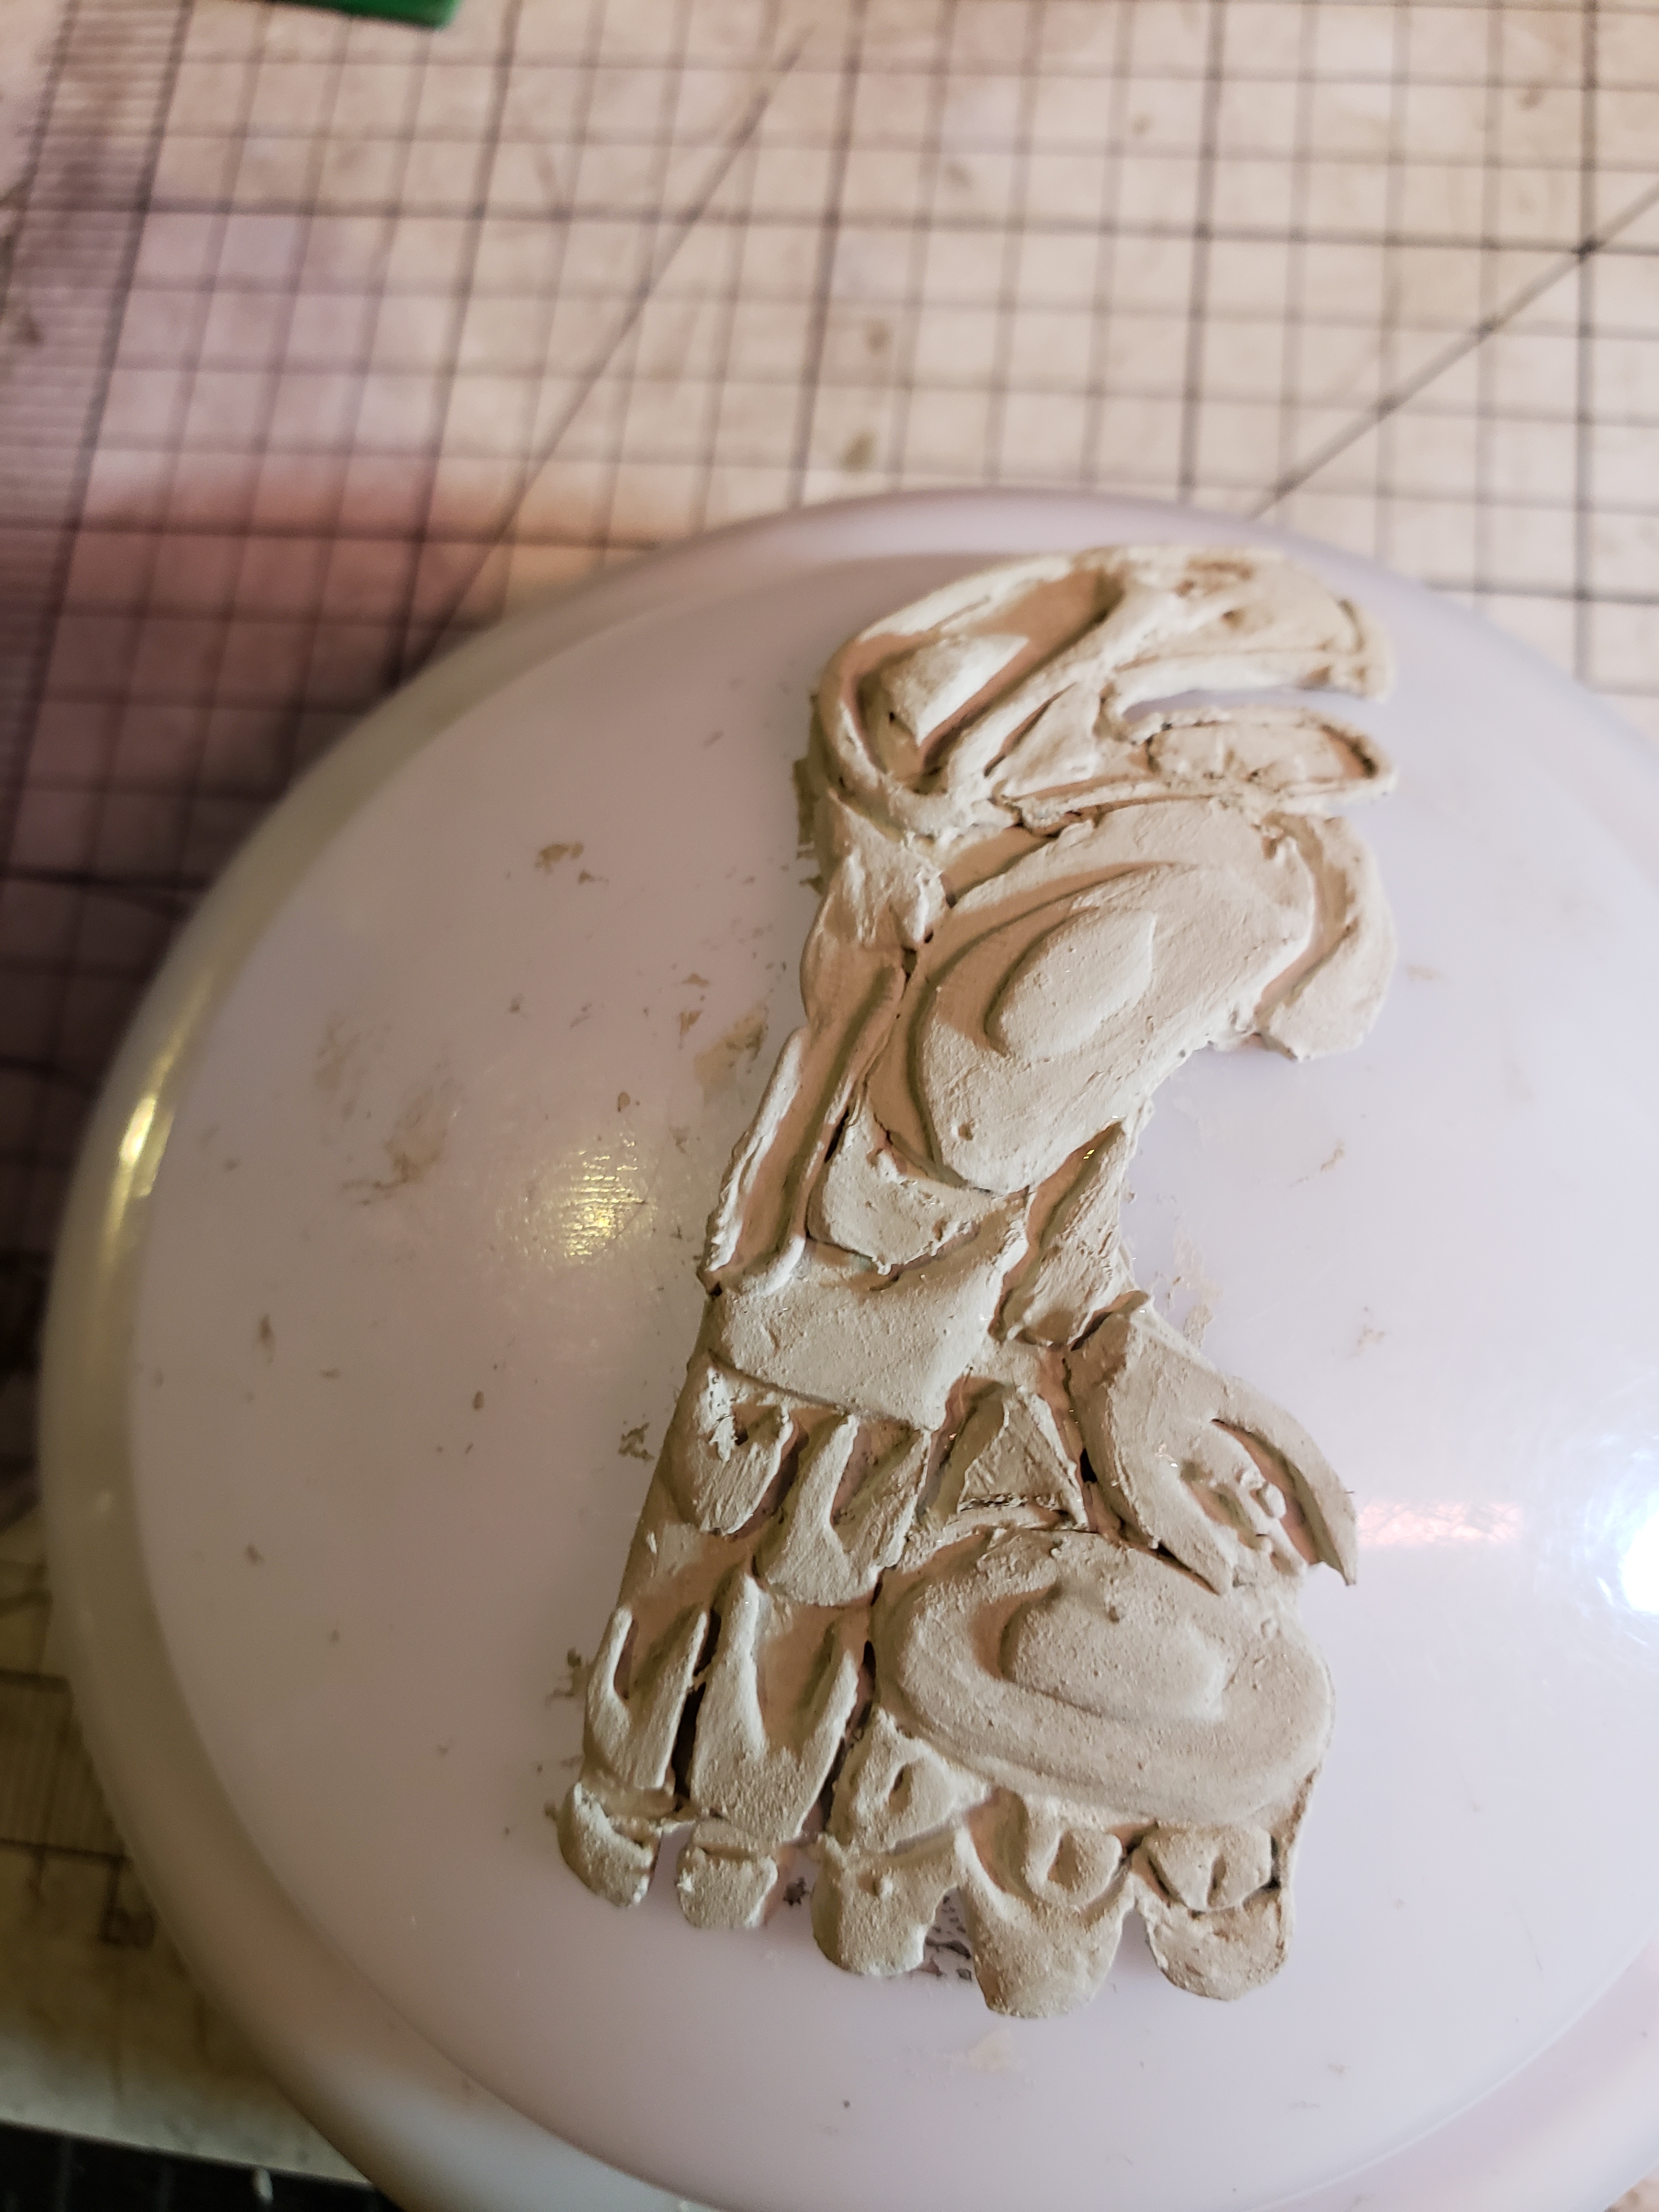
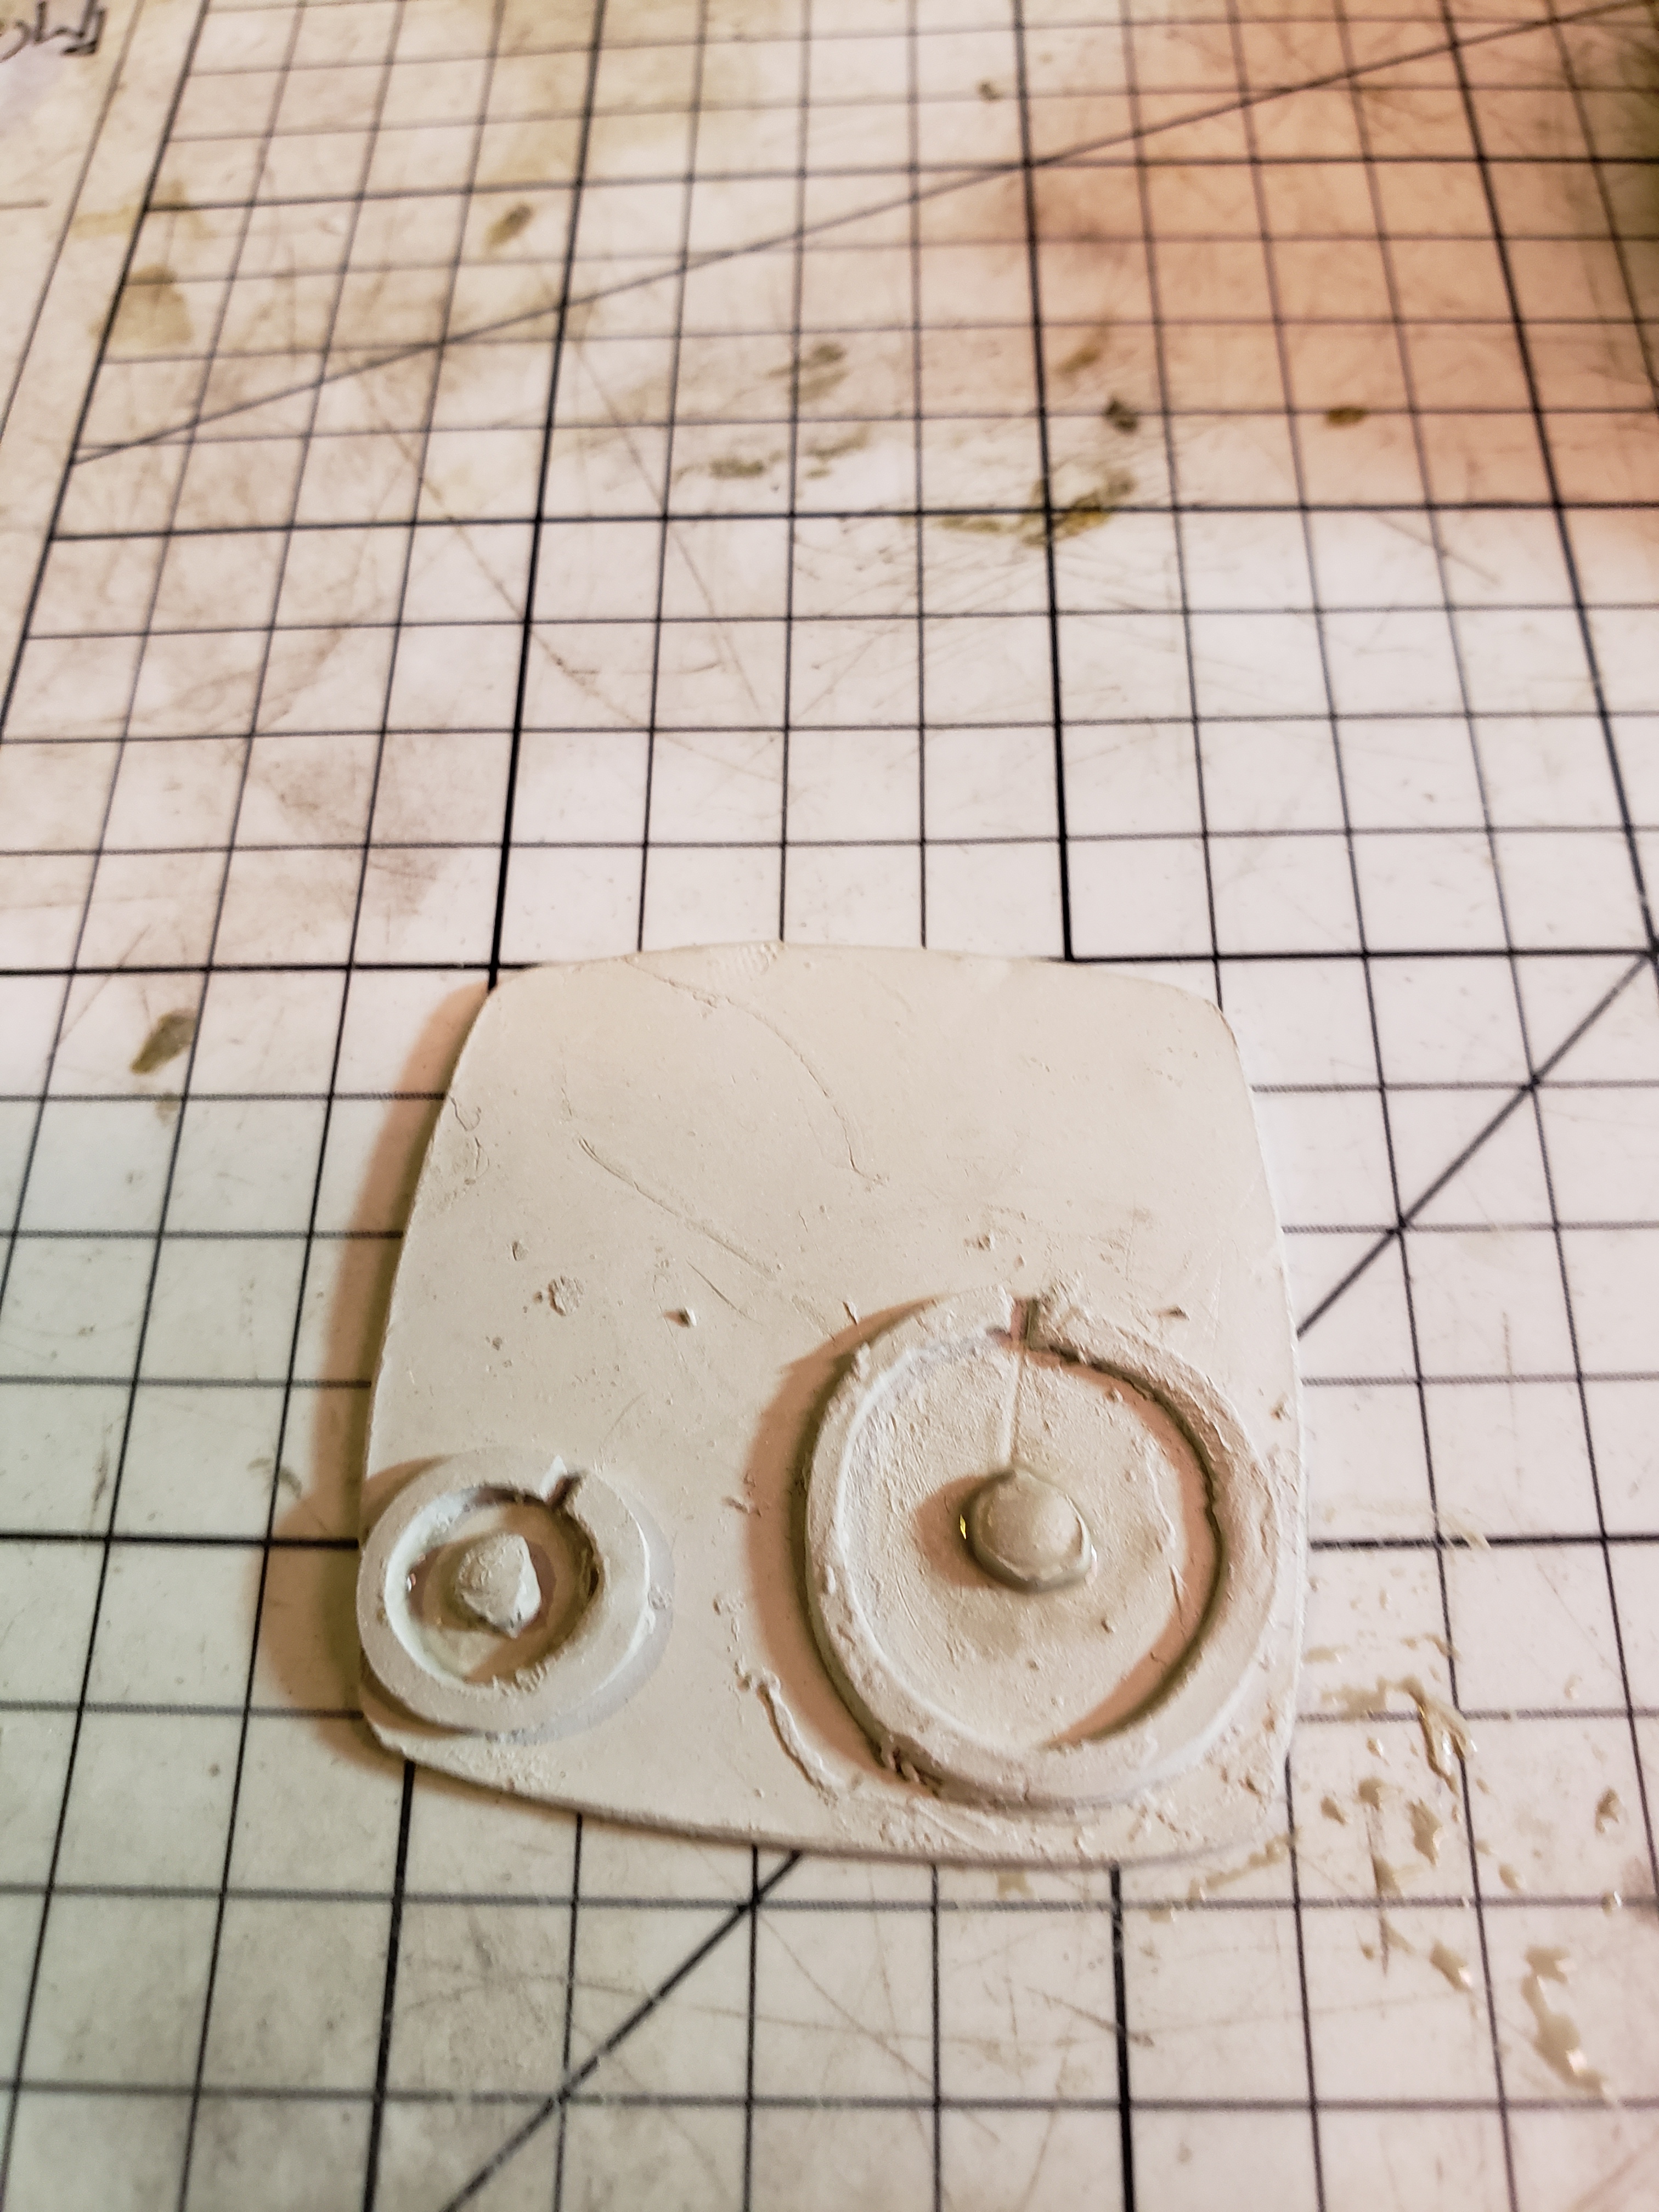
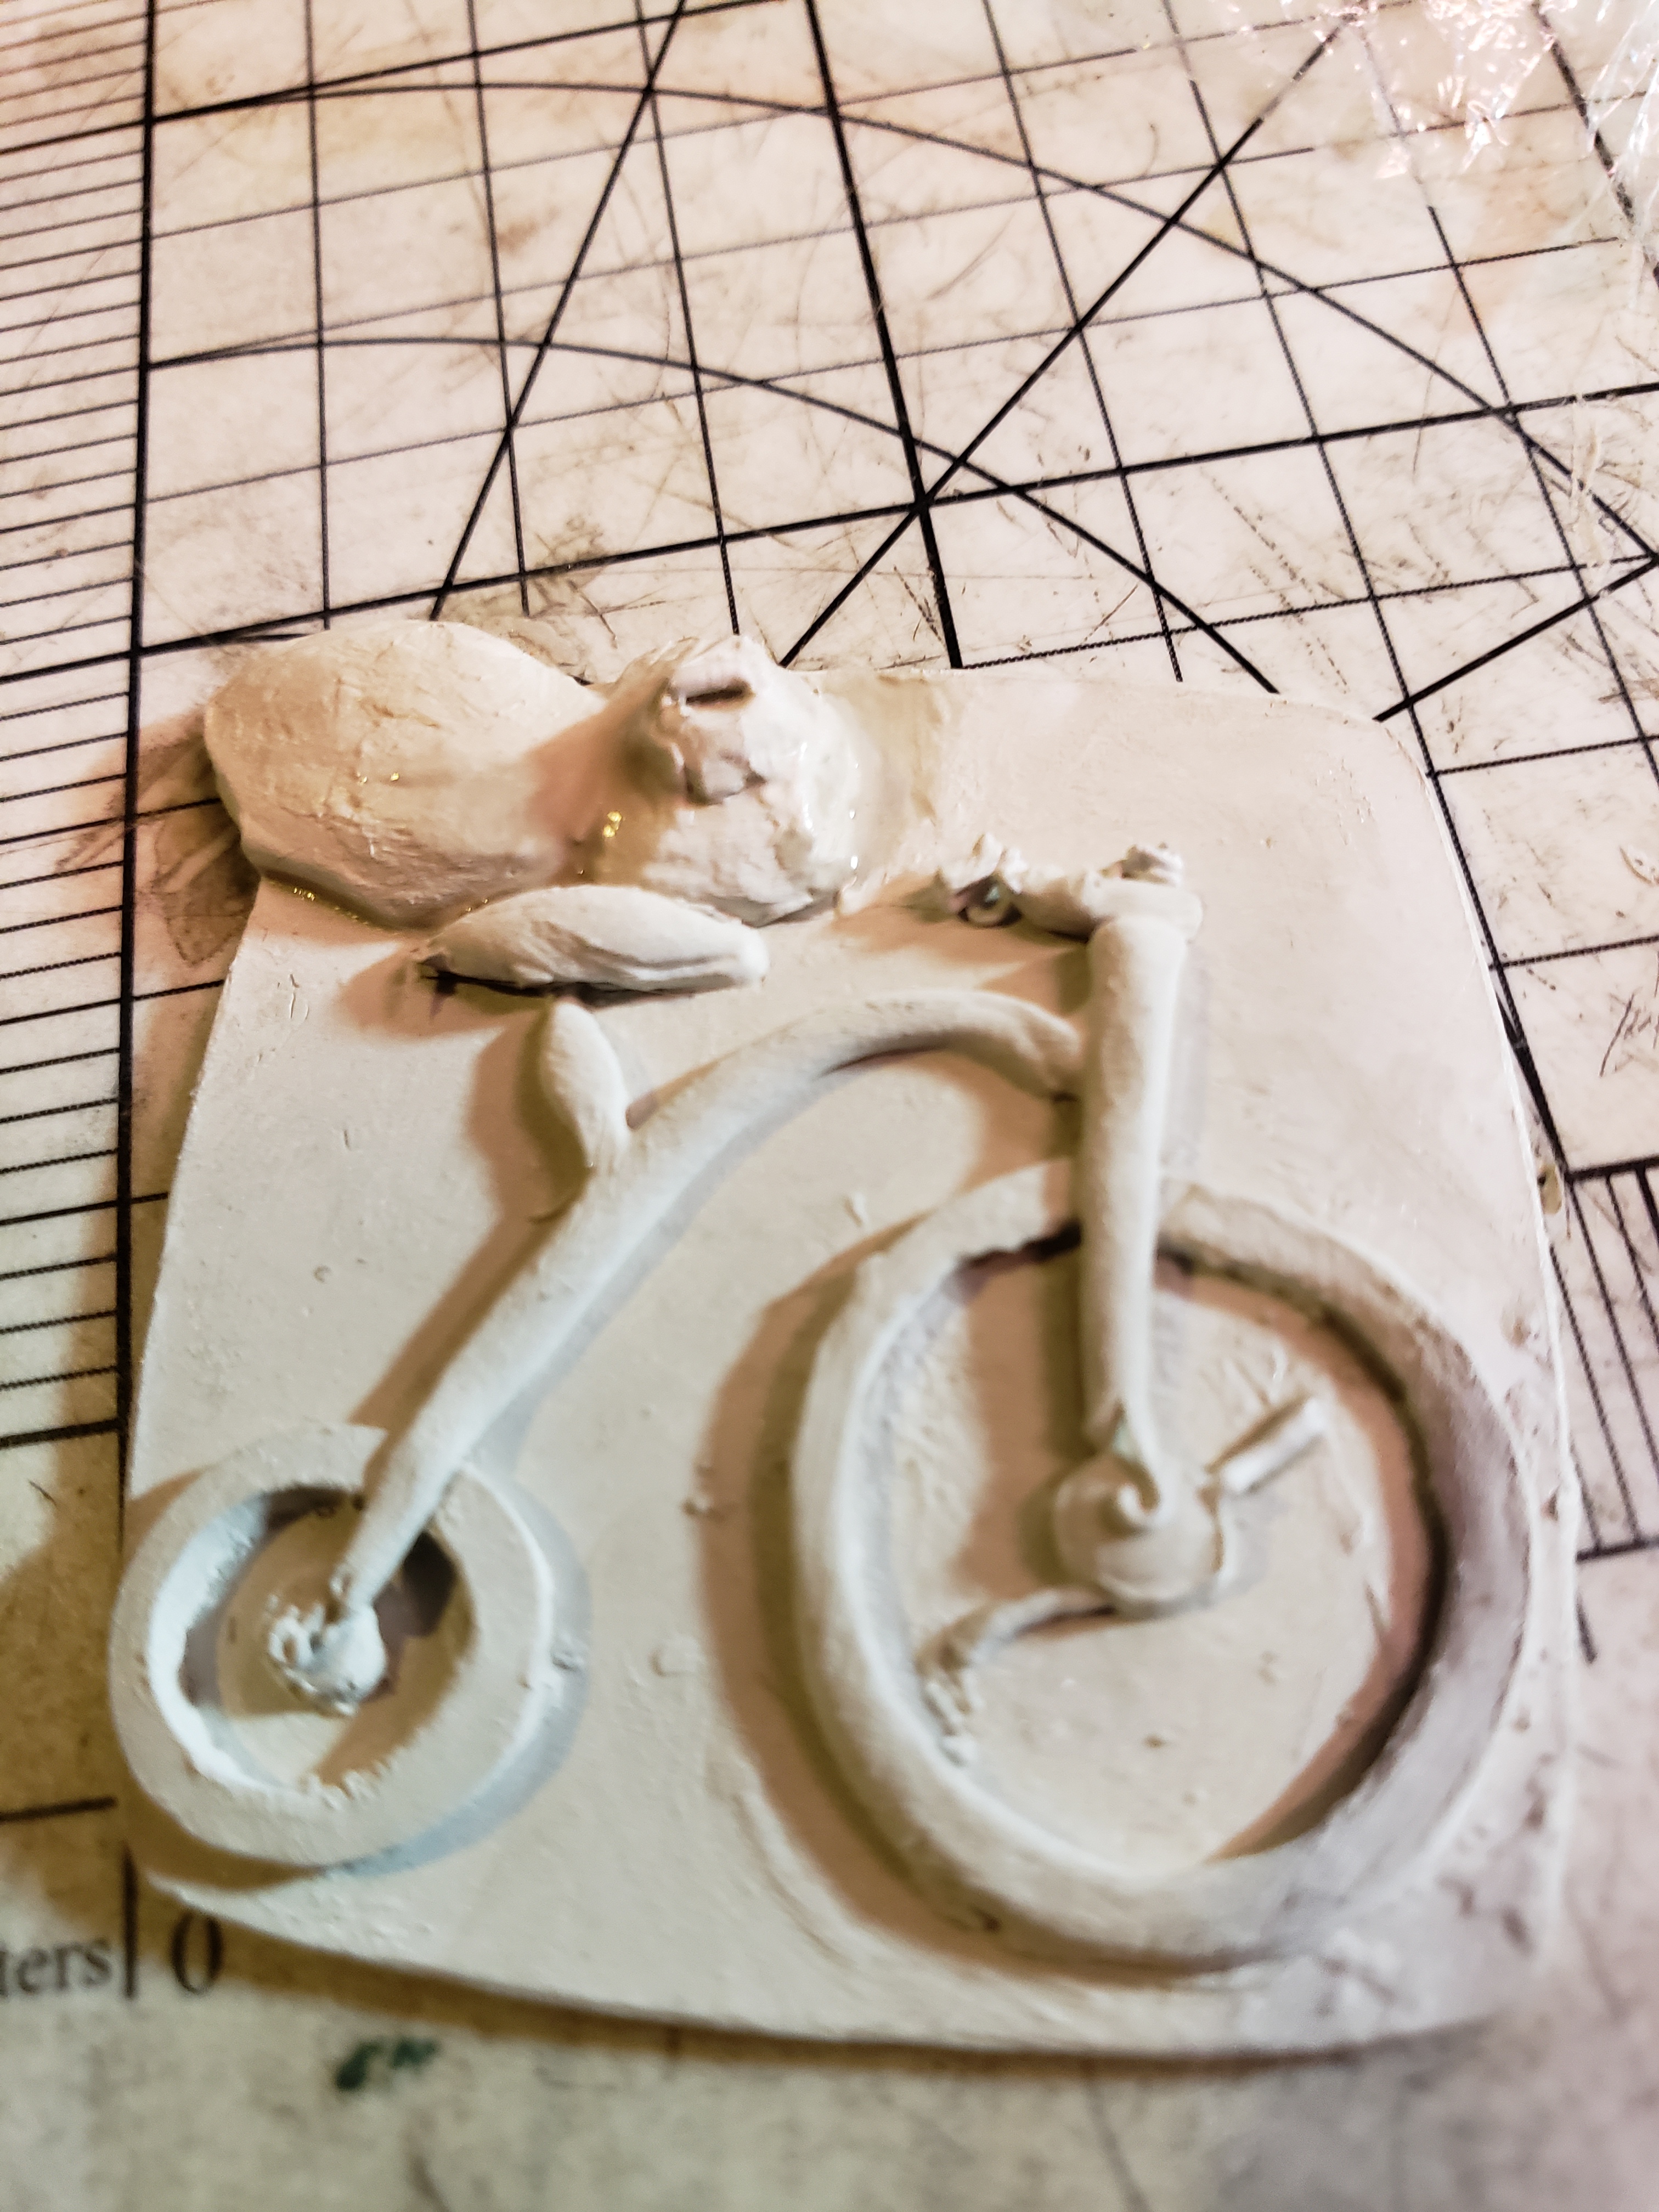
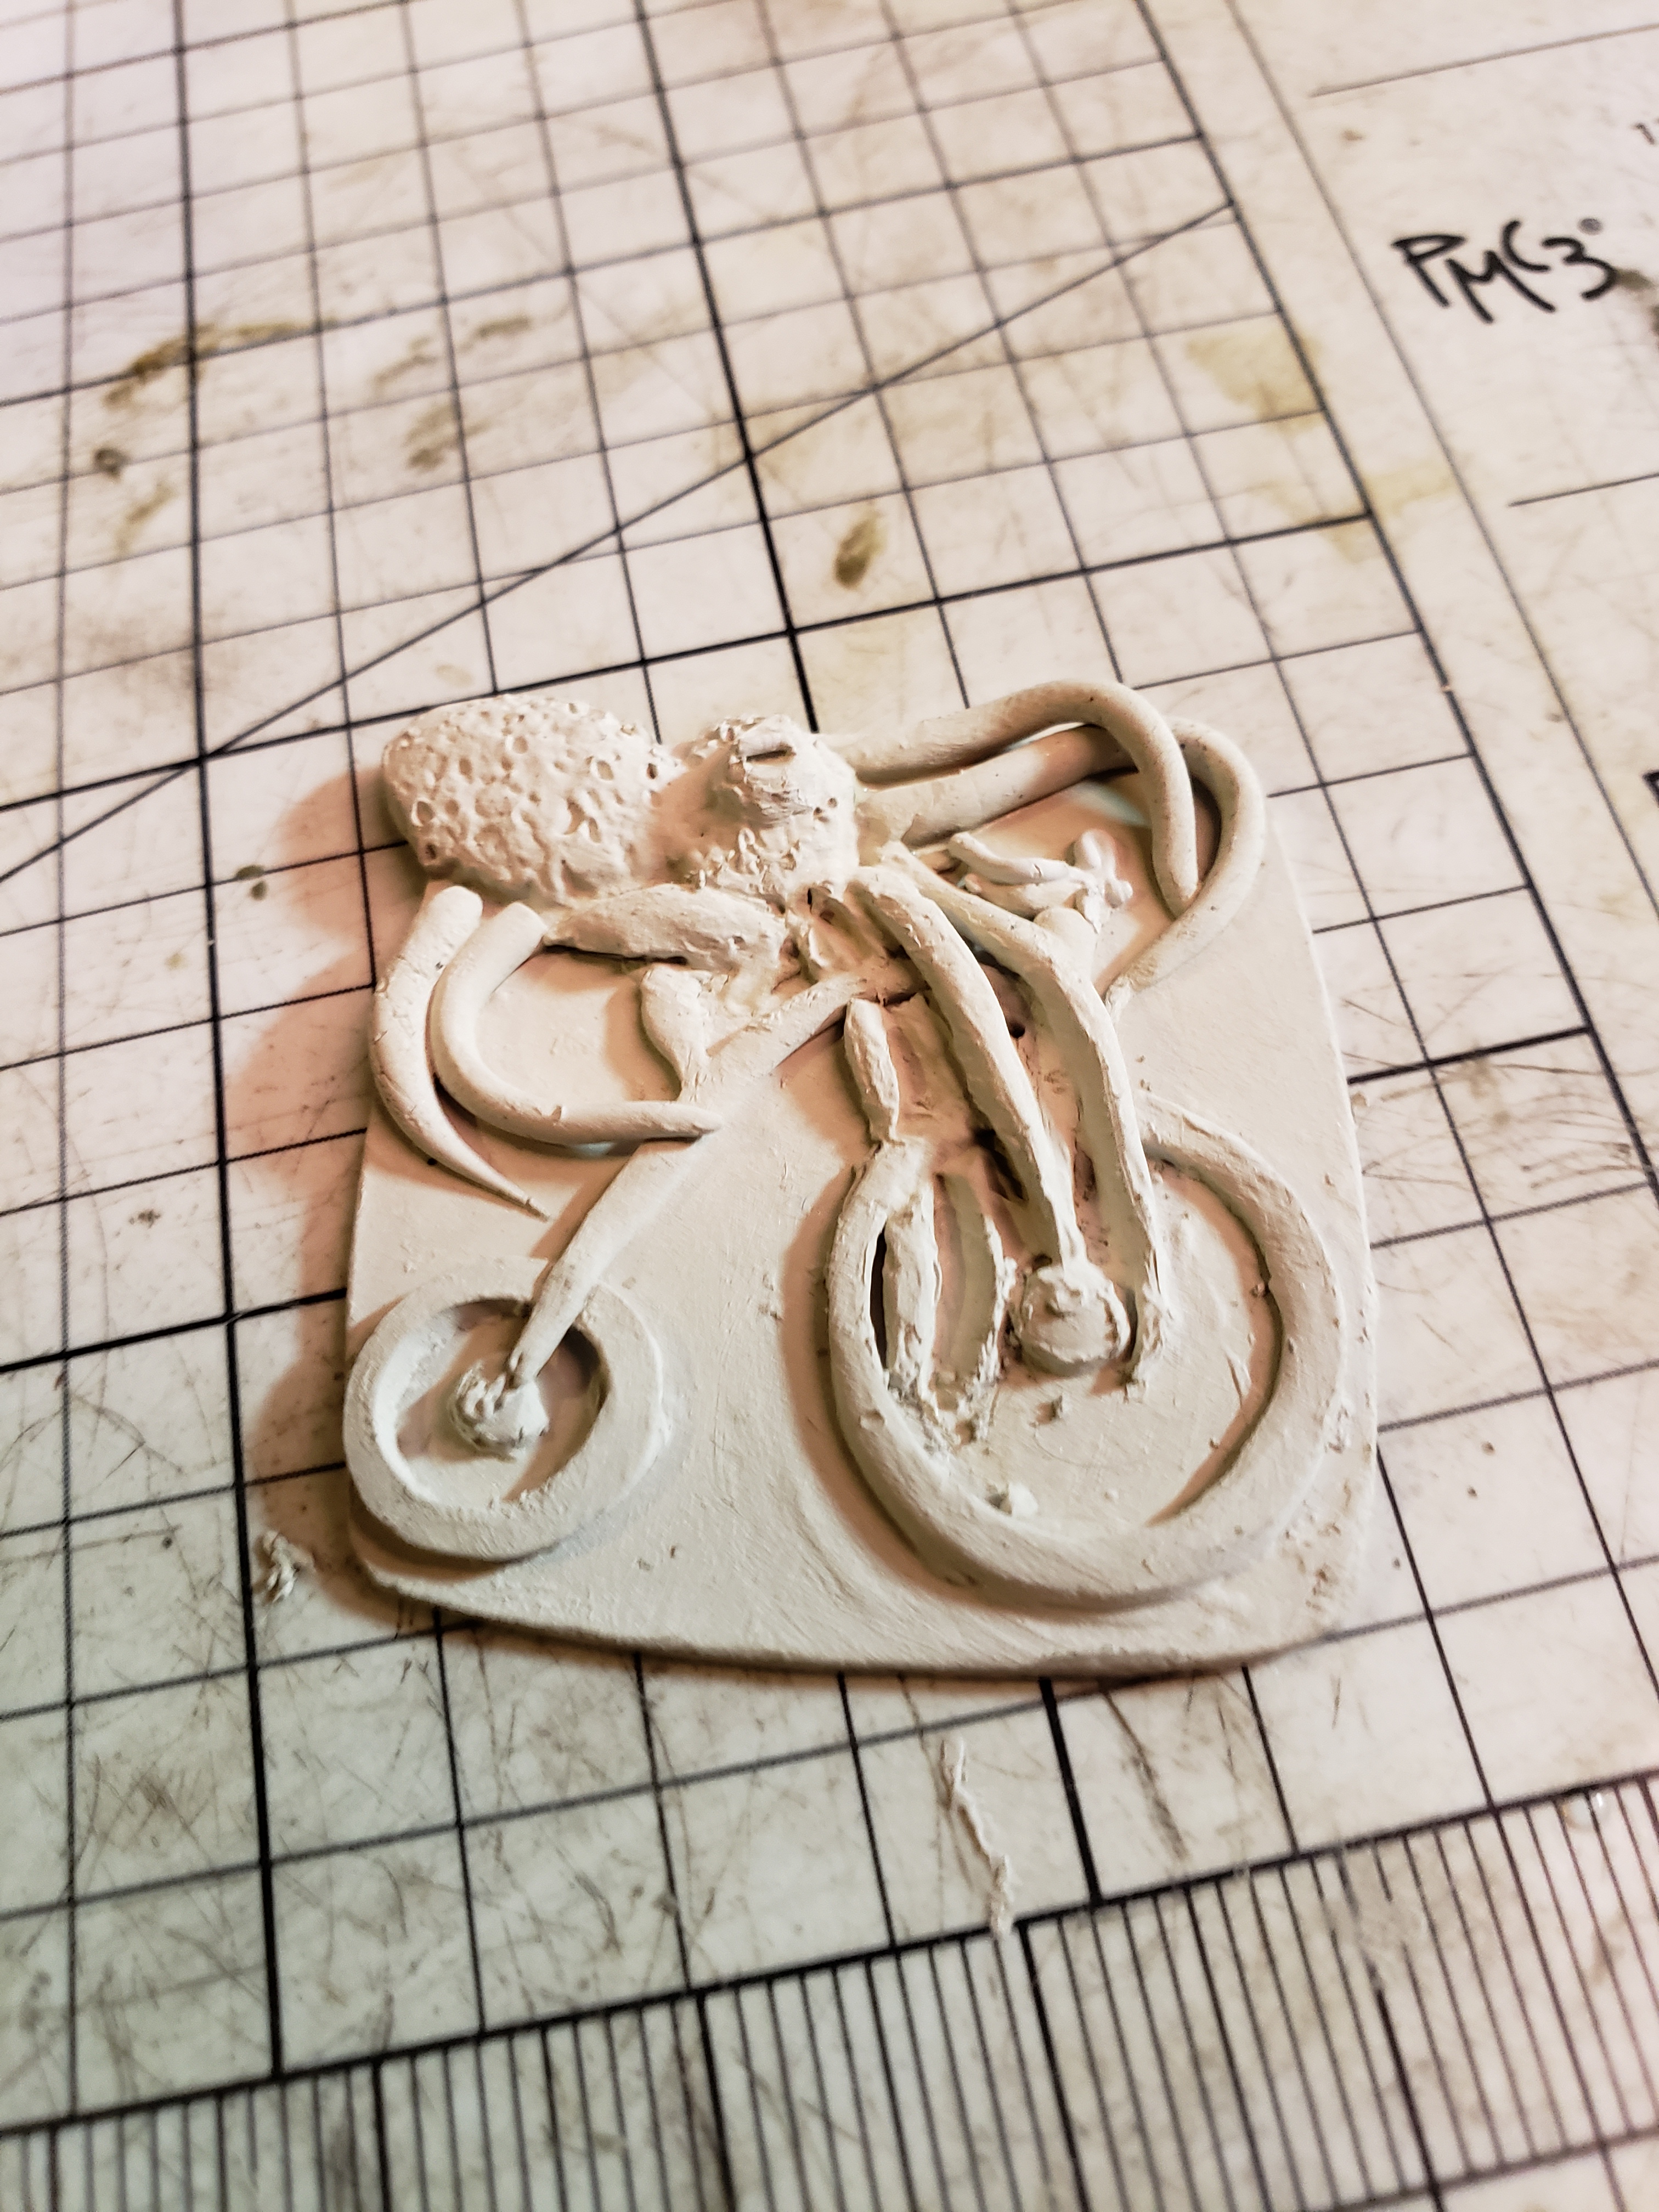
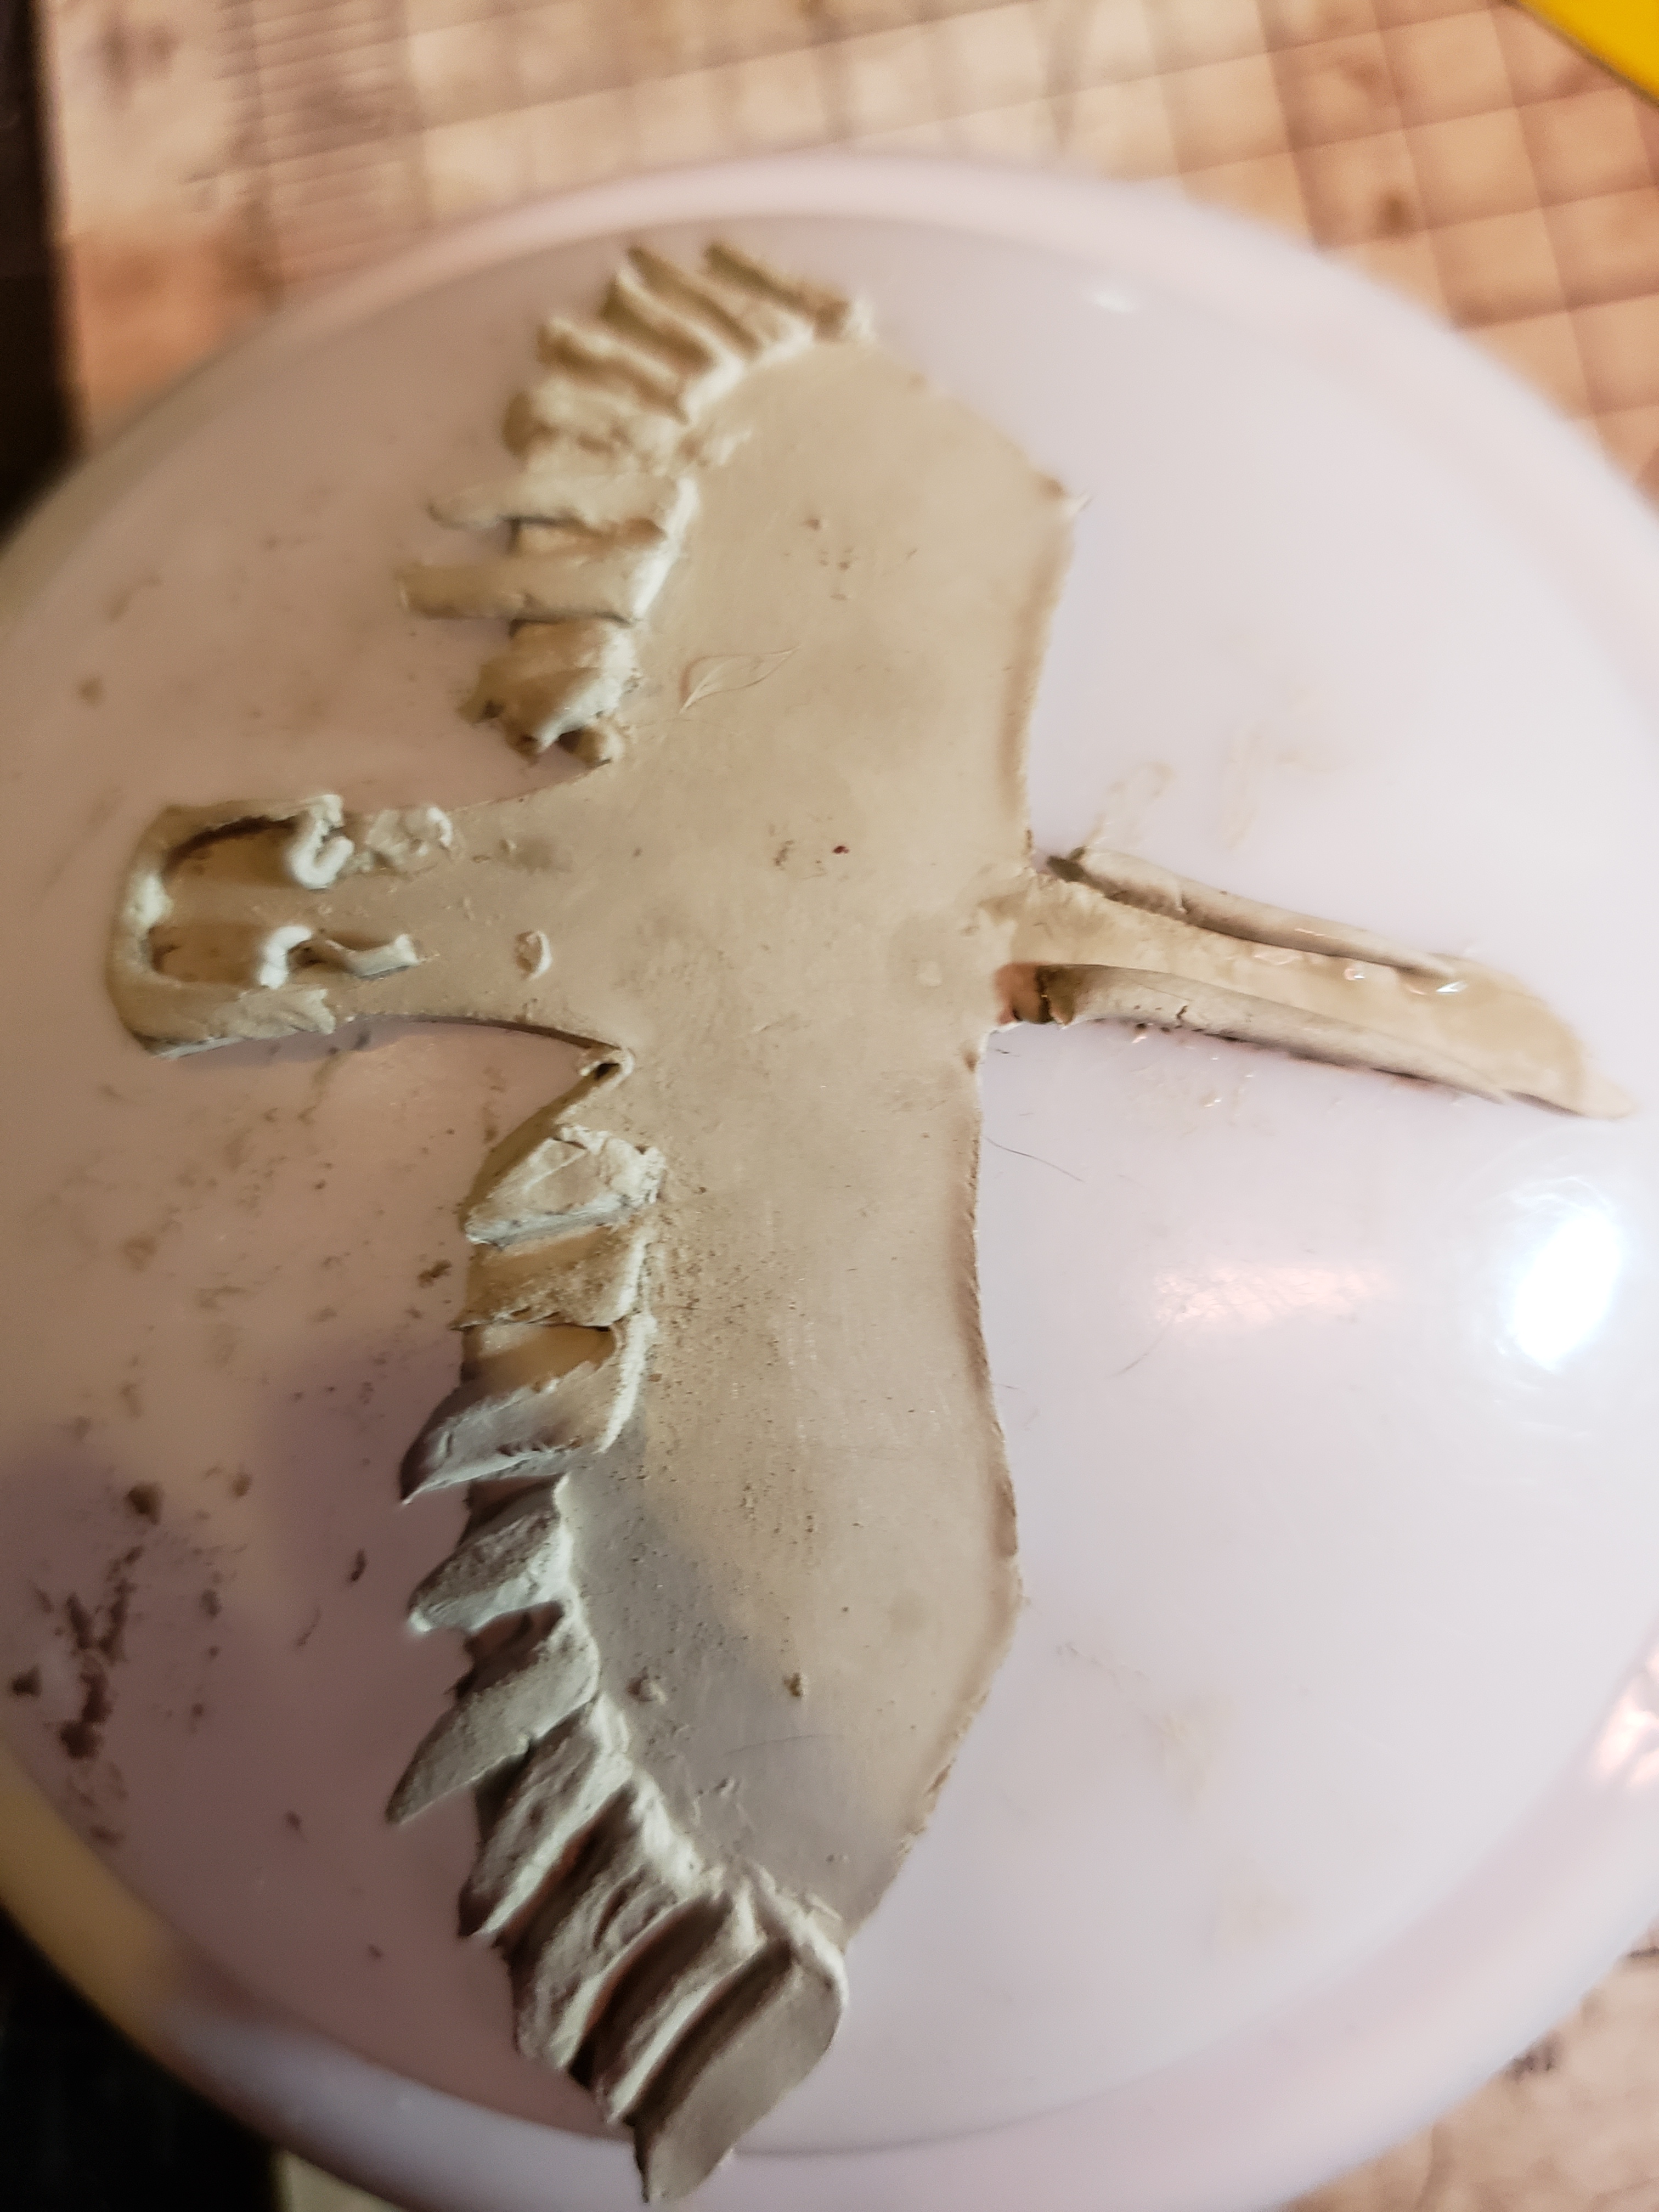
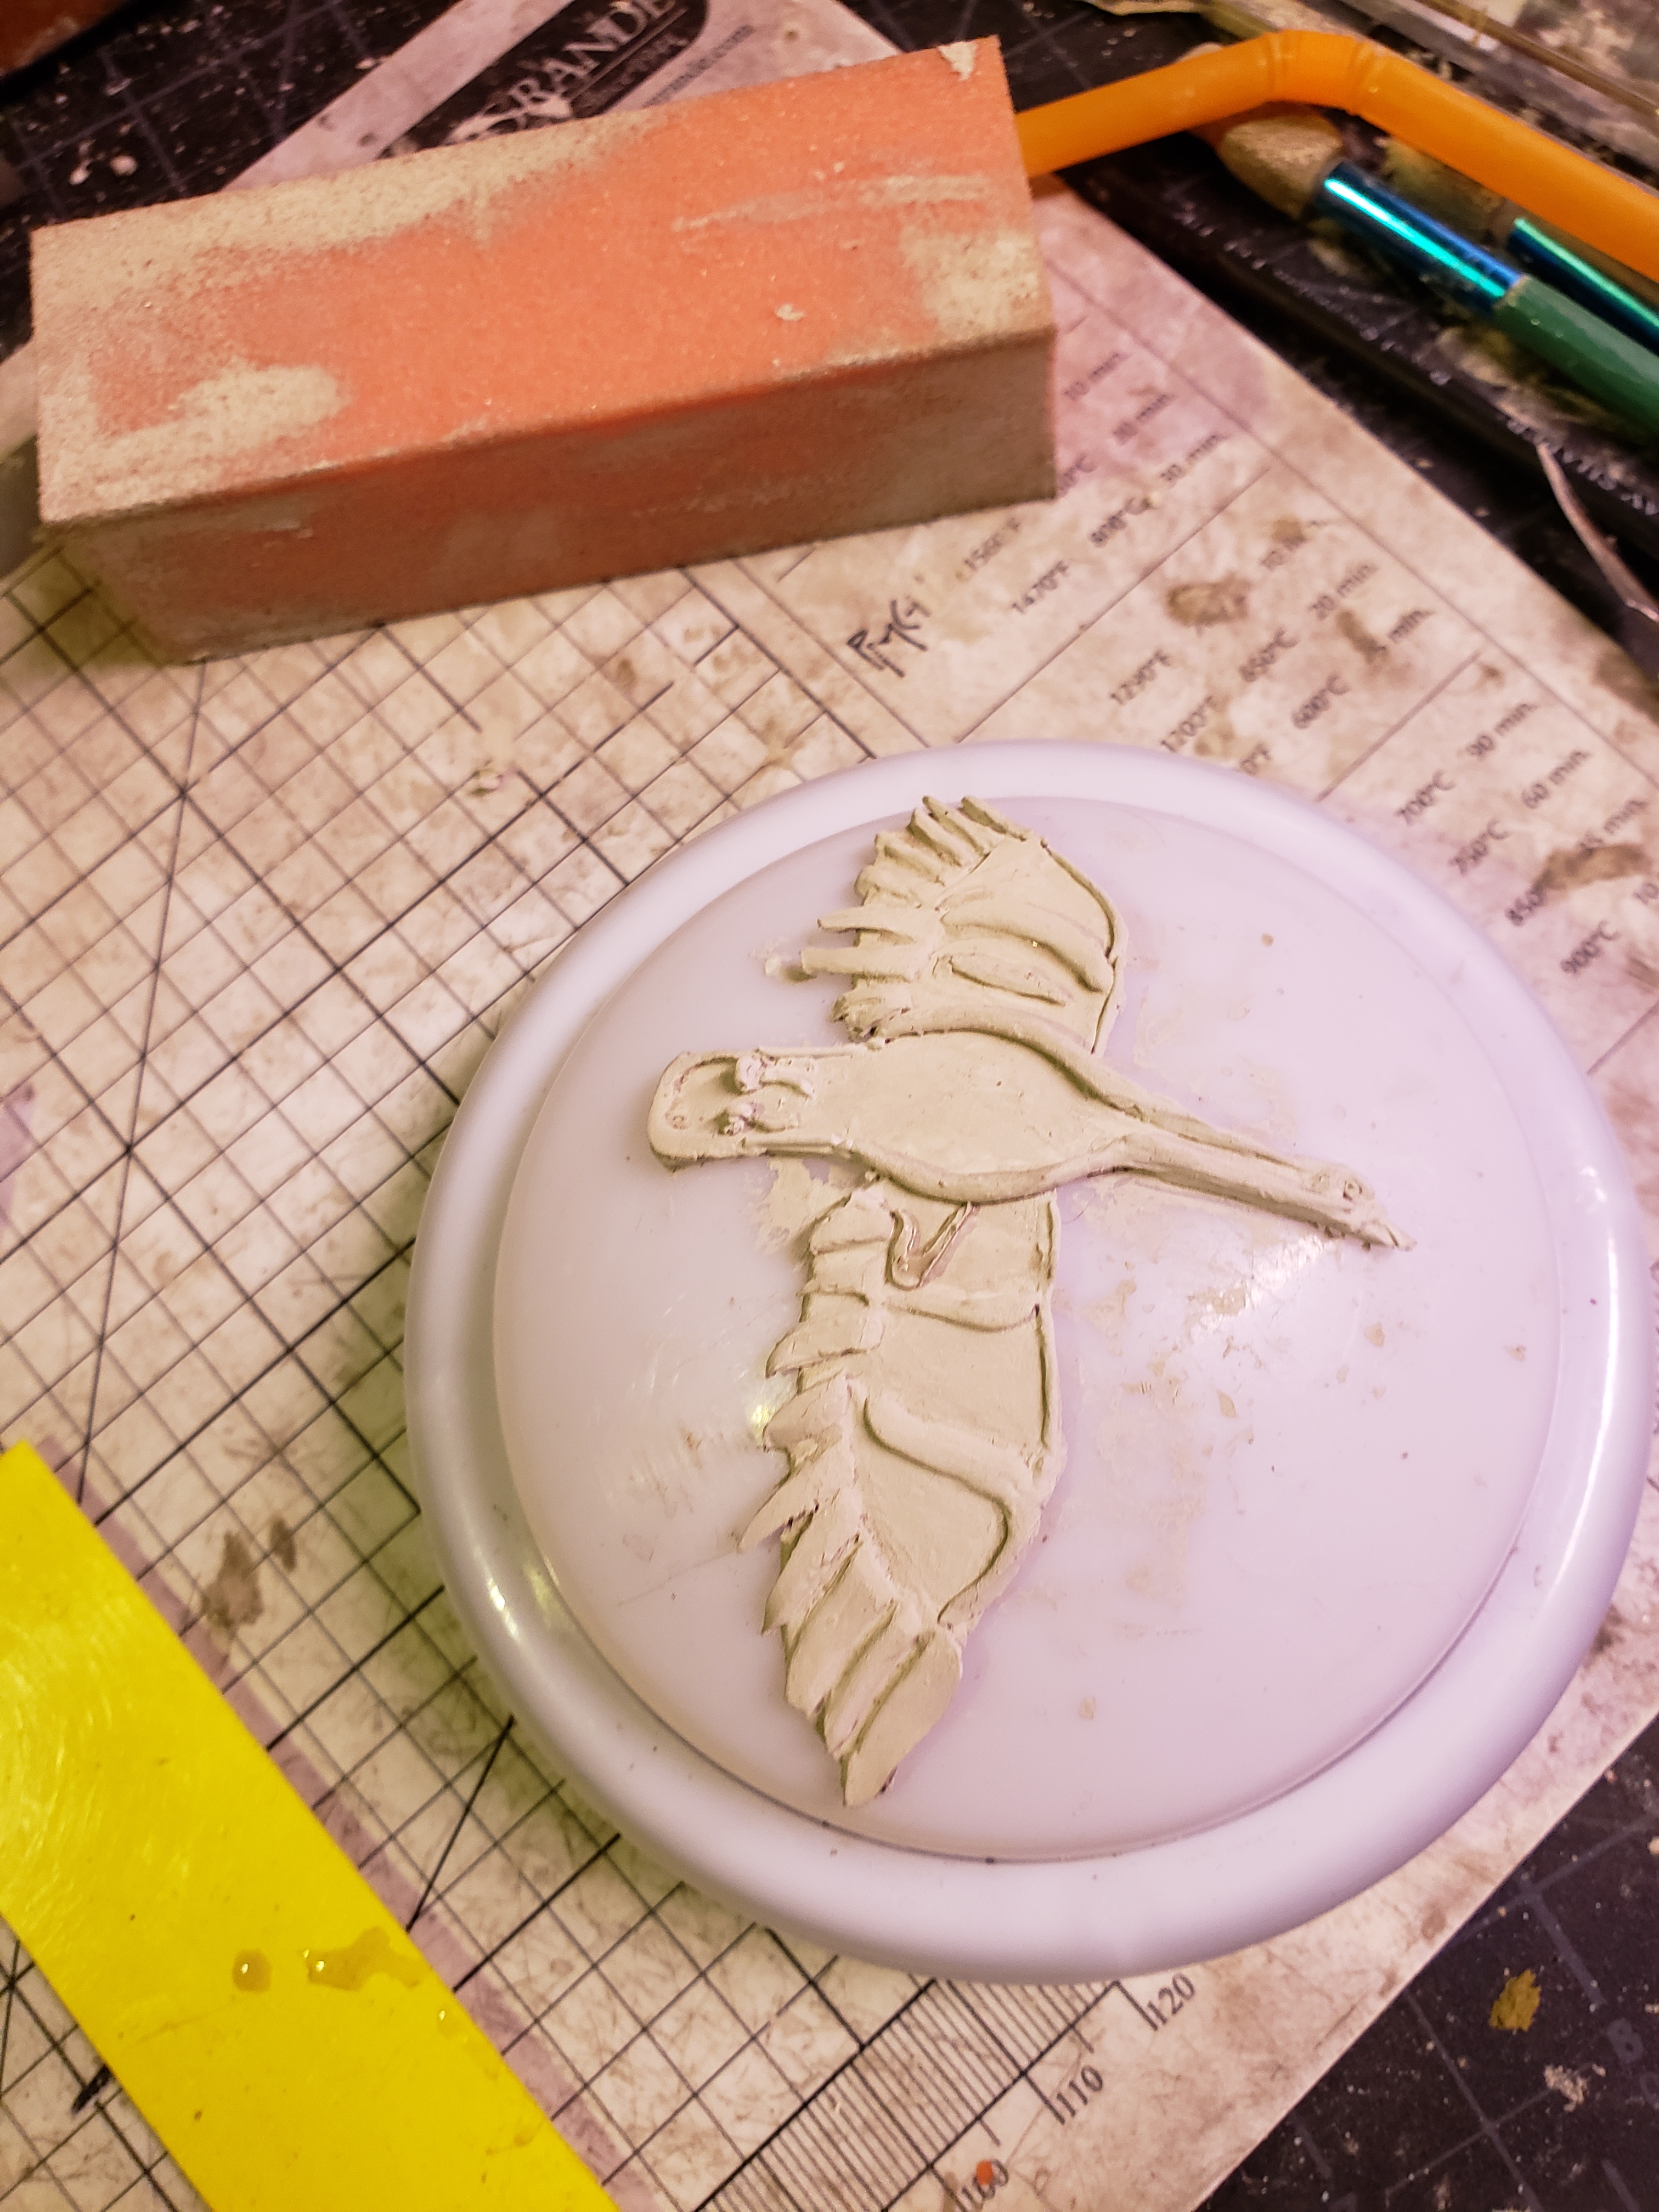
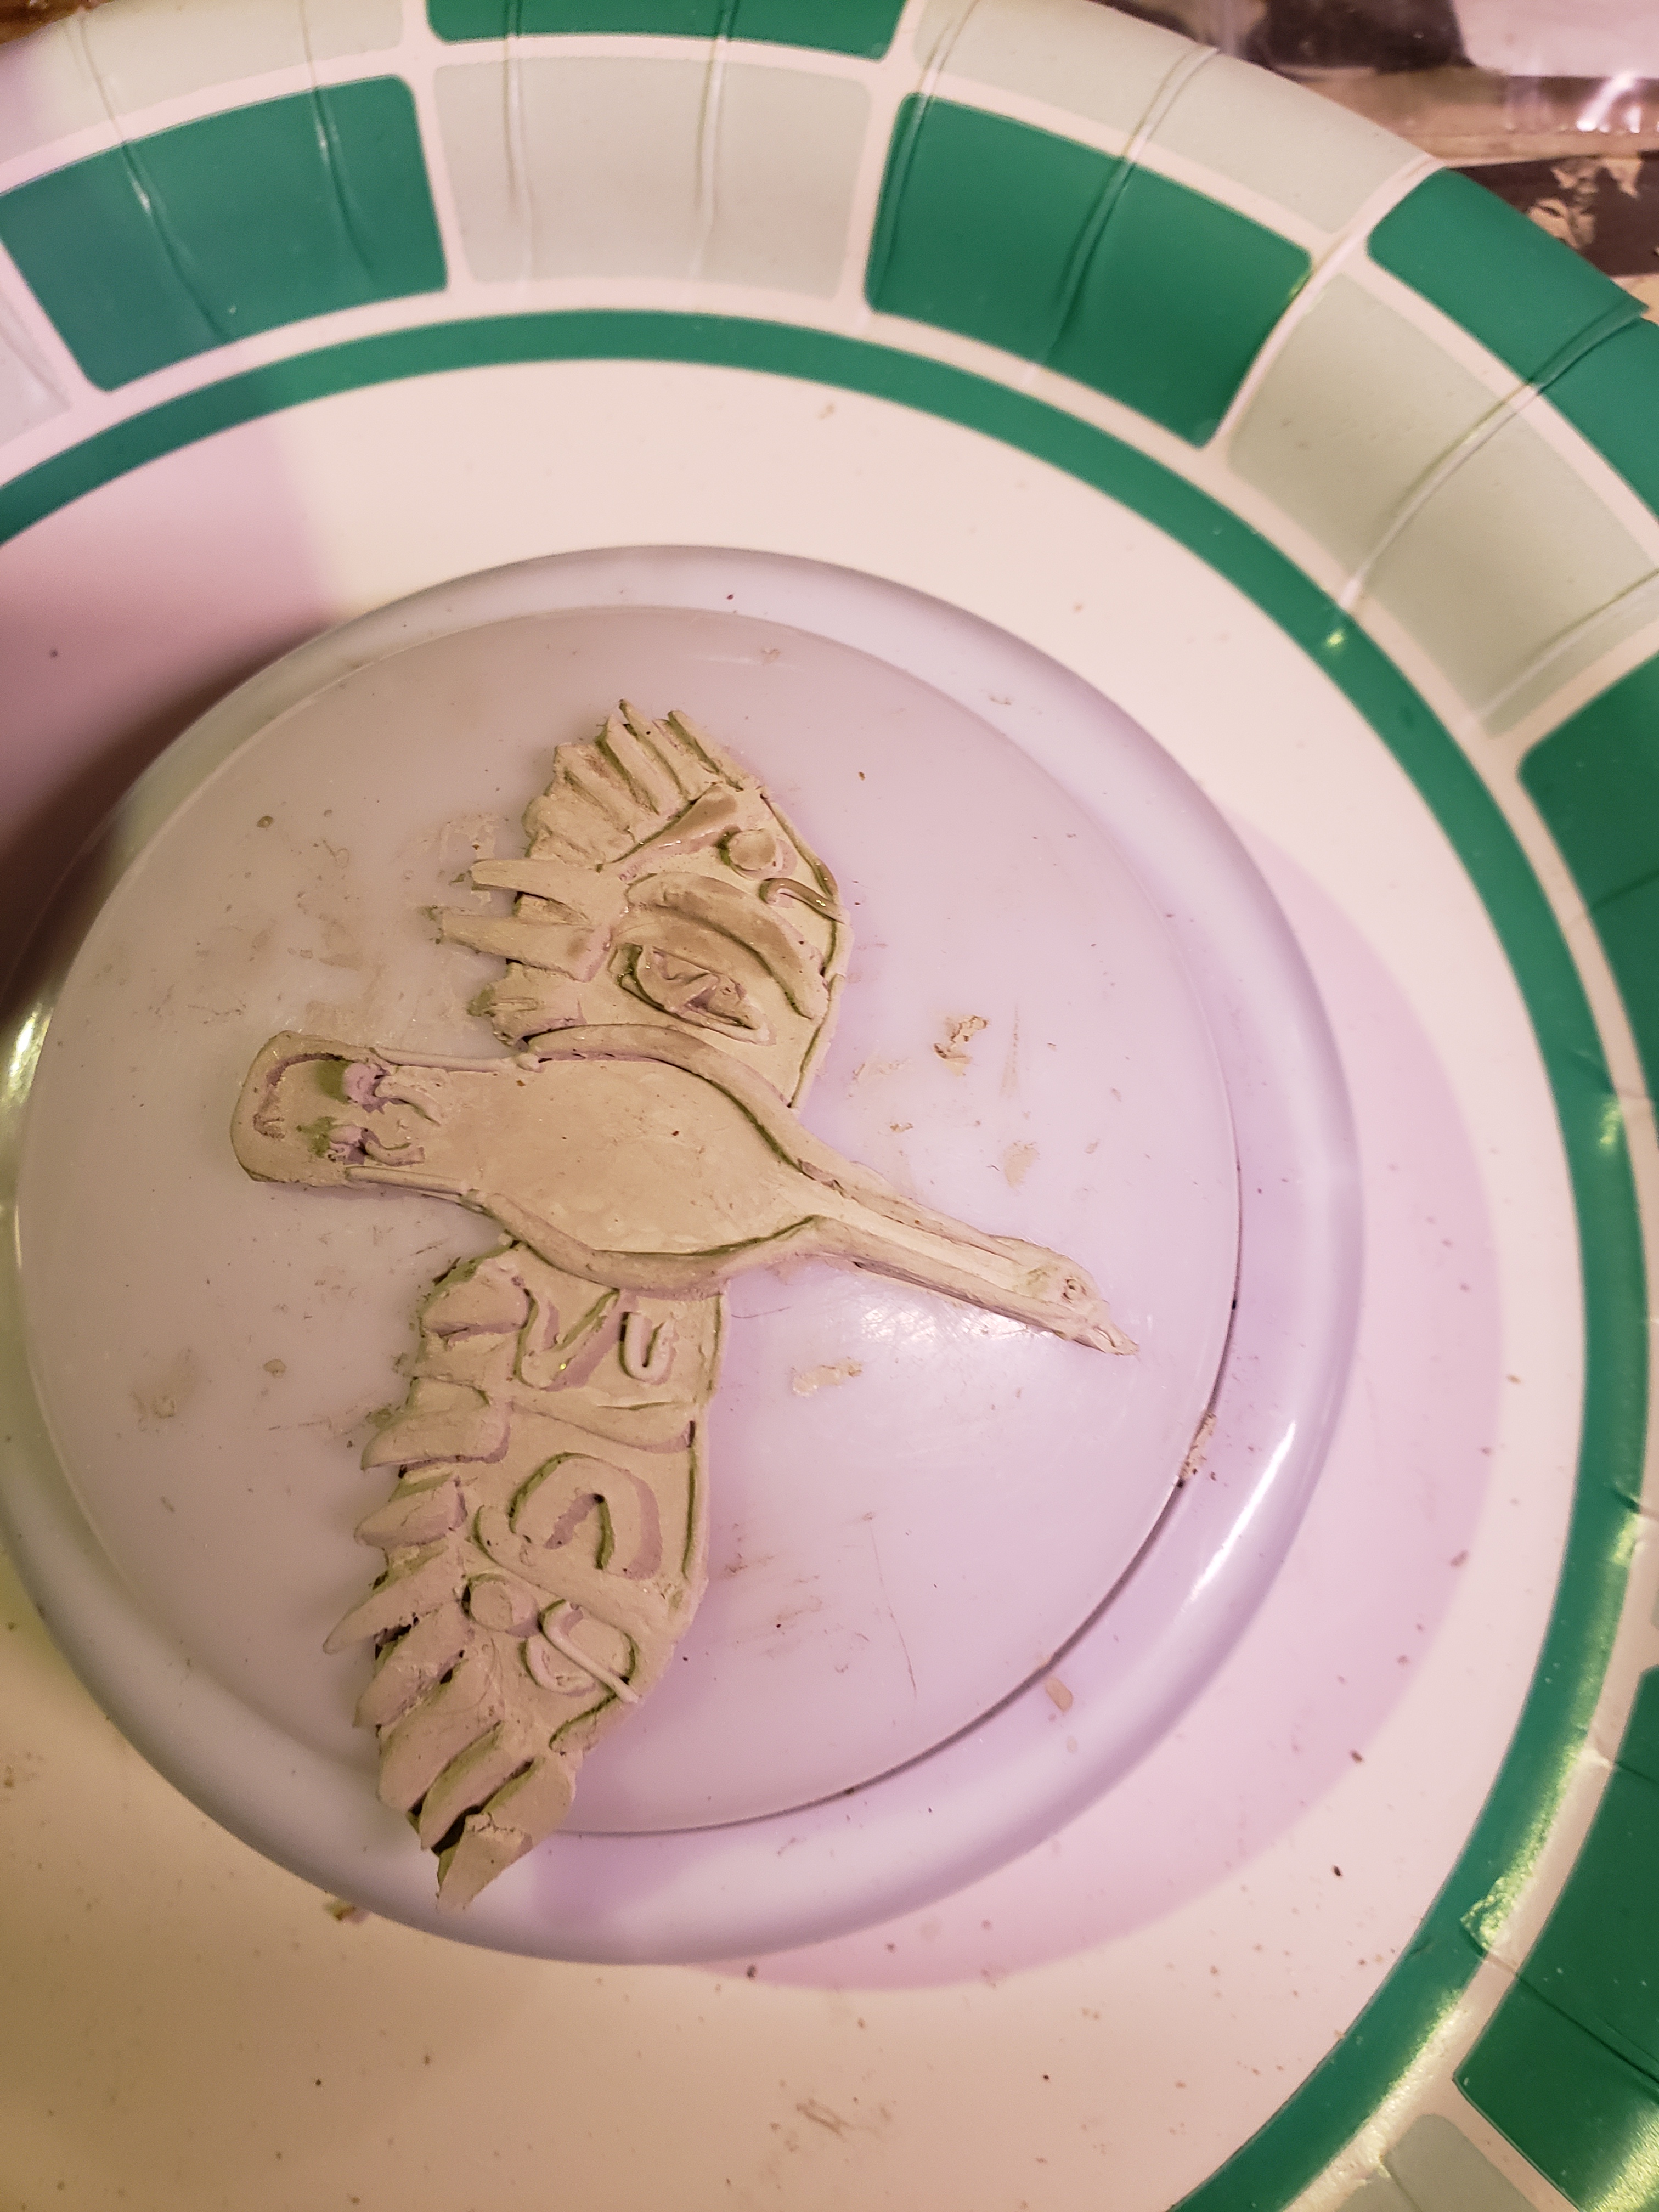
First, I found some old beads in bird shape. I used two-part molding compound to make a mold.

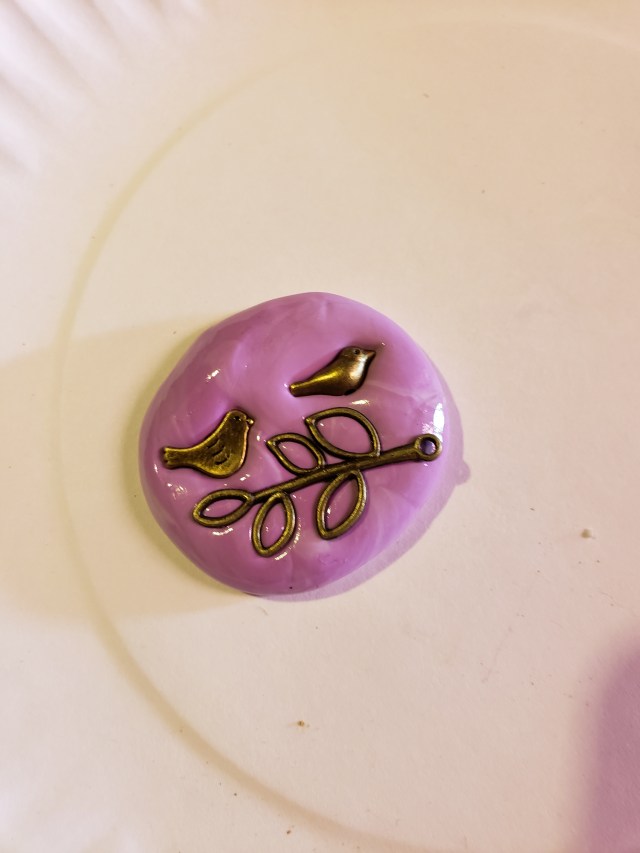
There are two birds because I wasn’t sure which design to use, and a branch for another design I am considering doing. Since that design has no place here, I won’t mention it further.

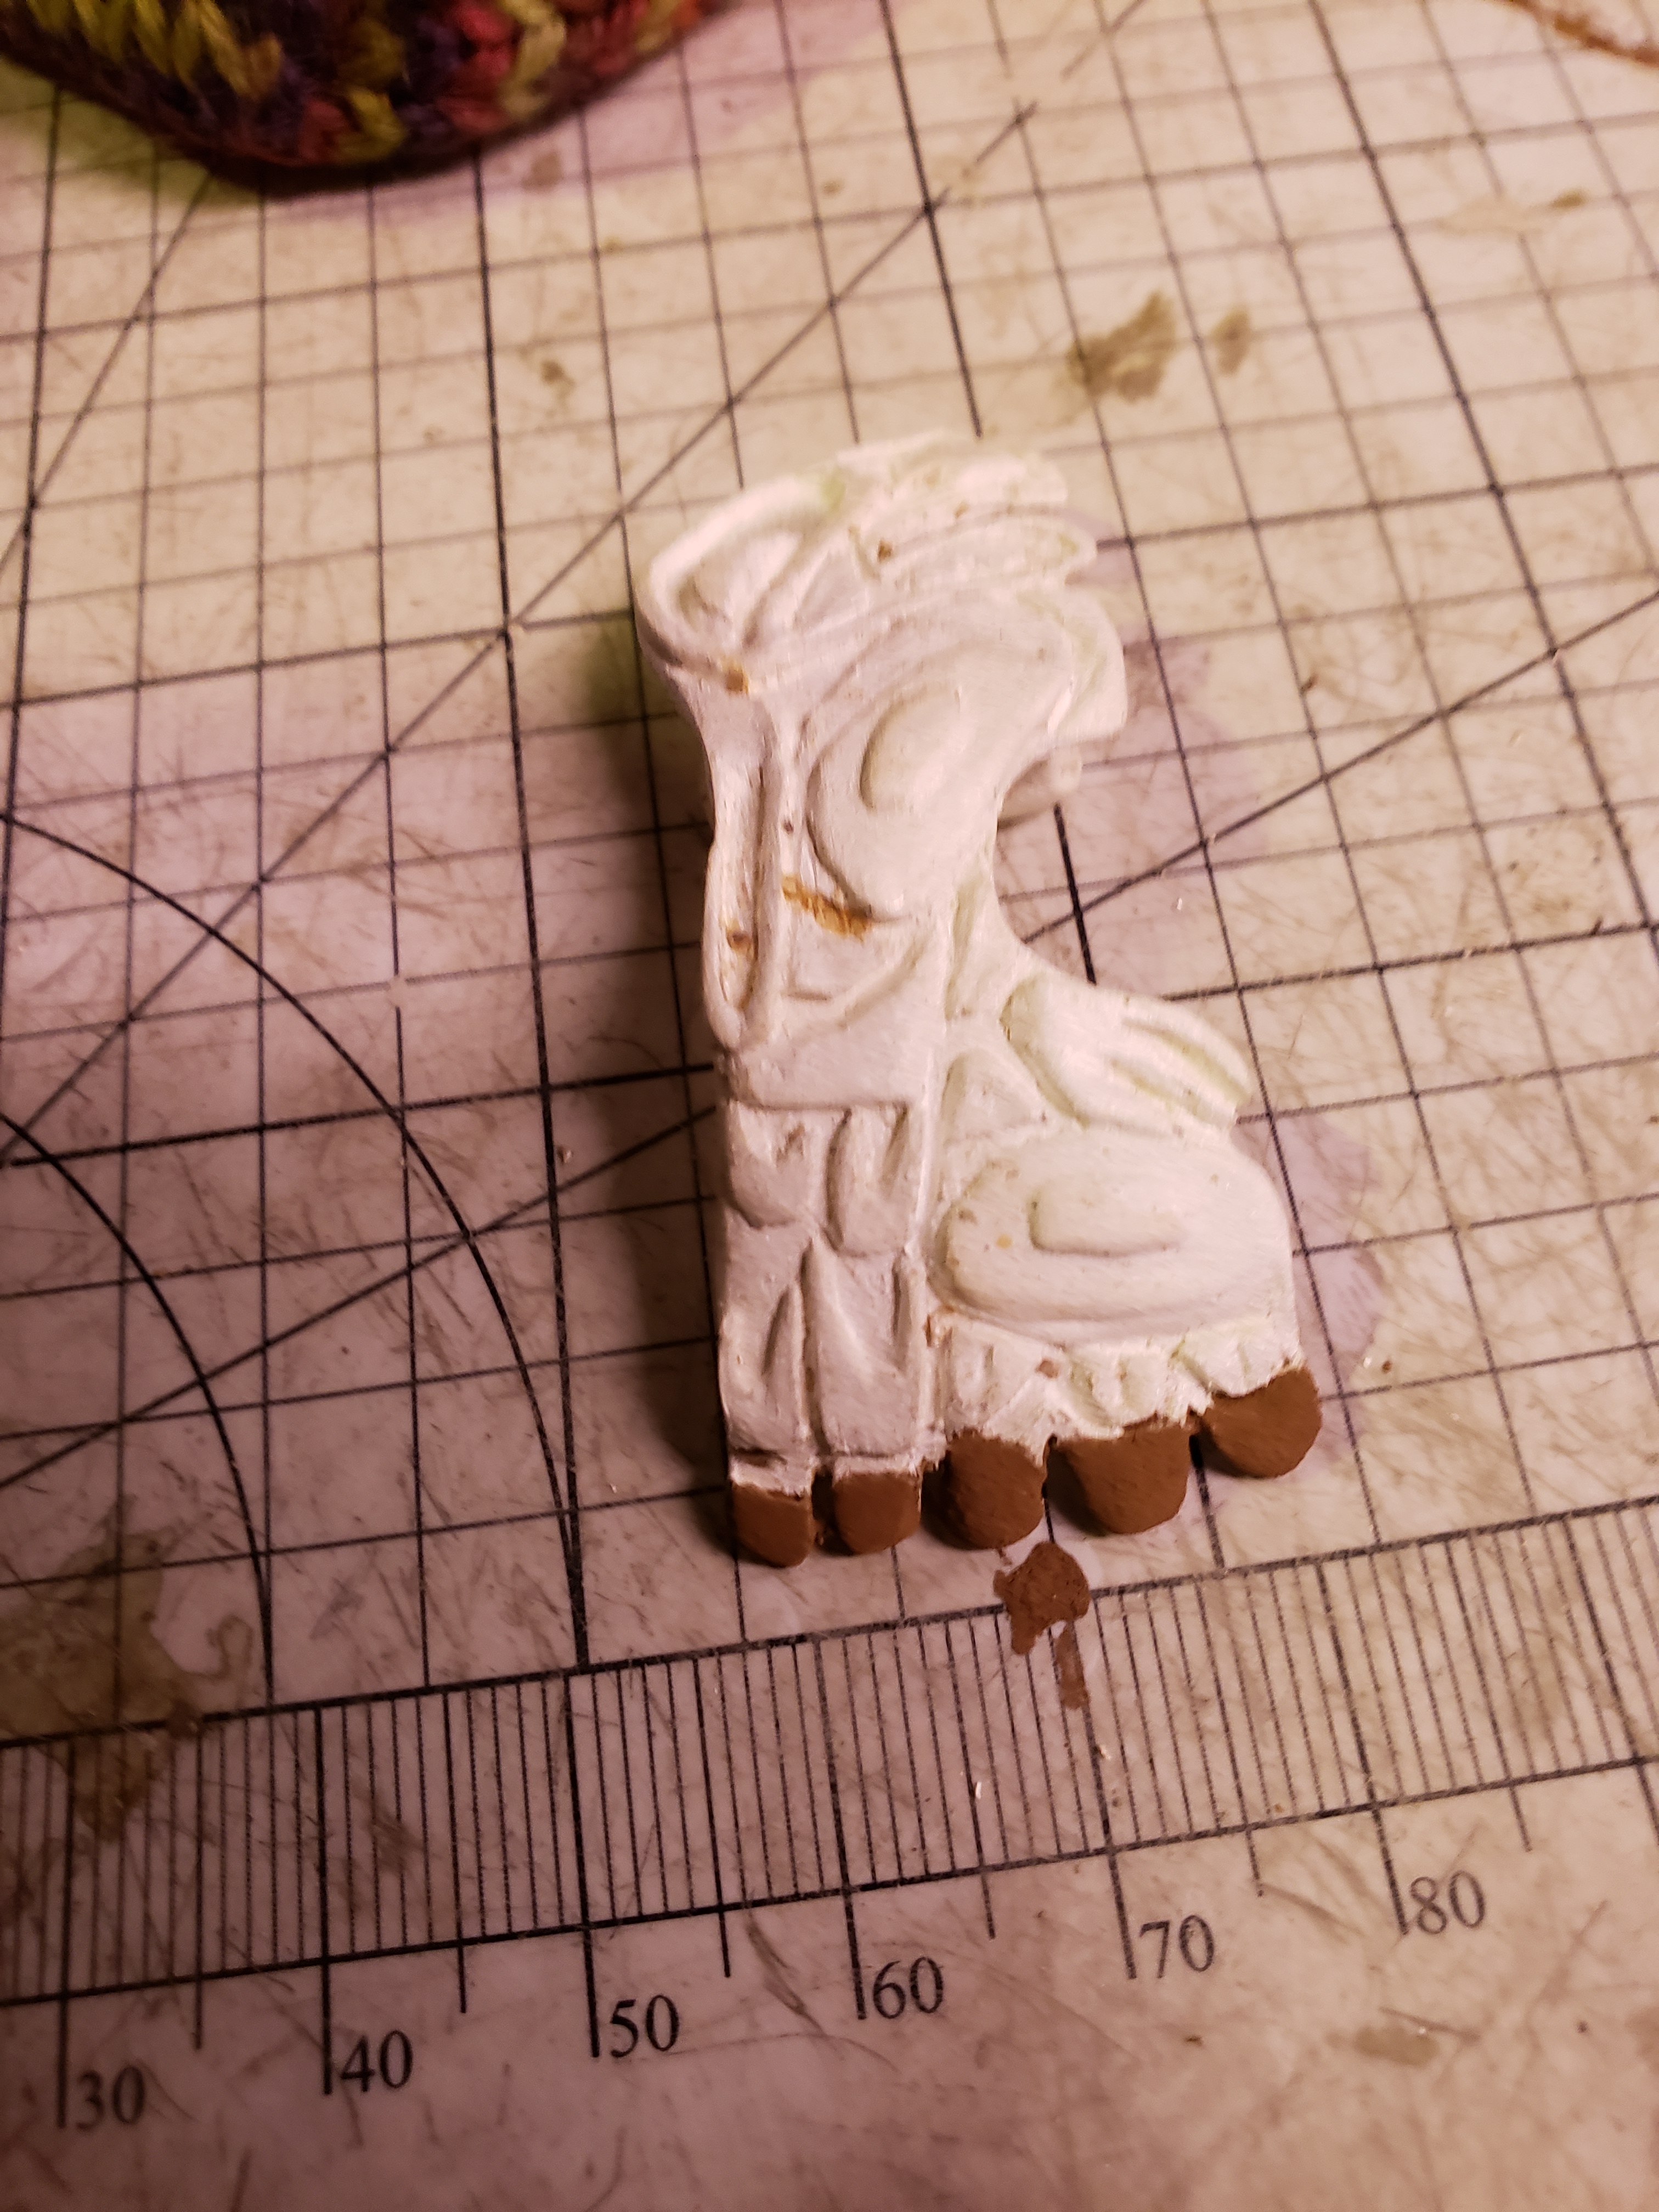
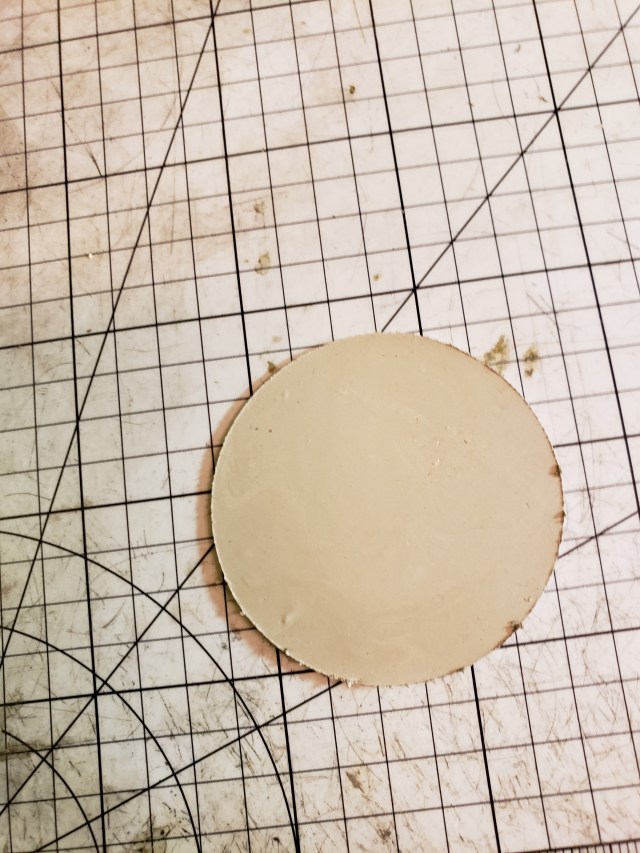
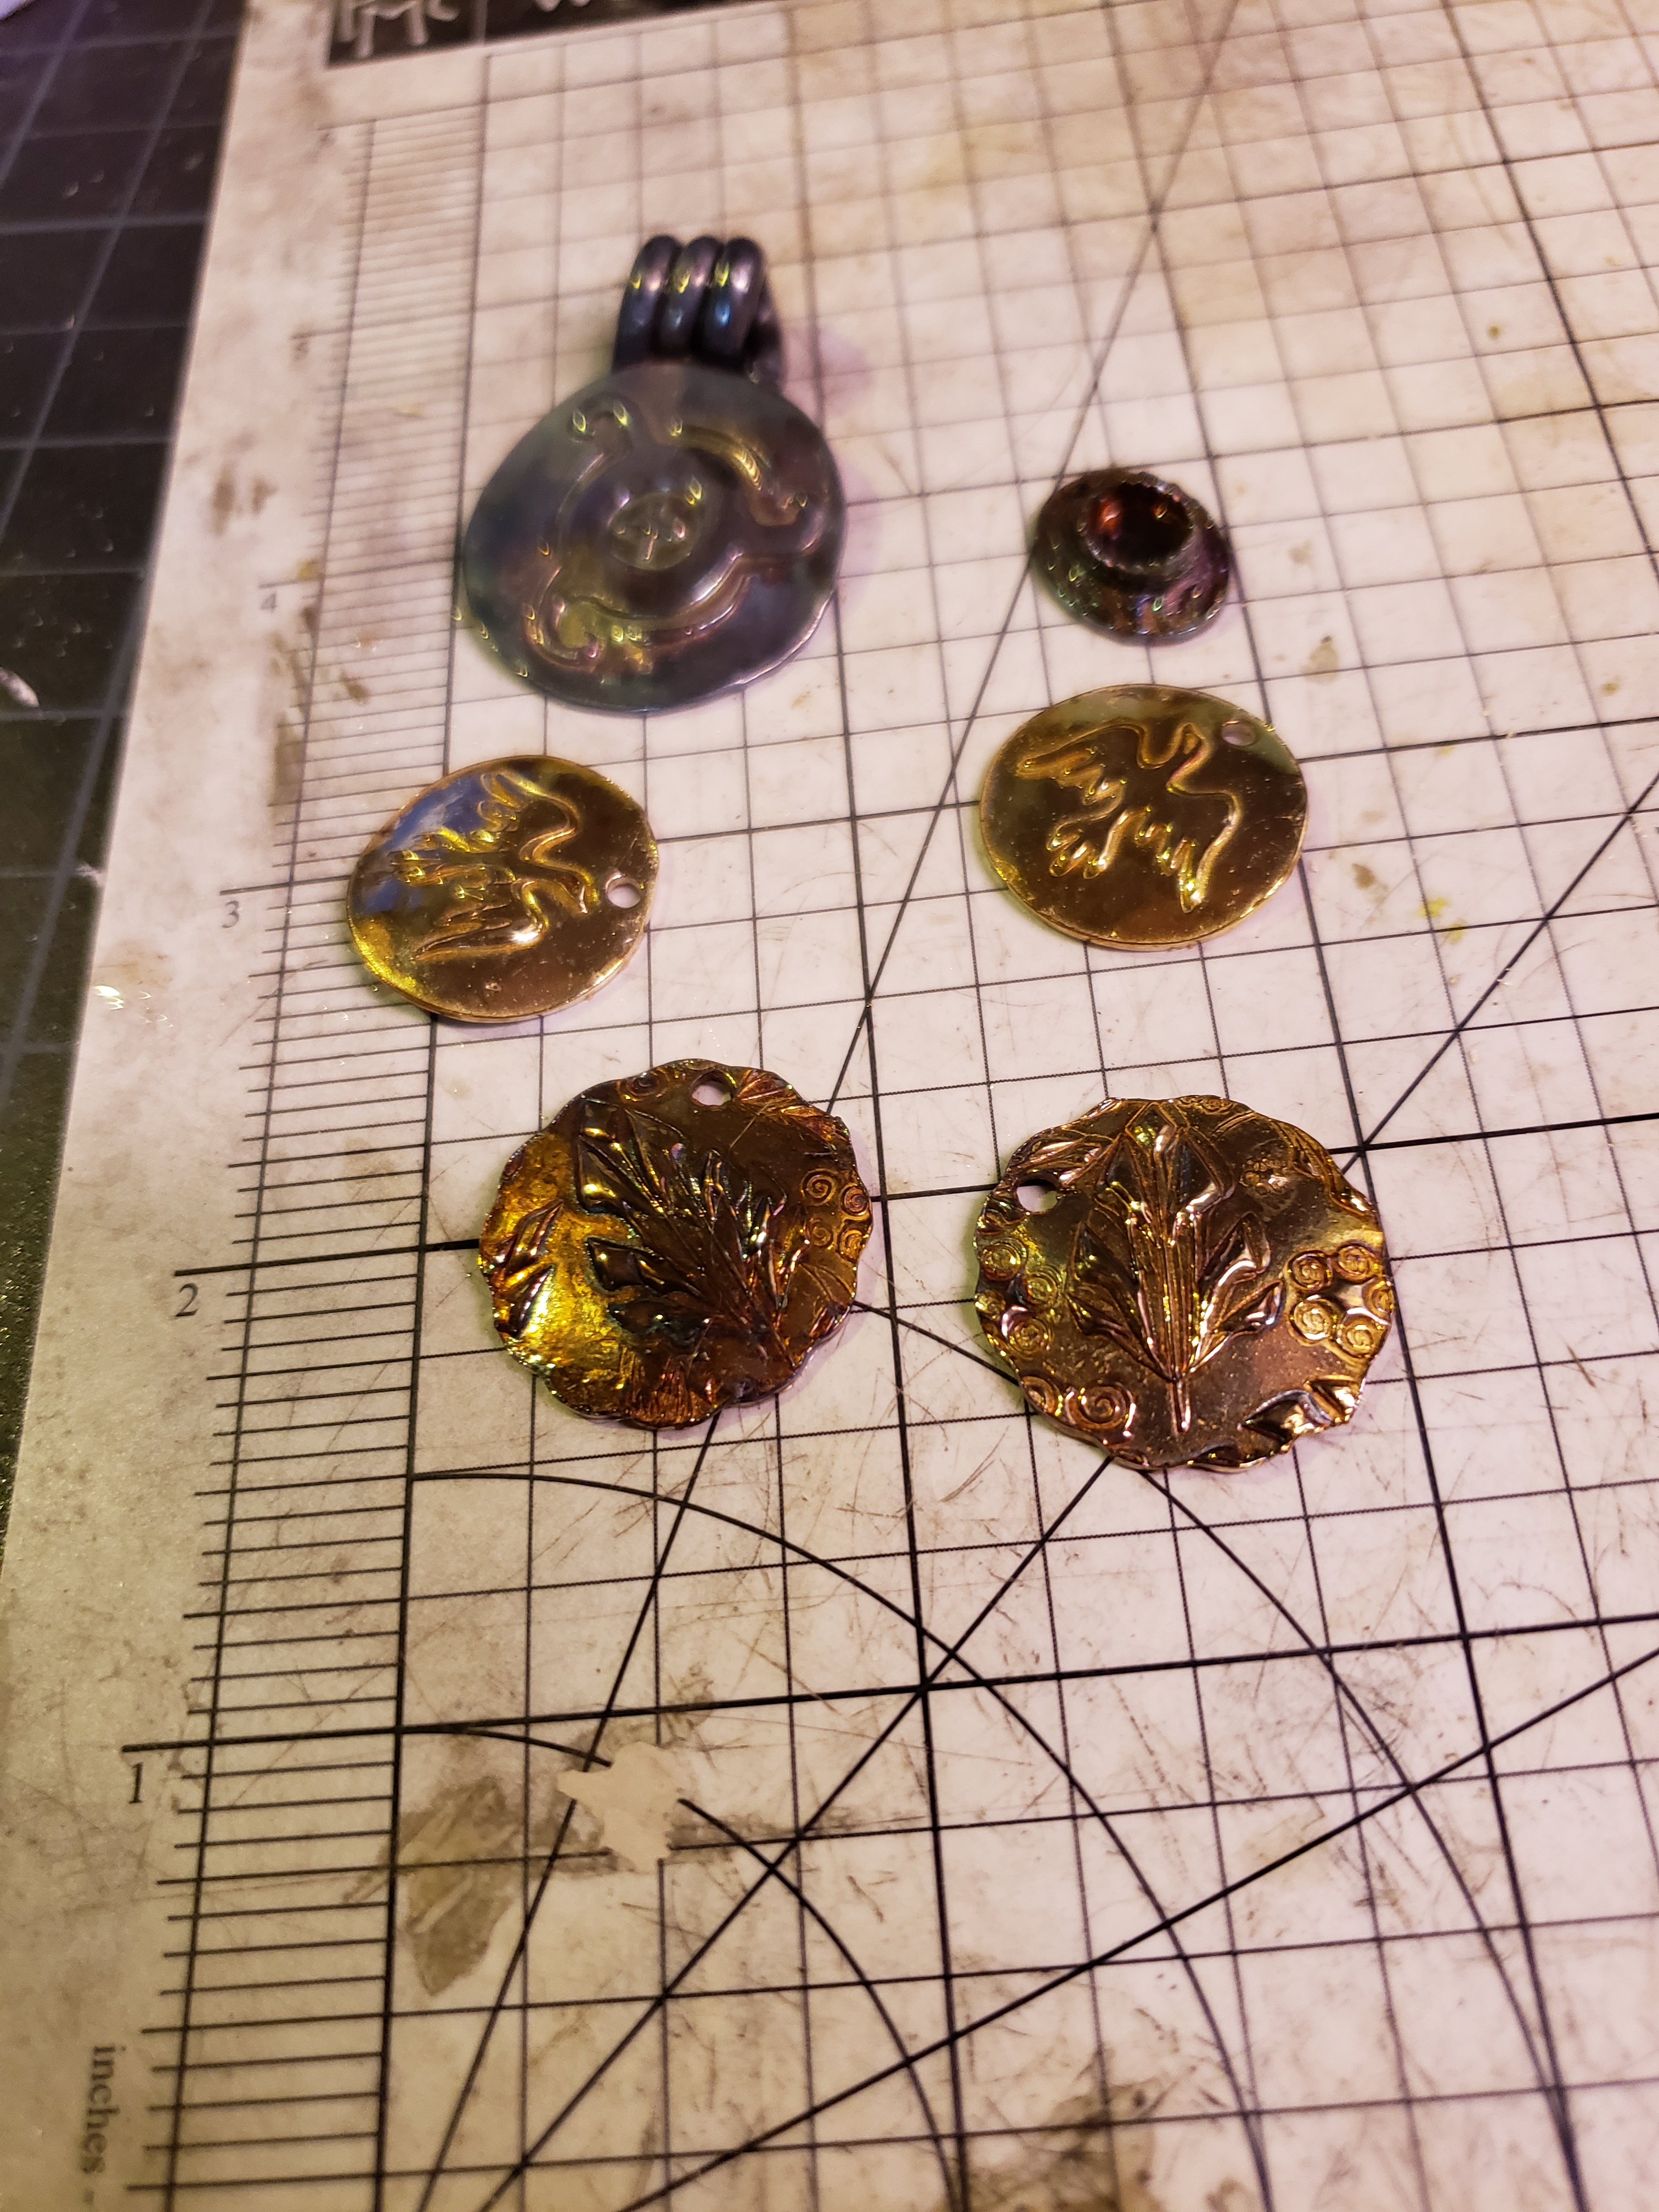
The client wanted a fairly small piece. Since that was a ‘rush’ order, I had to find pieces that would fit. The solution? I had a bit of original PMC available, which shrinks around 25%. That gave me more flexibility. I then rolled out the clay and cut out a circle.

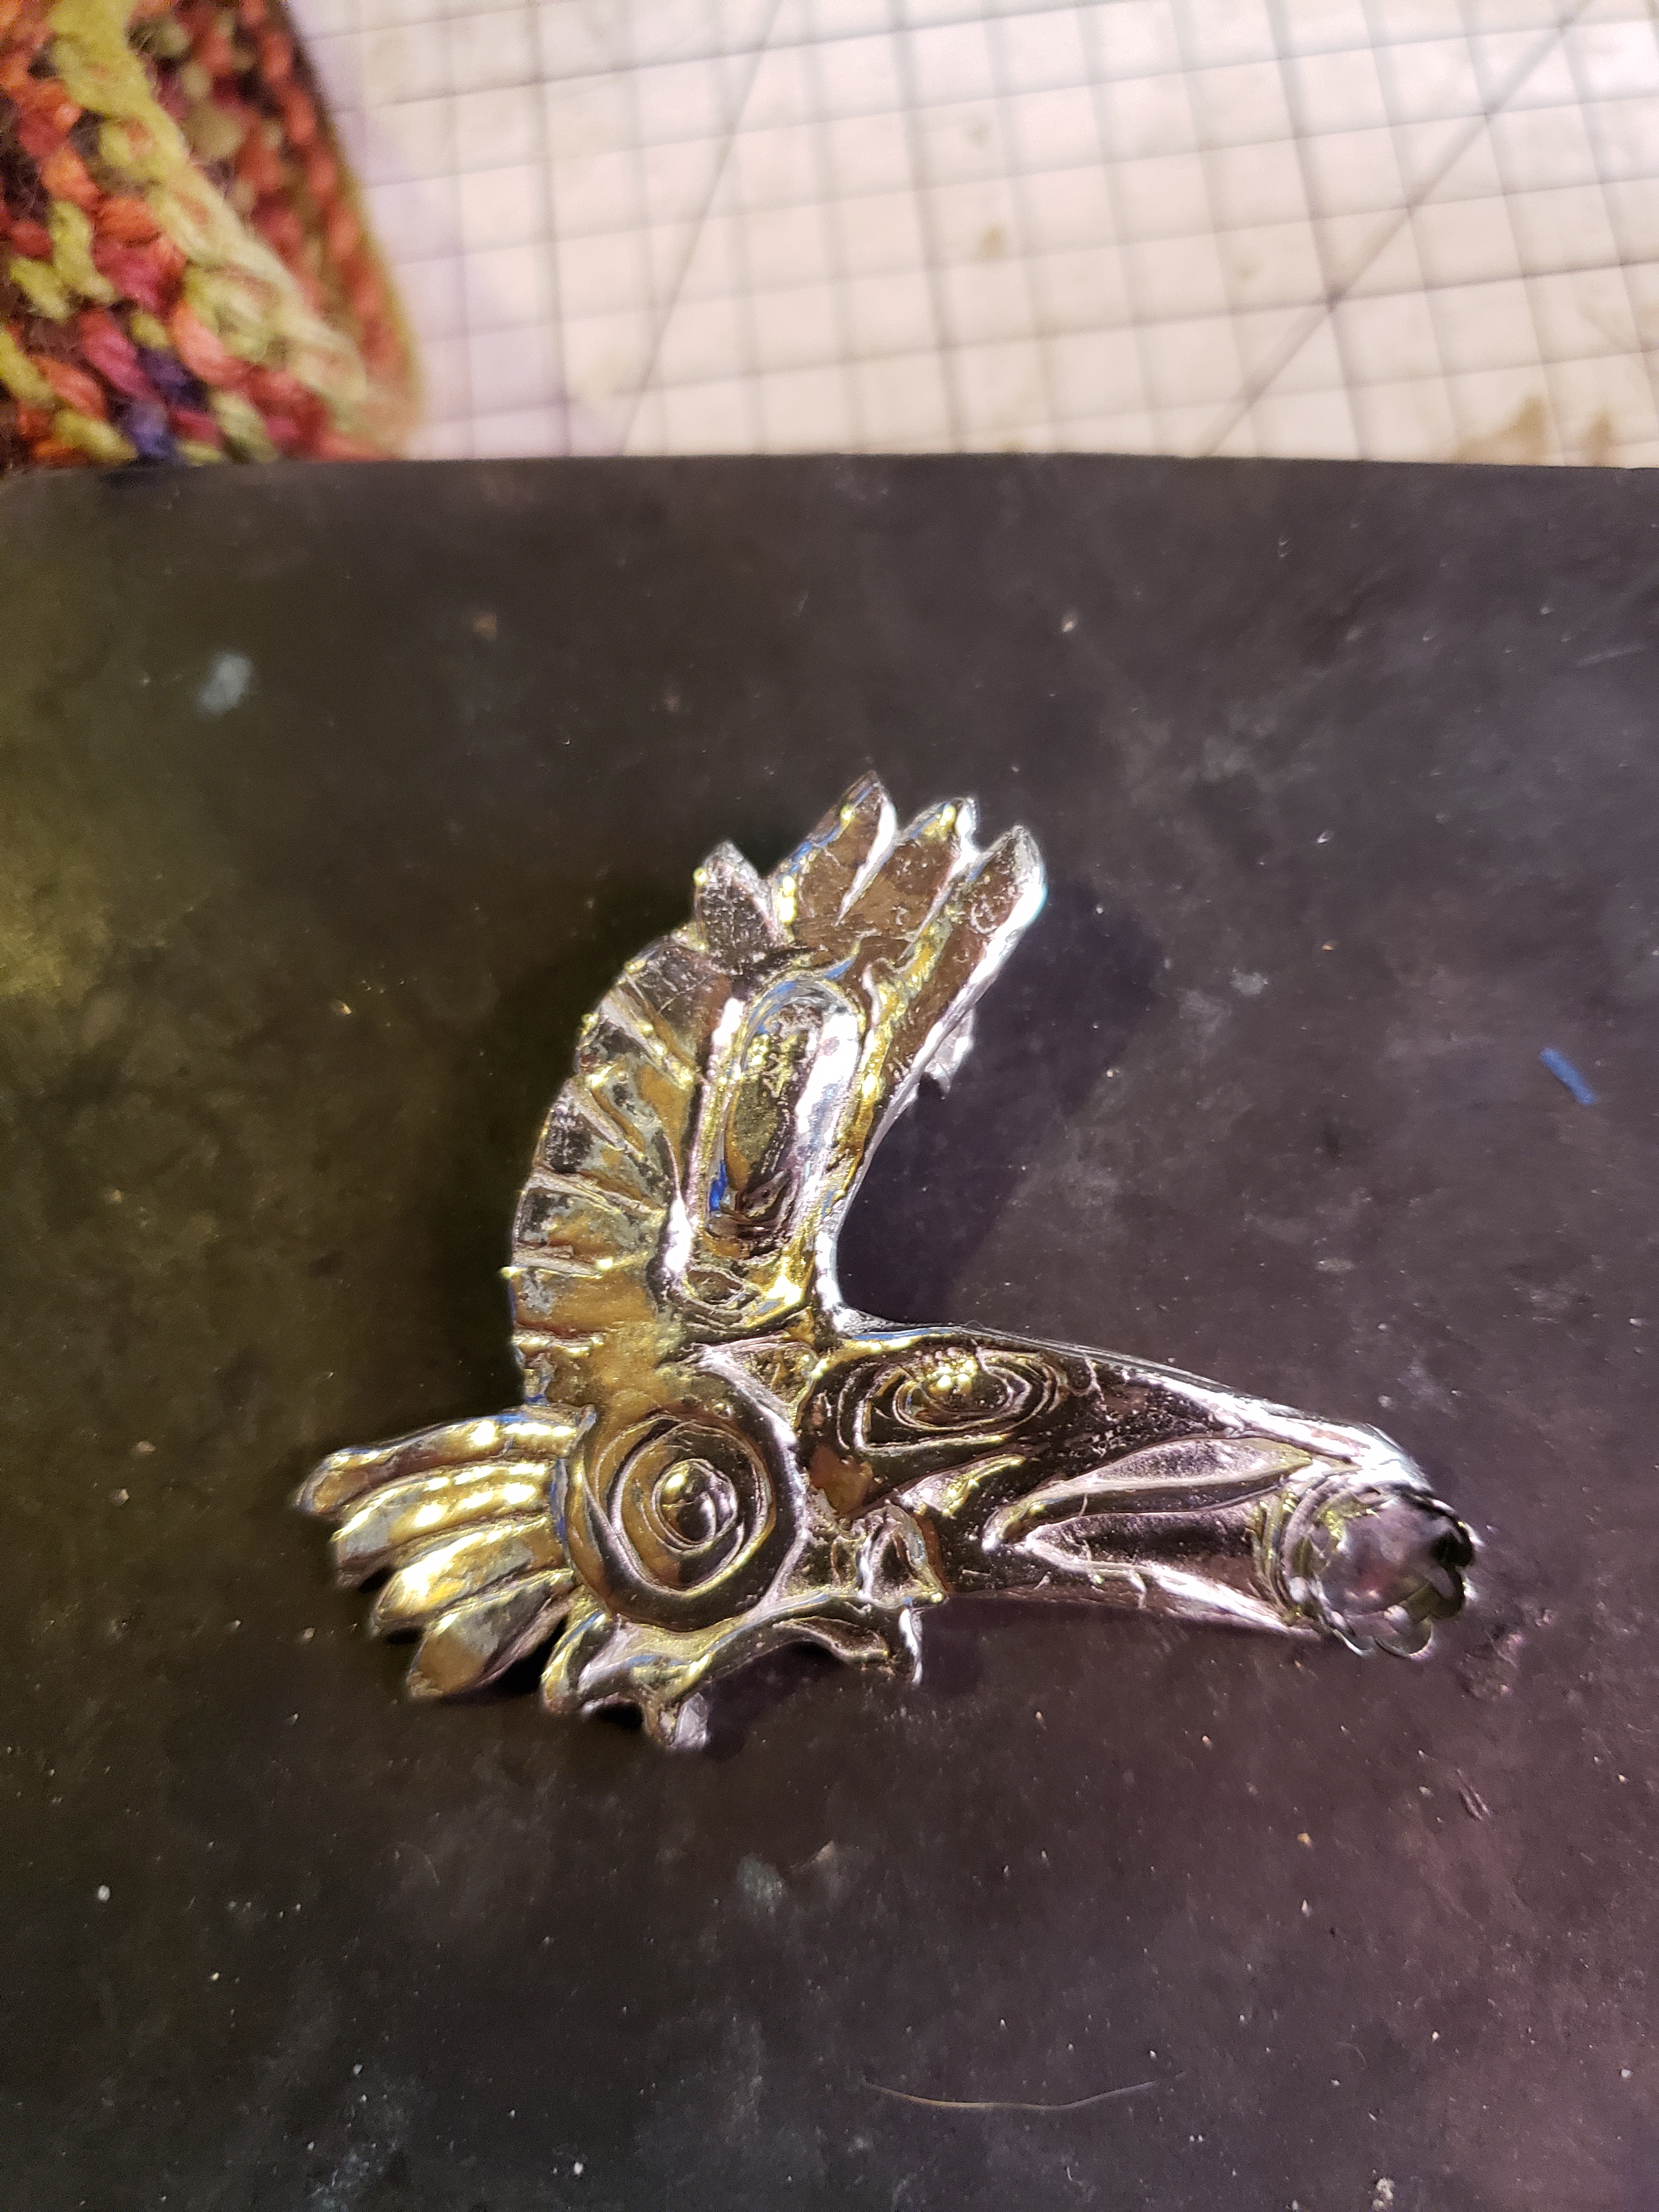
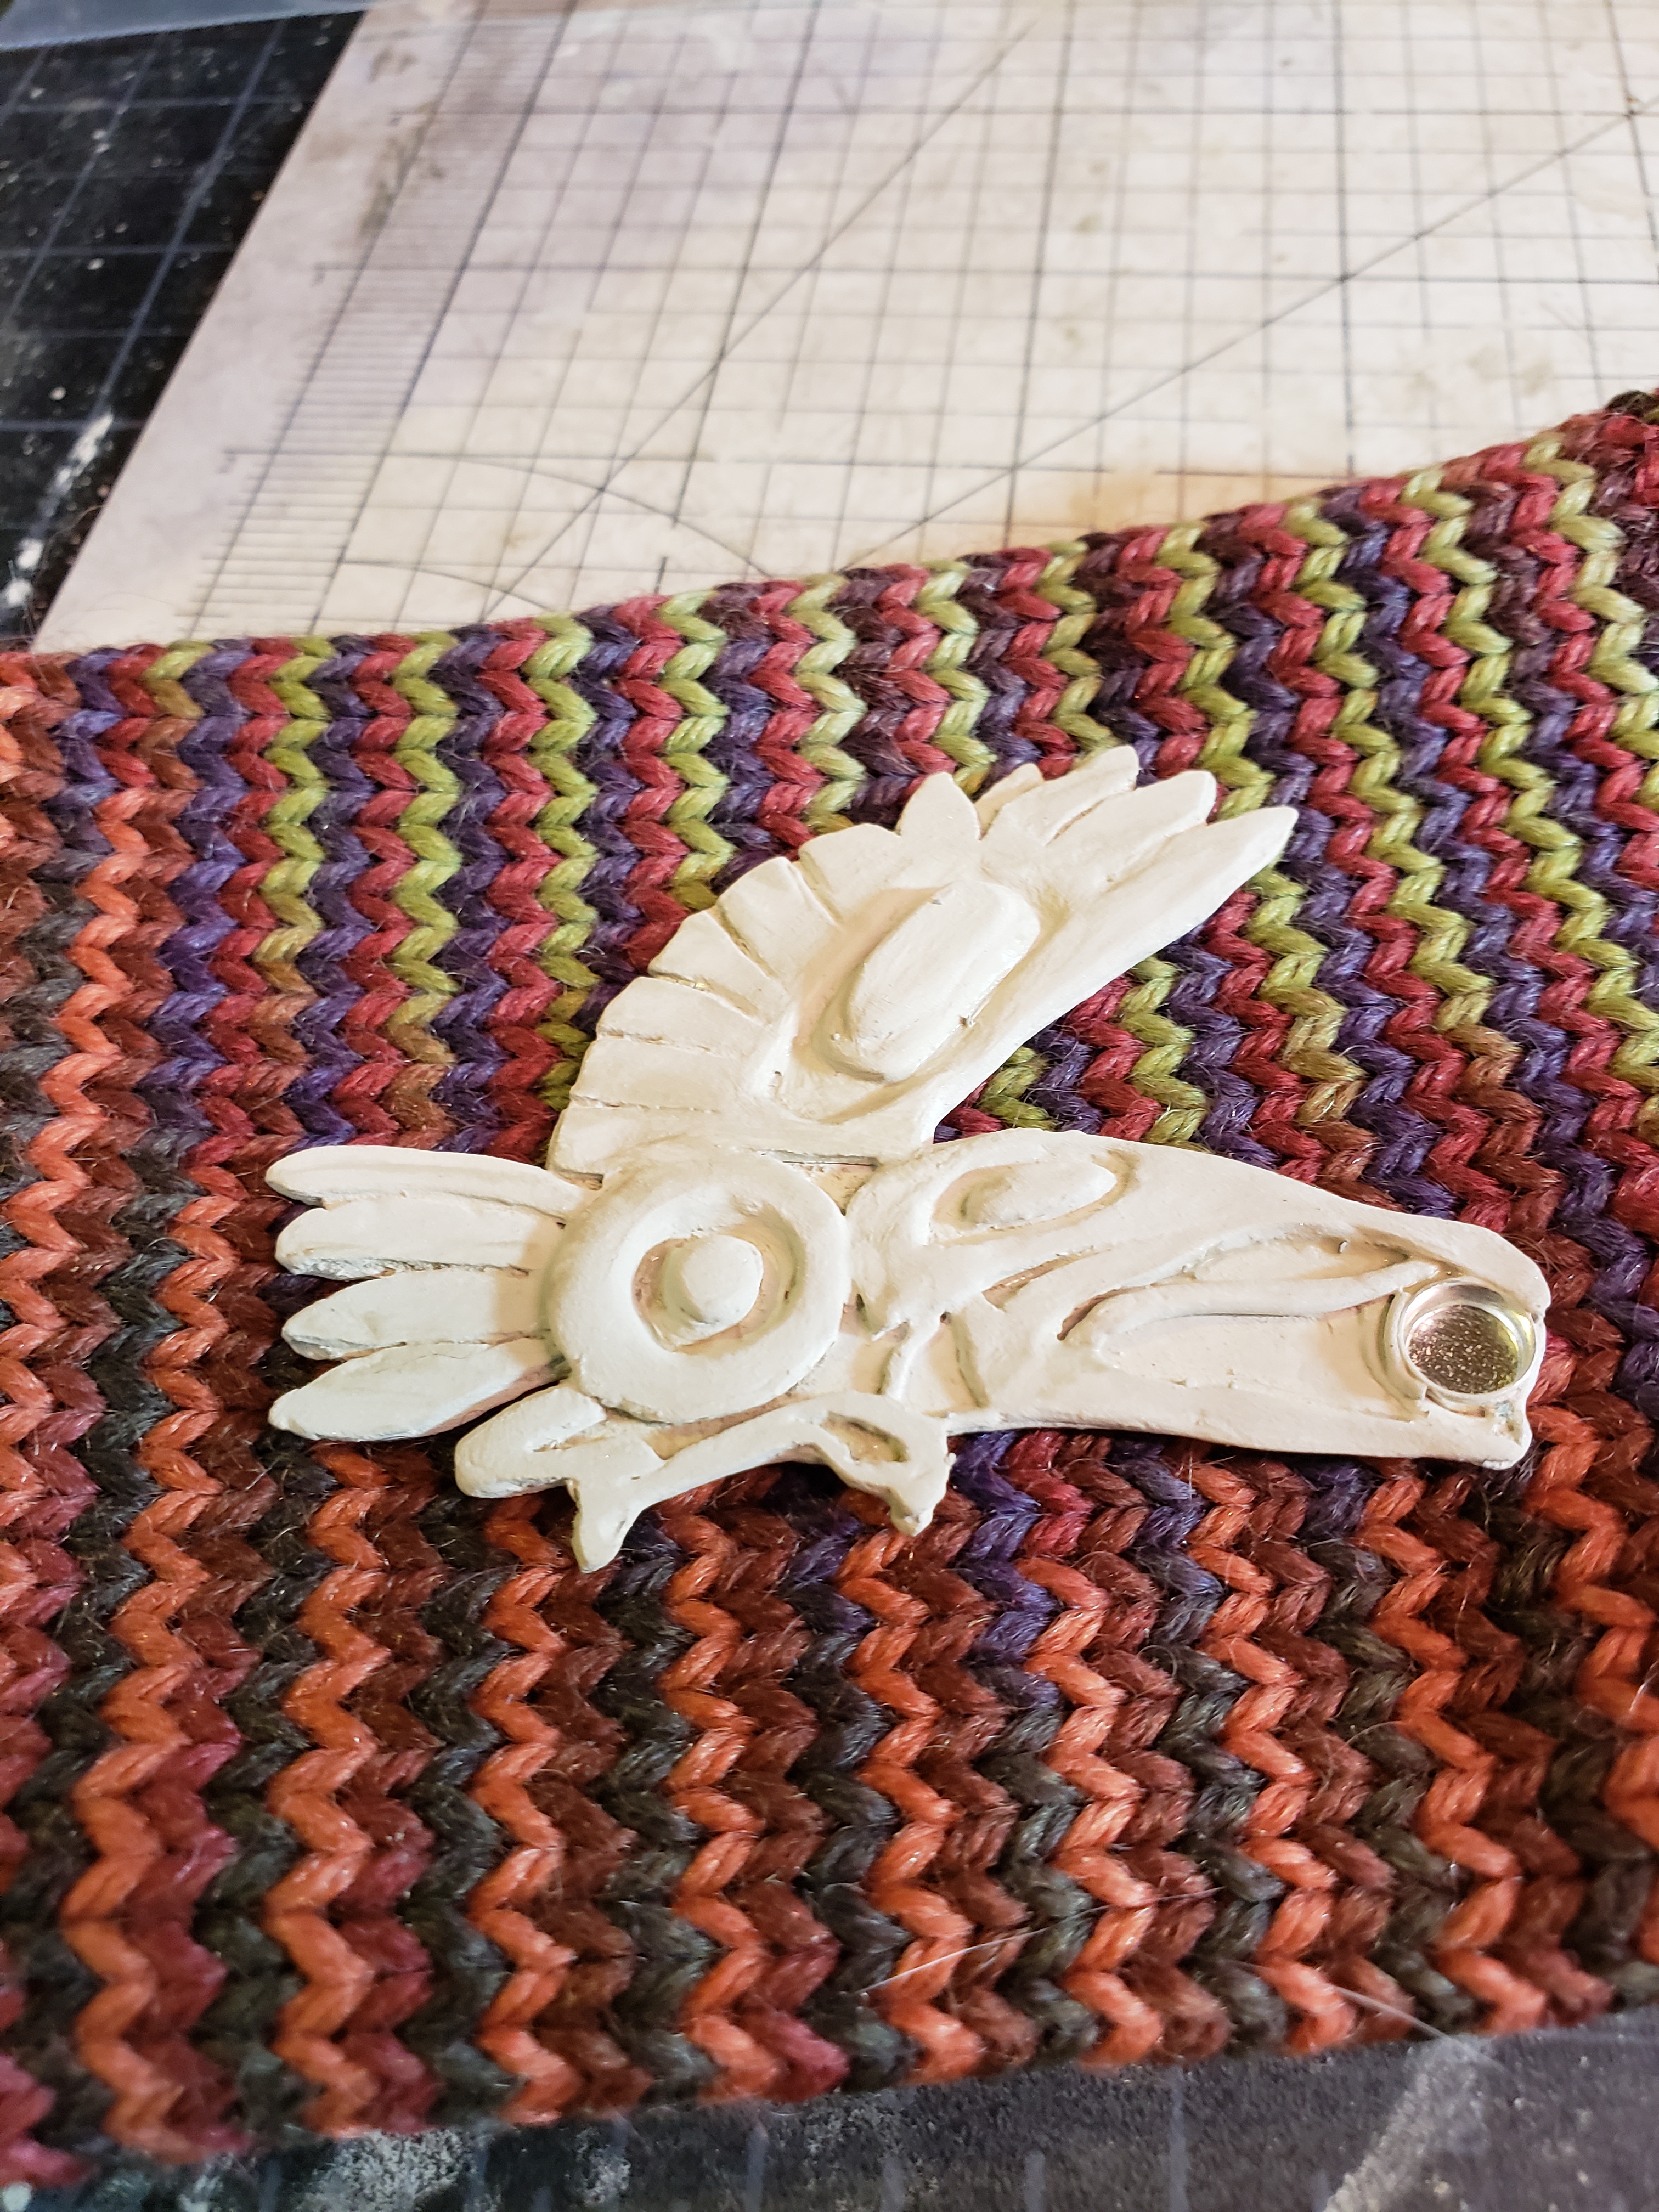
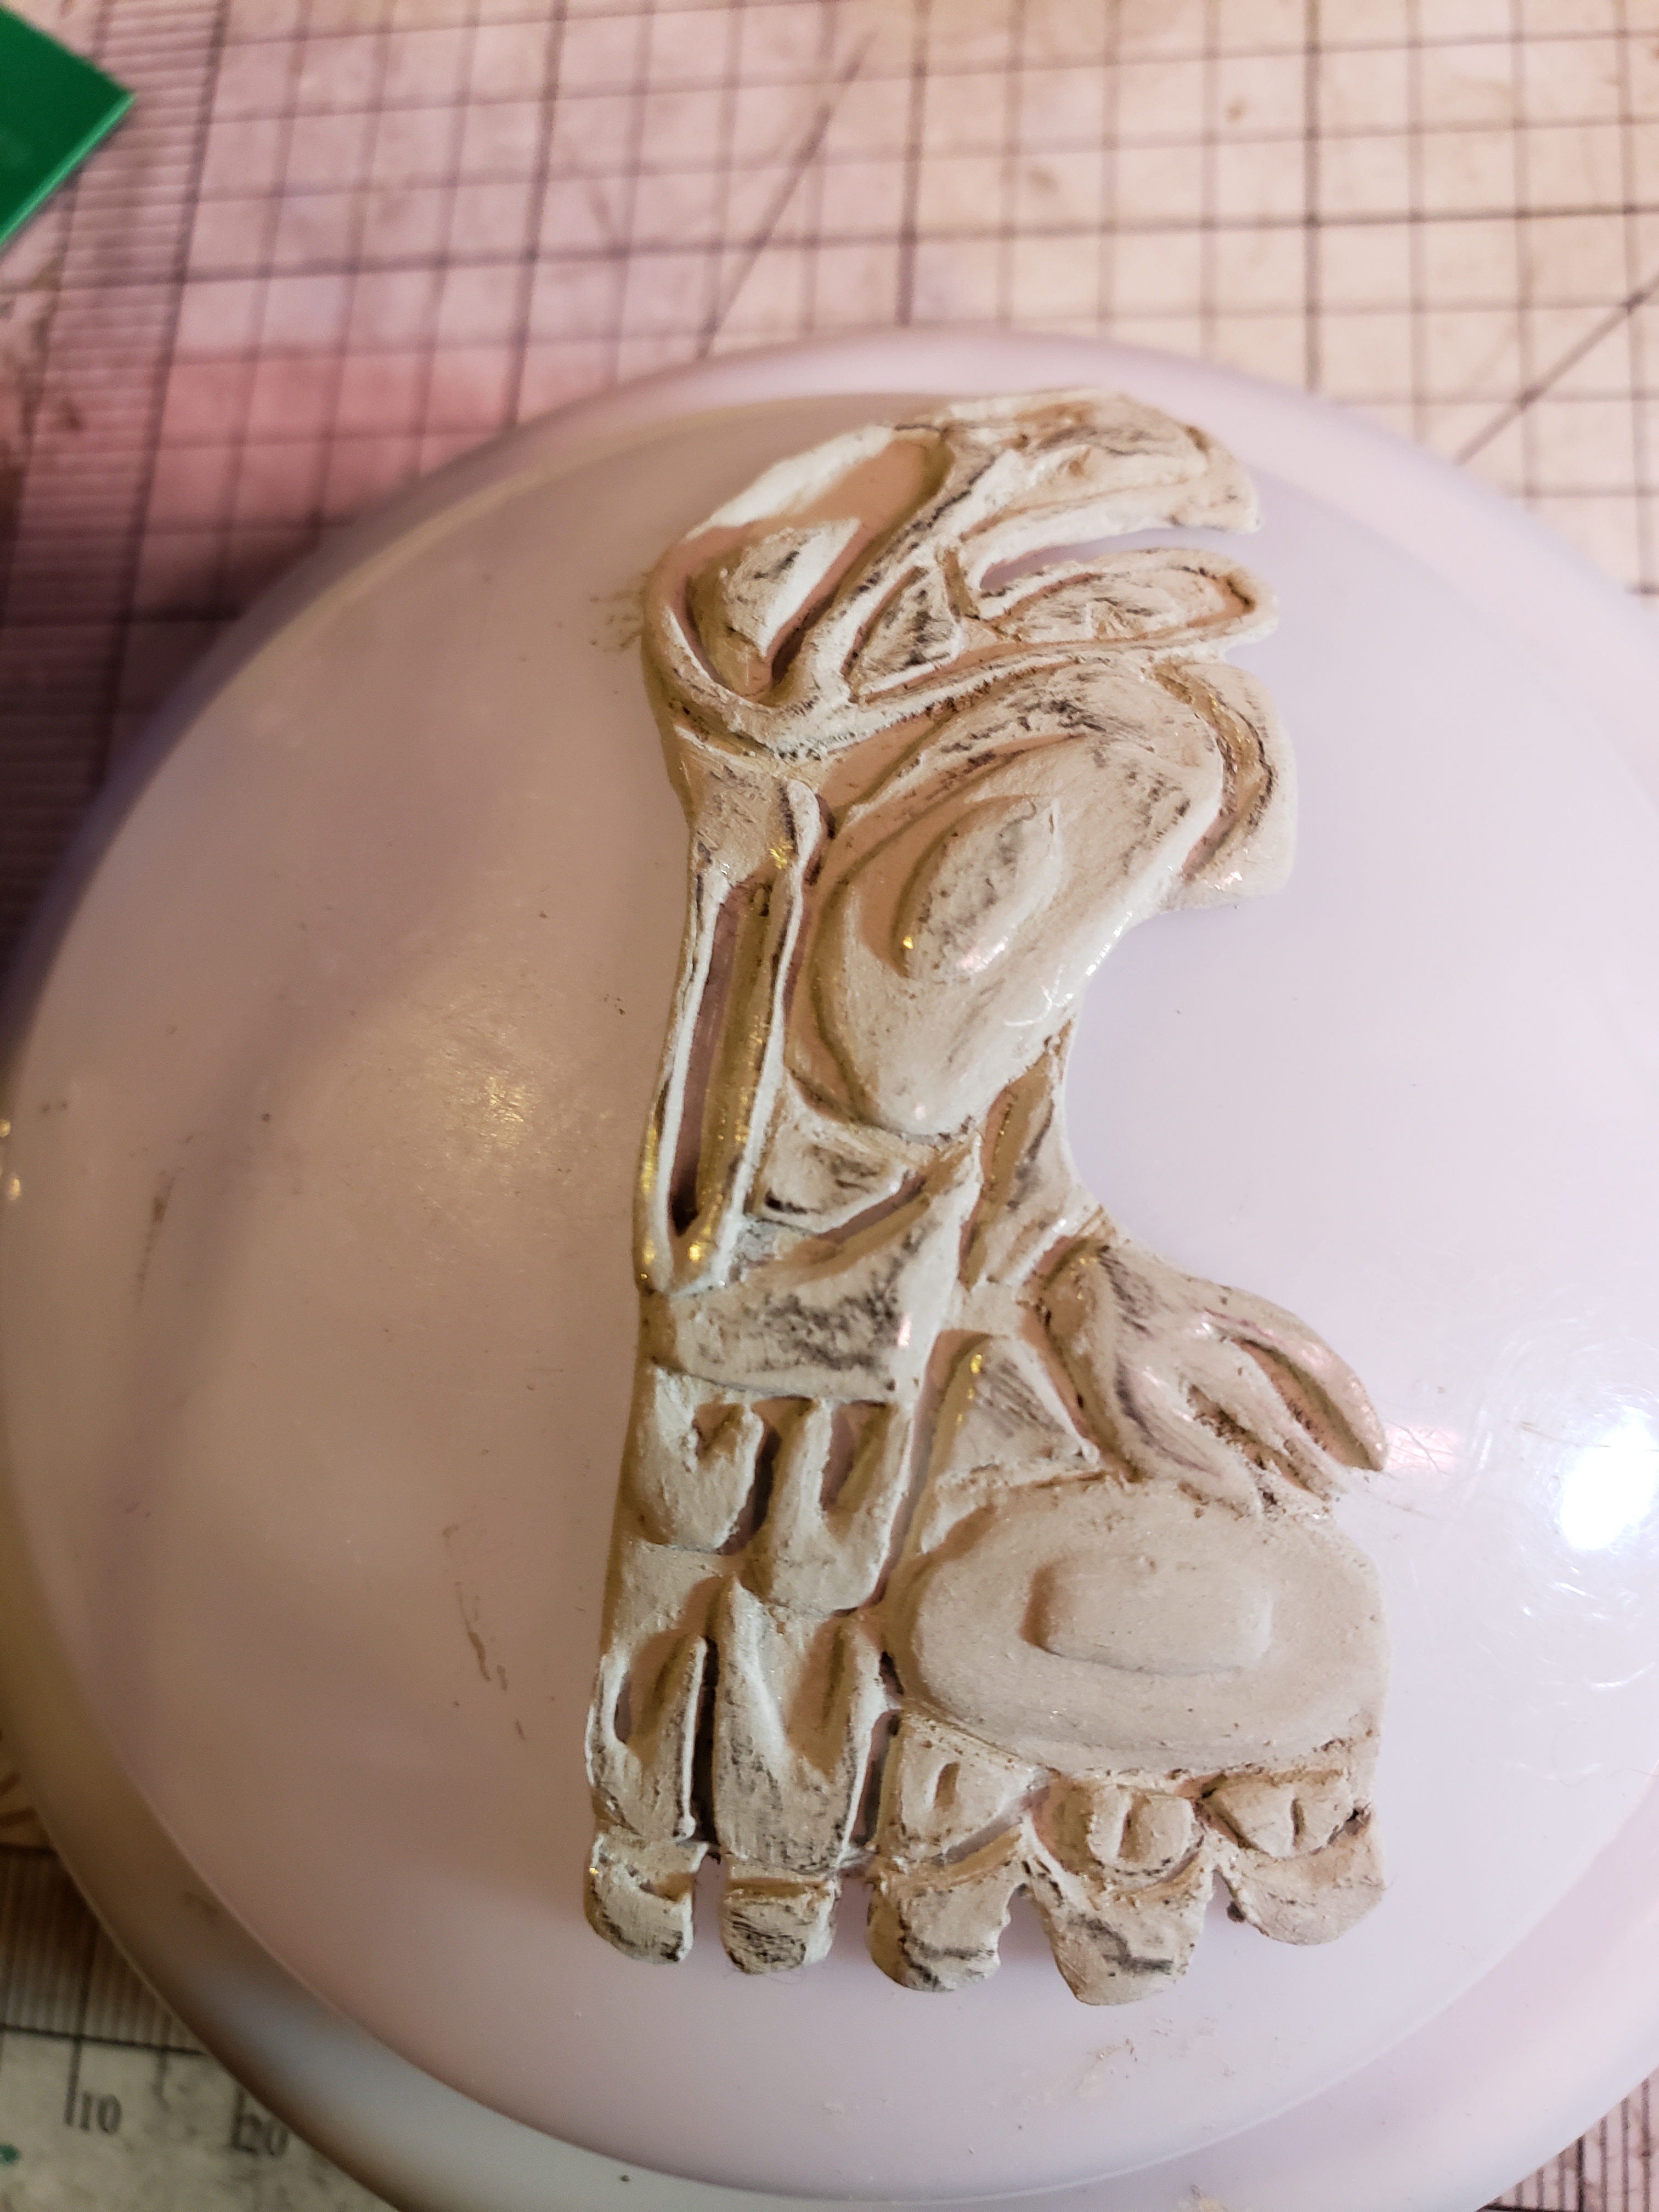
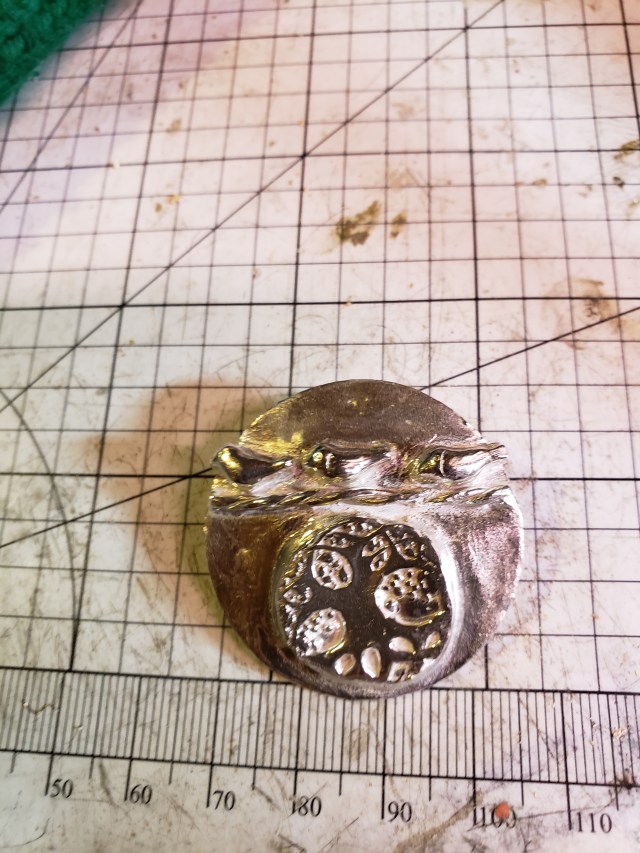
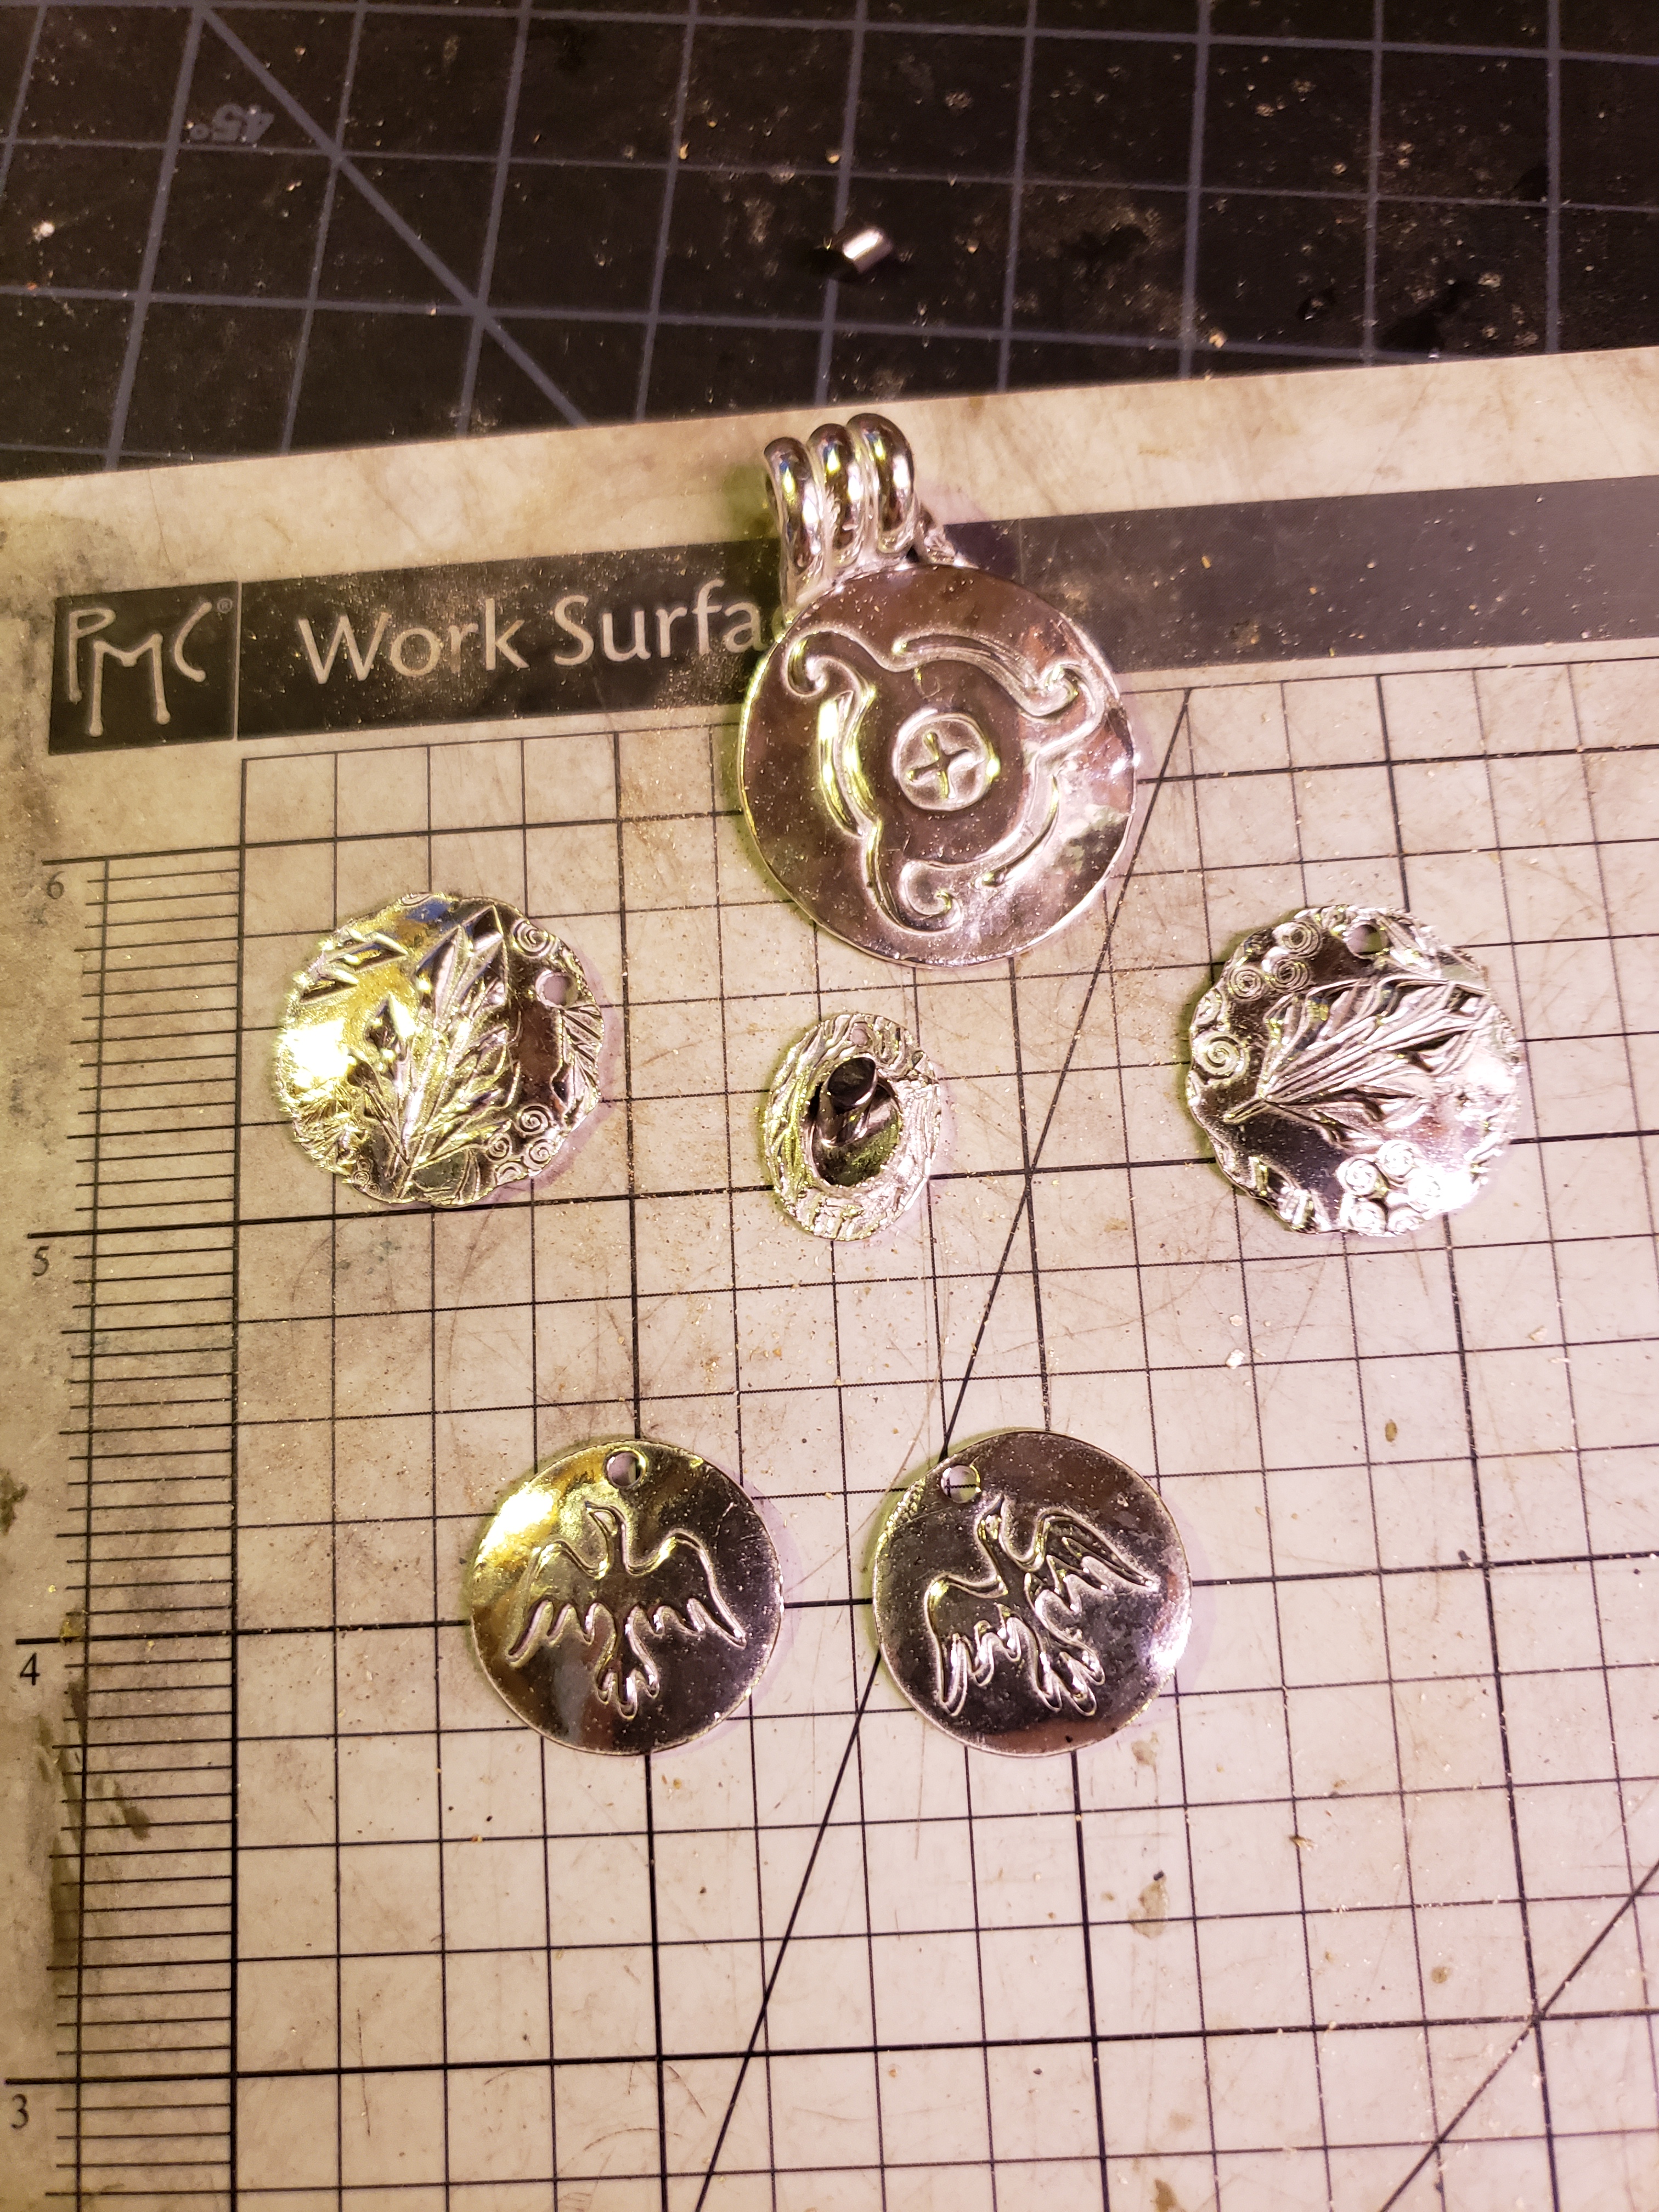
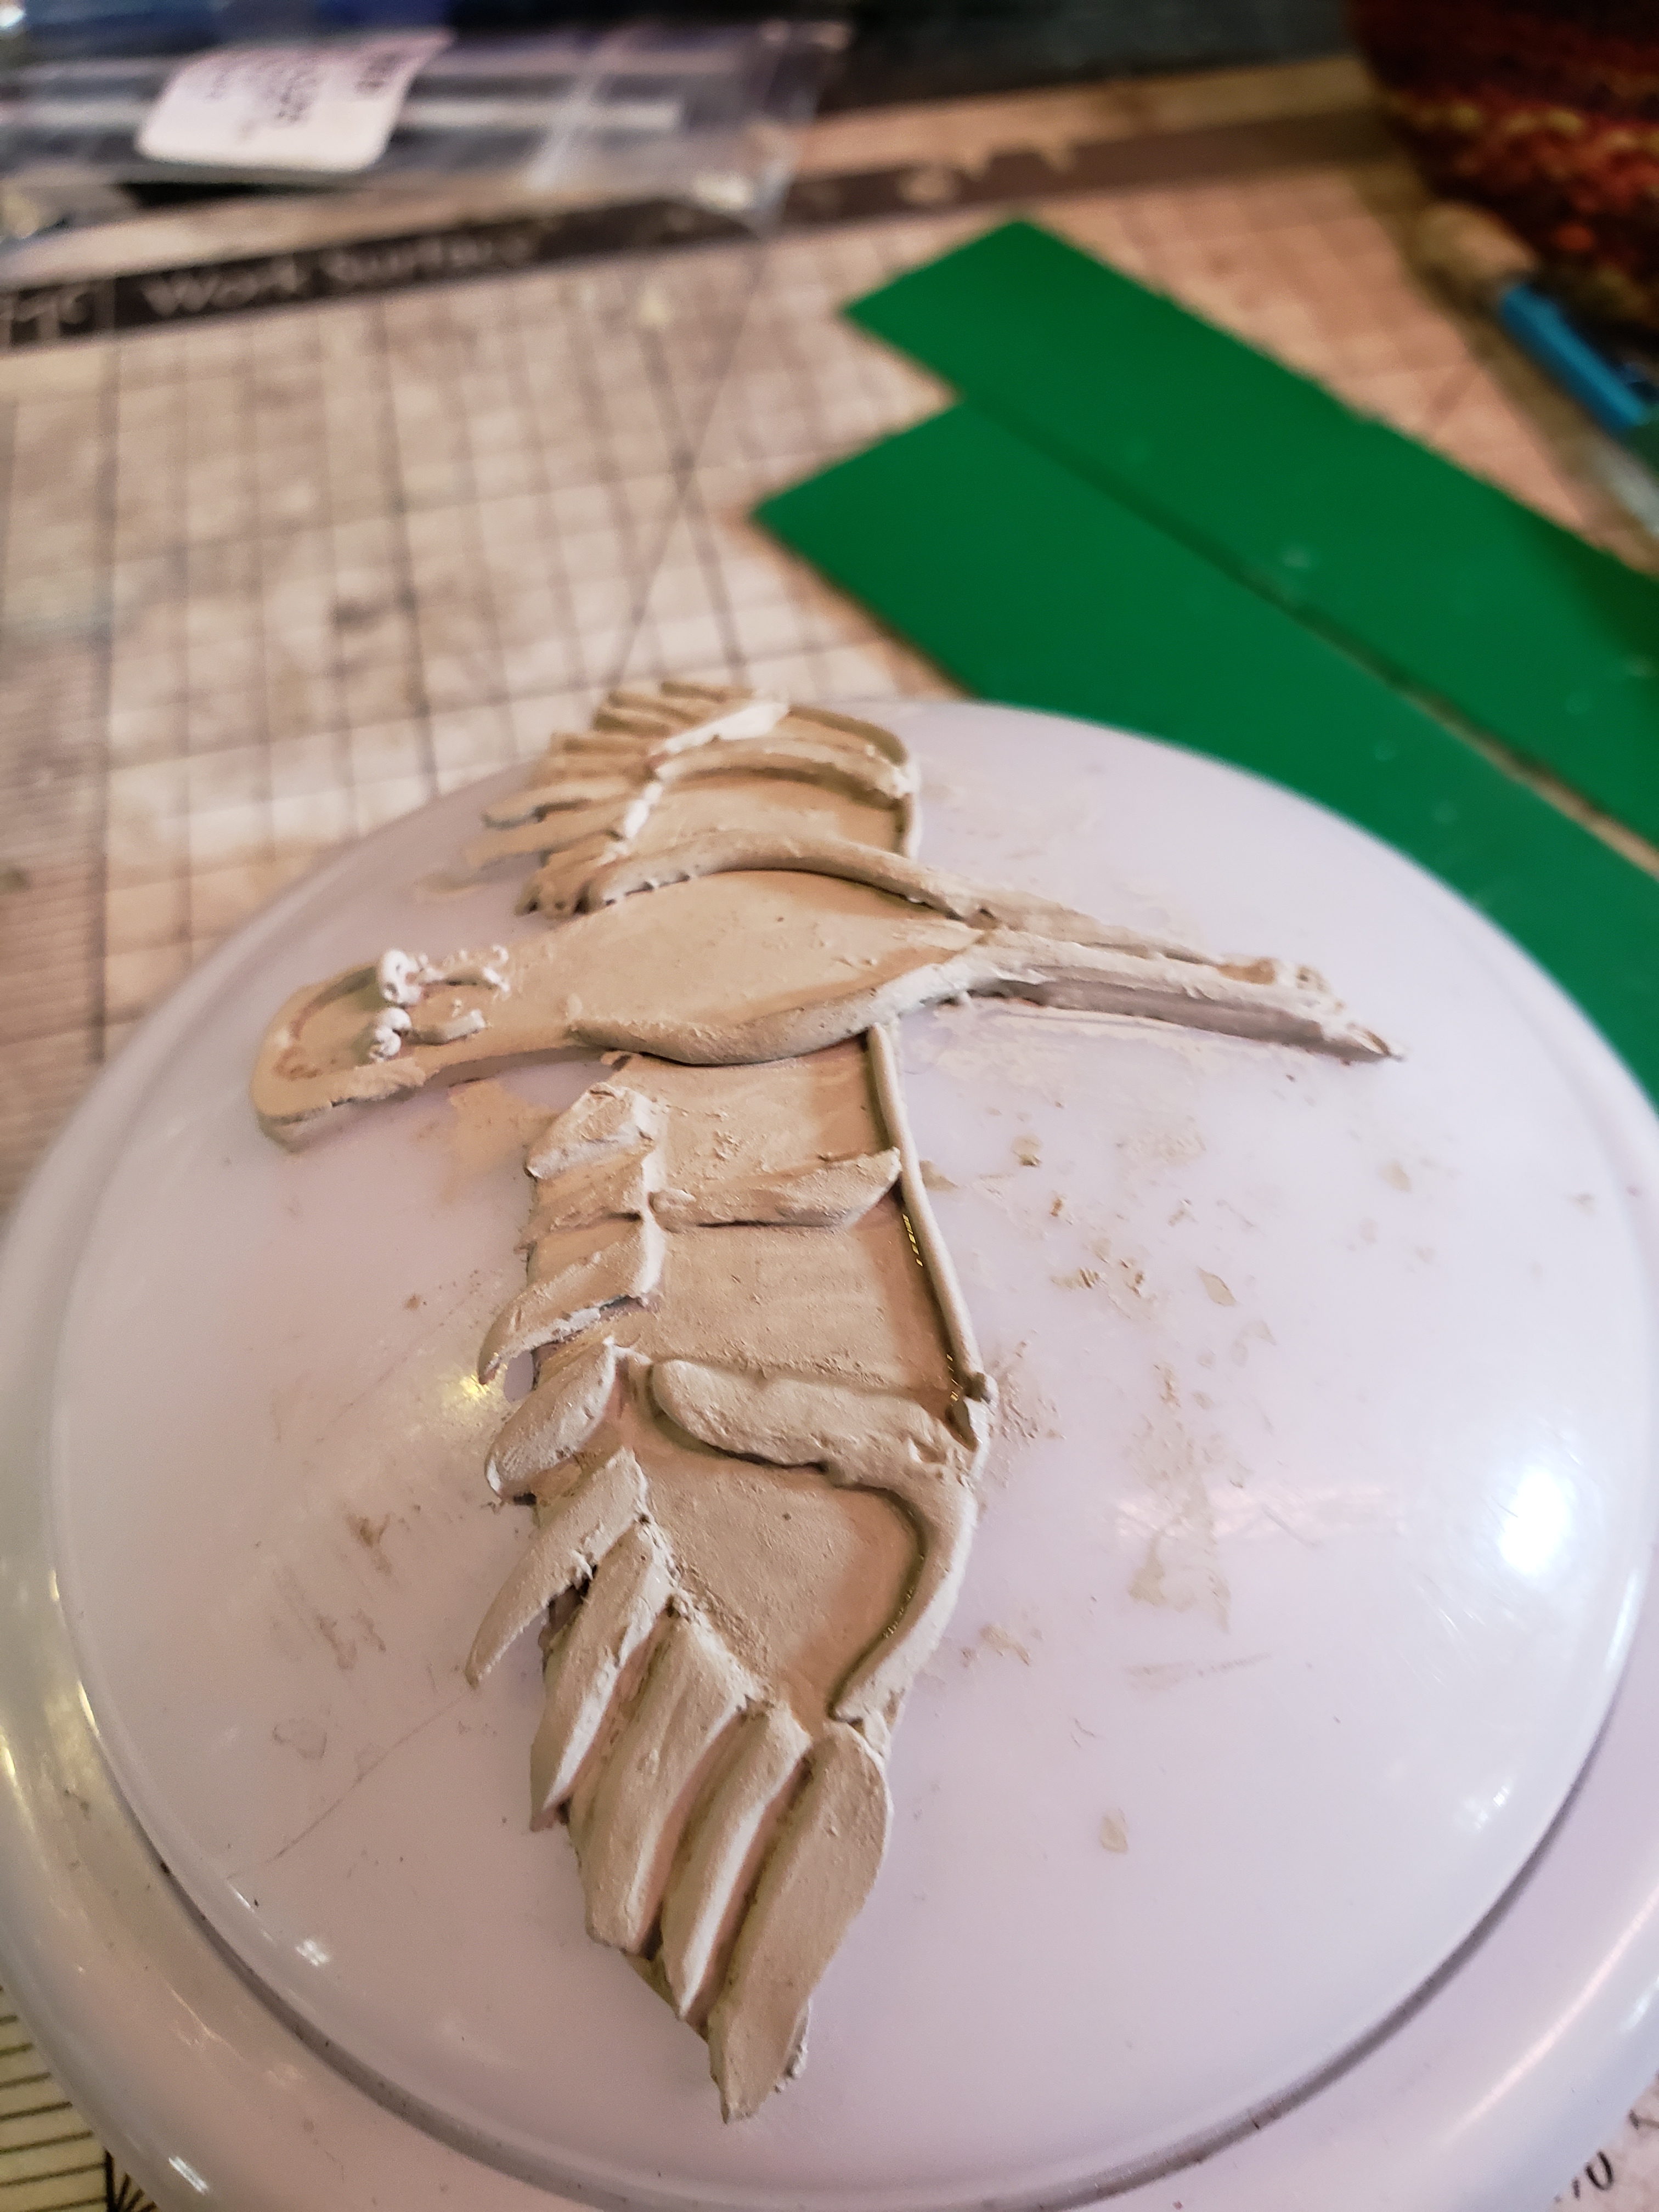
Three of the rounded birds fit across the top of this circle. I cast them in the mold and attached them. To clearly delineate the upper and lower regions, I rolled a very thin rope of clay. Doubling it over on itself, I let it spin slowly. This produced a nice ‘spiral’ effect that I could place beneath the birds. I would like to have sculpted a tree, but … no time. I looked at various commercial molds of trees until I found one that both fit the space and had intertwining roots. Since O’Haggerty is an Irish name, I thought the Celtic touch would be nice. Then, following usual metal clay methods, I cleaned up the greenware.

I added a hidden bail and fired the piece. To speed the work along, I crash cooled (there were no glass or jewels which might be damaged). I brushed and tumbled.

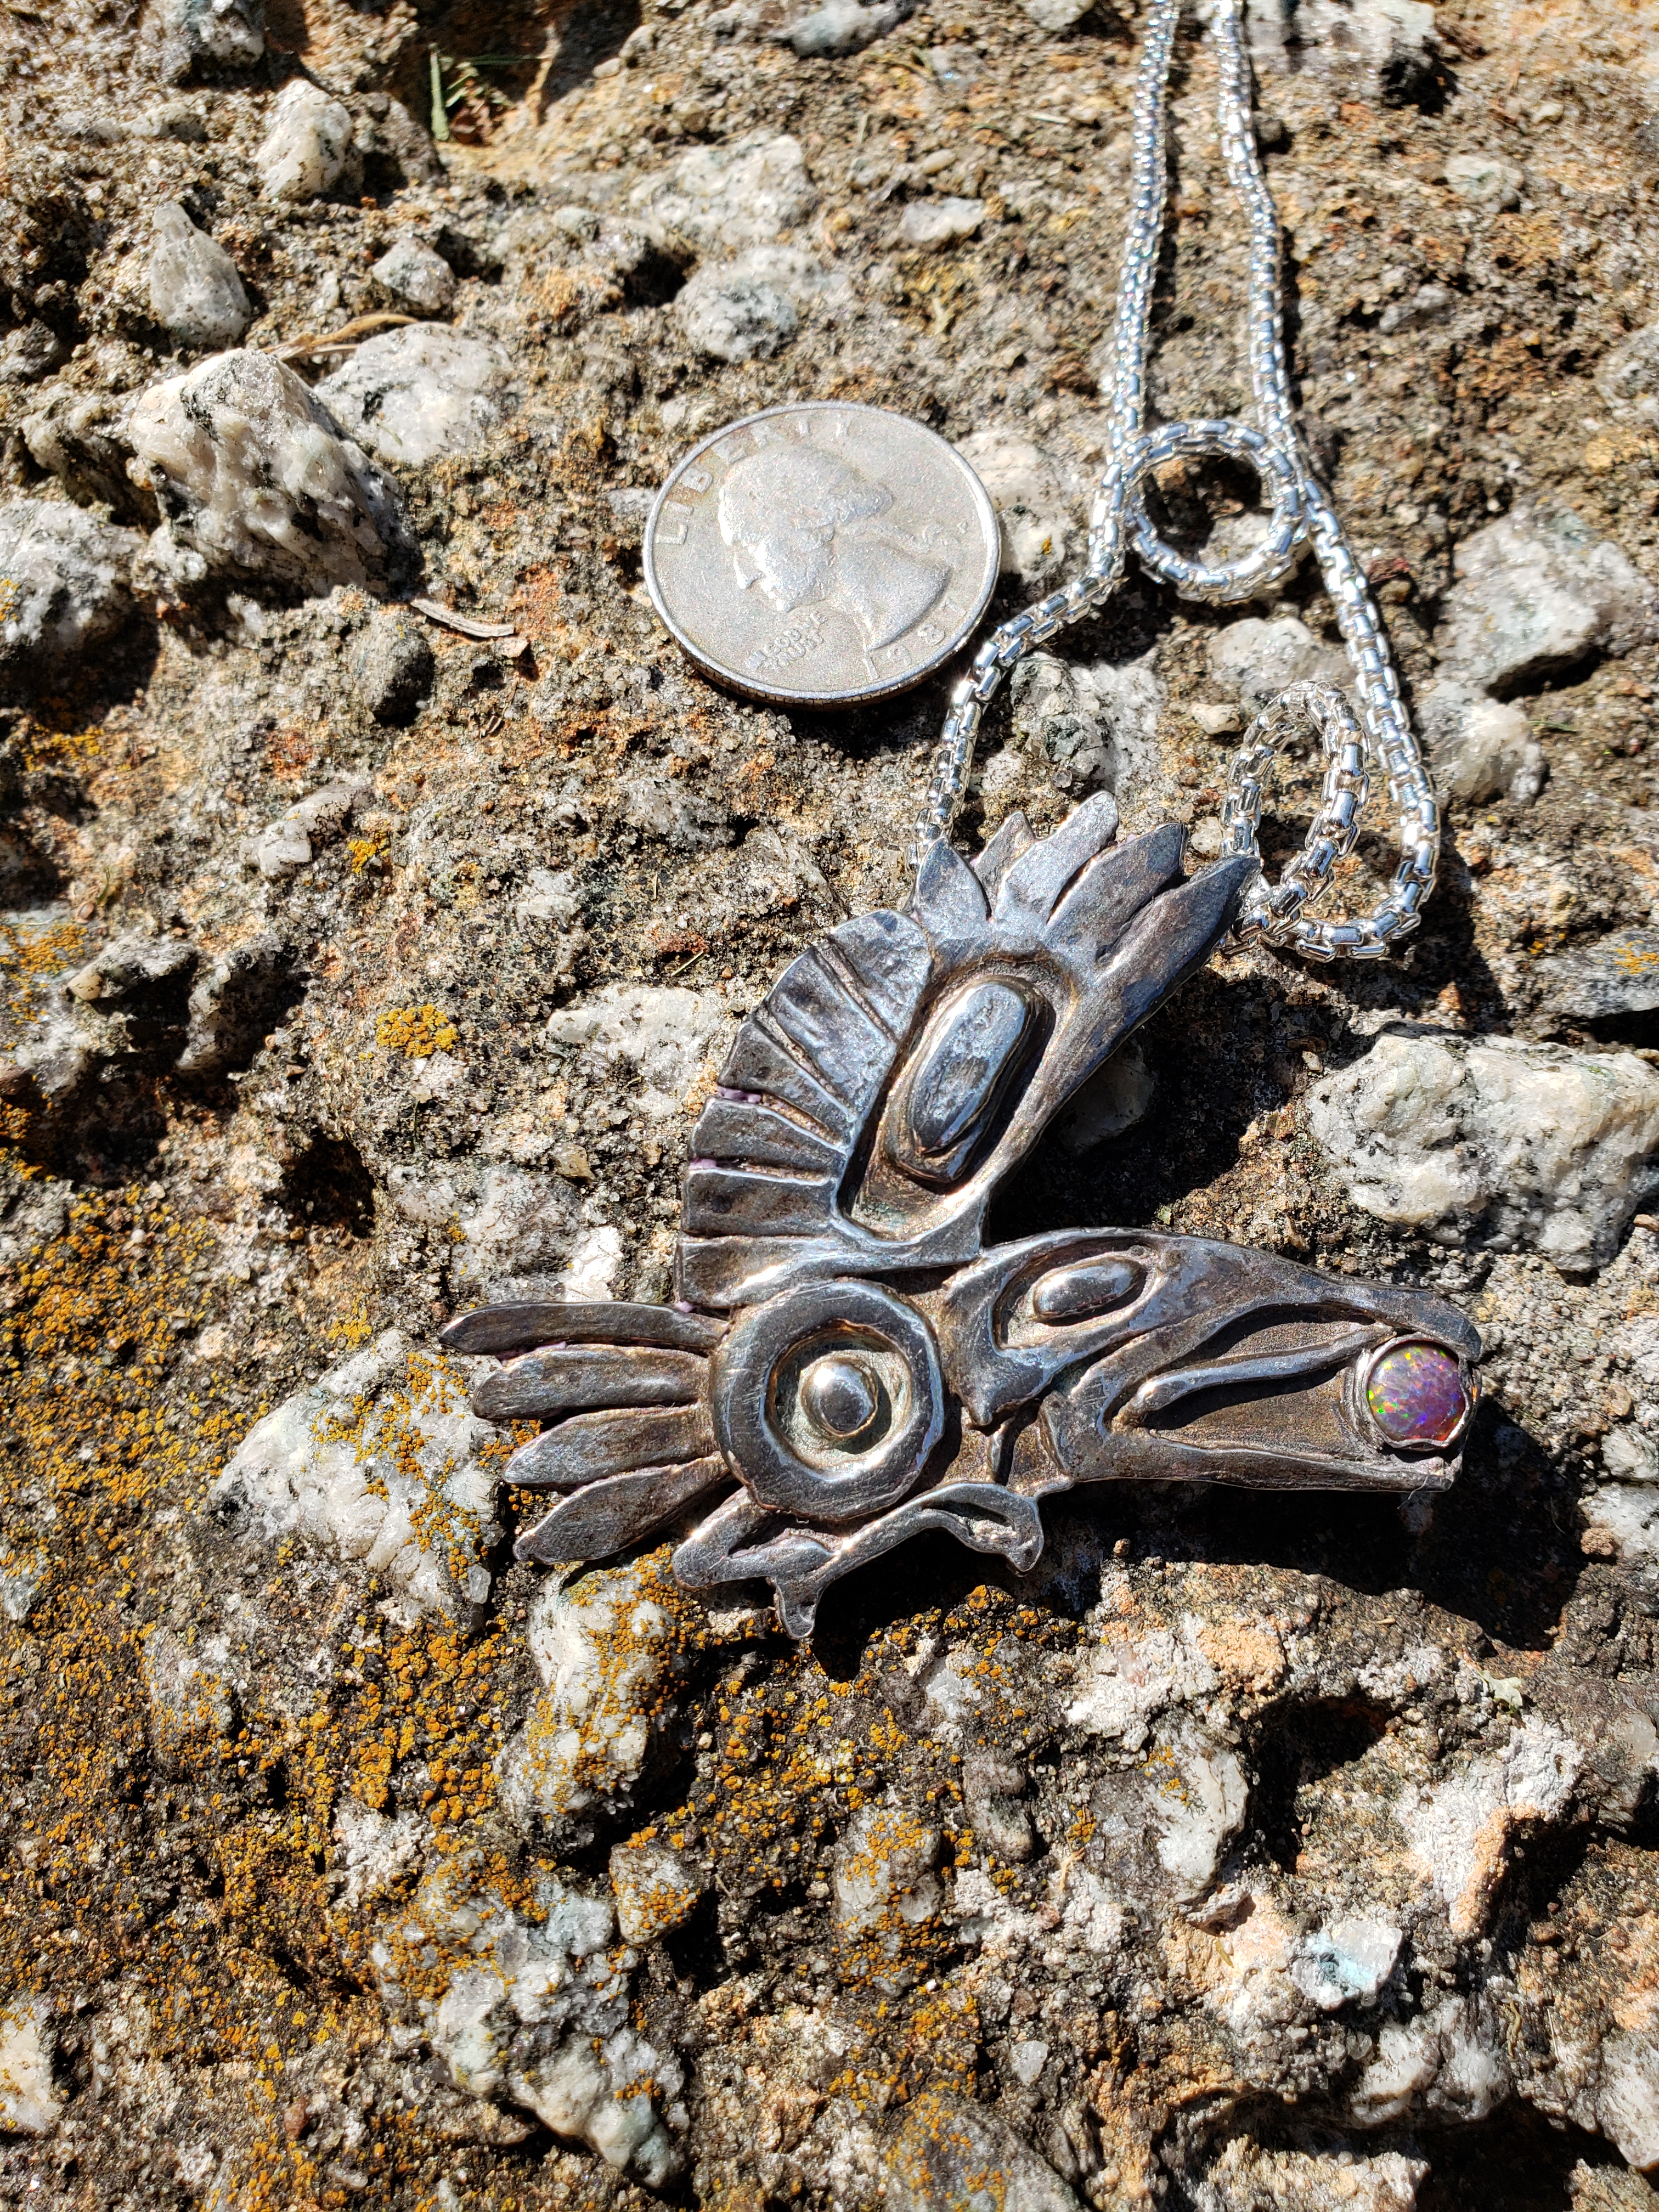
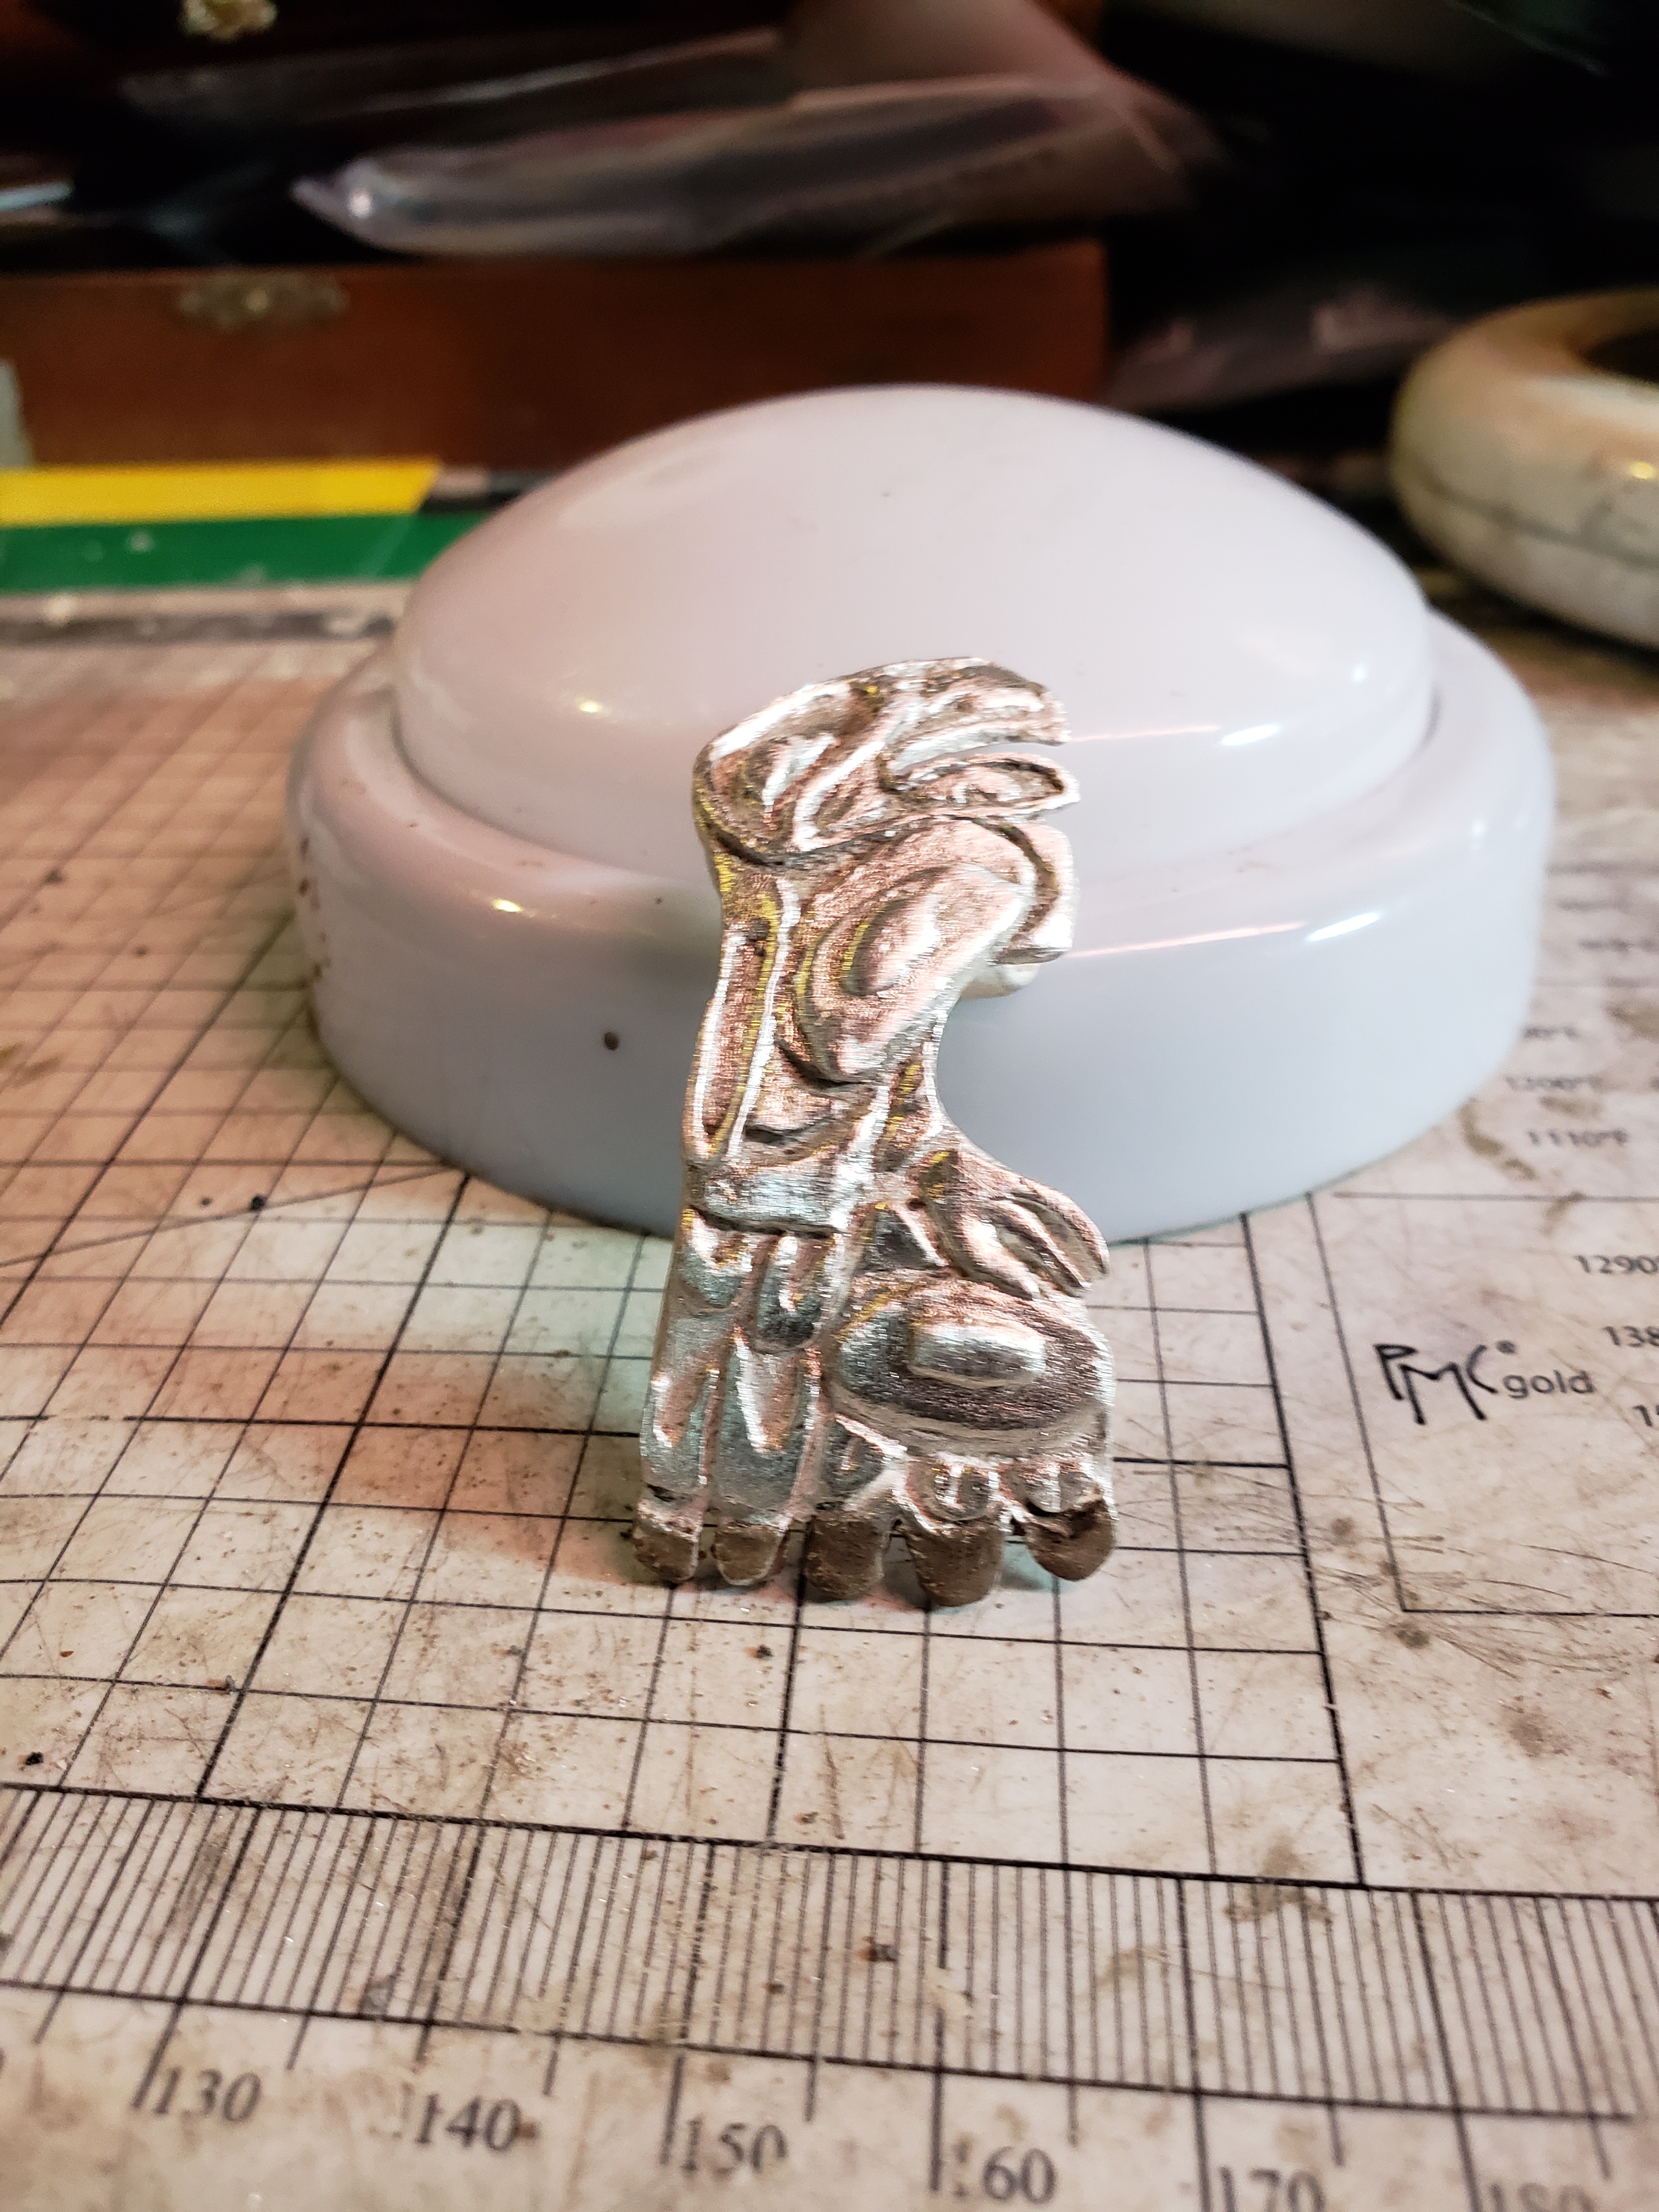
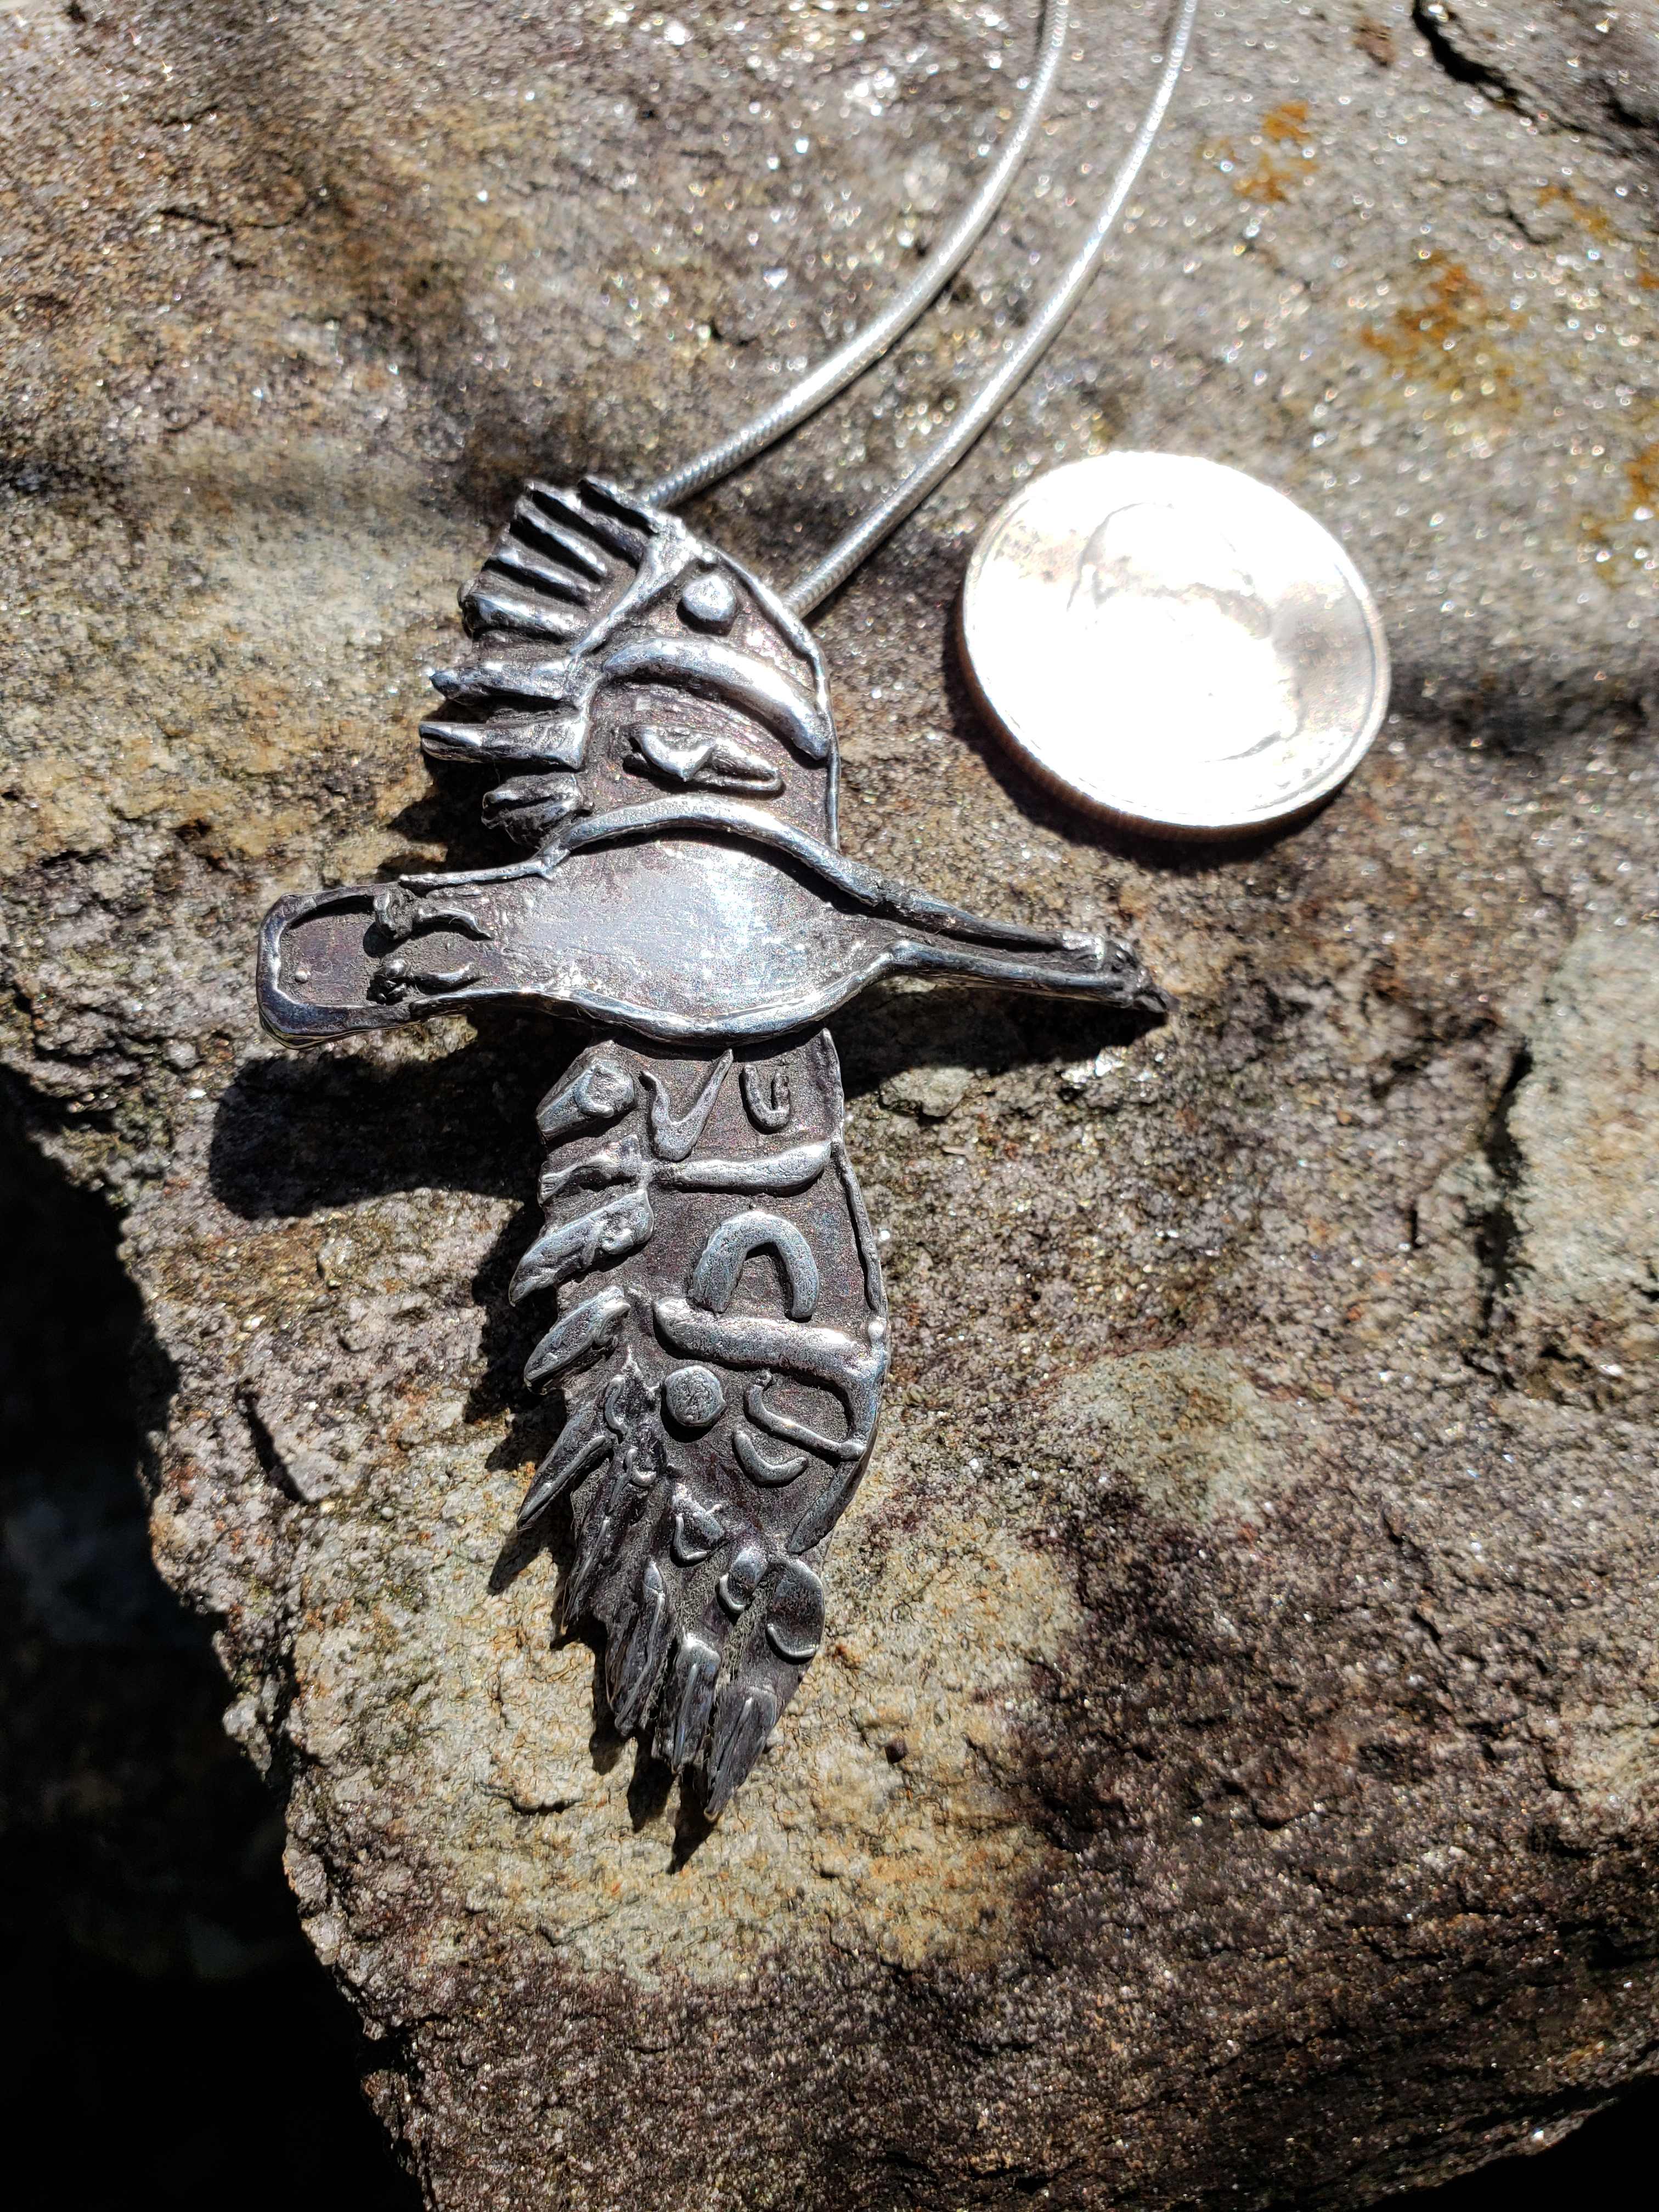
I used Liver of Sulphur to apply a patina. Then, I wiped the patina off the birds and from the tree, using a polishing cloth. Because the lower part of the image was white in the original crest, I wanted to make the part behind the tree as shiny as possible. I sanded the part of the pendant around the tree, making it even smoother (using progressively finer grades of sandpaper and changing direction for each sanding). I then carefully applied silver polish, polishing until the silver was as shiny as I could make it. 

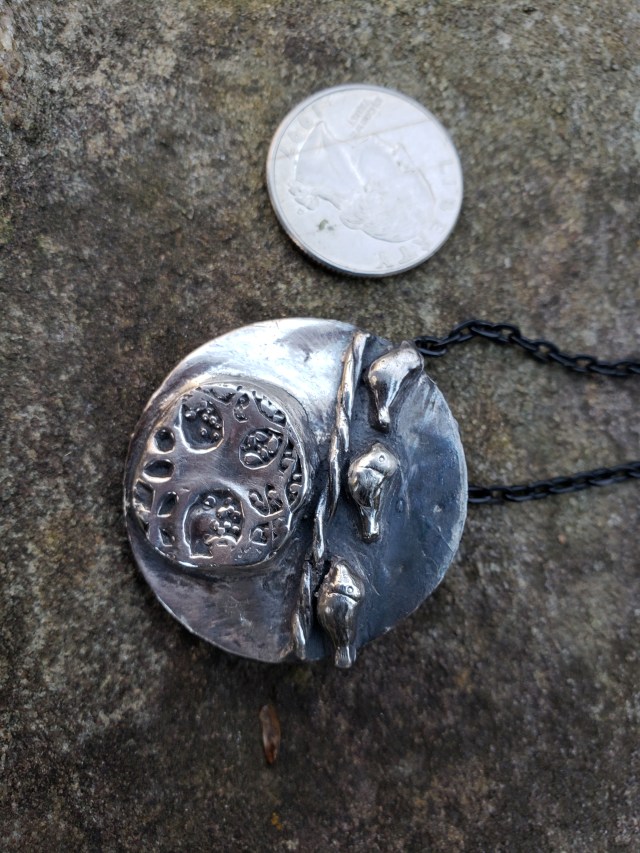
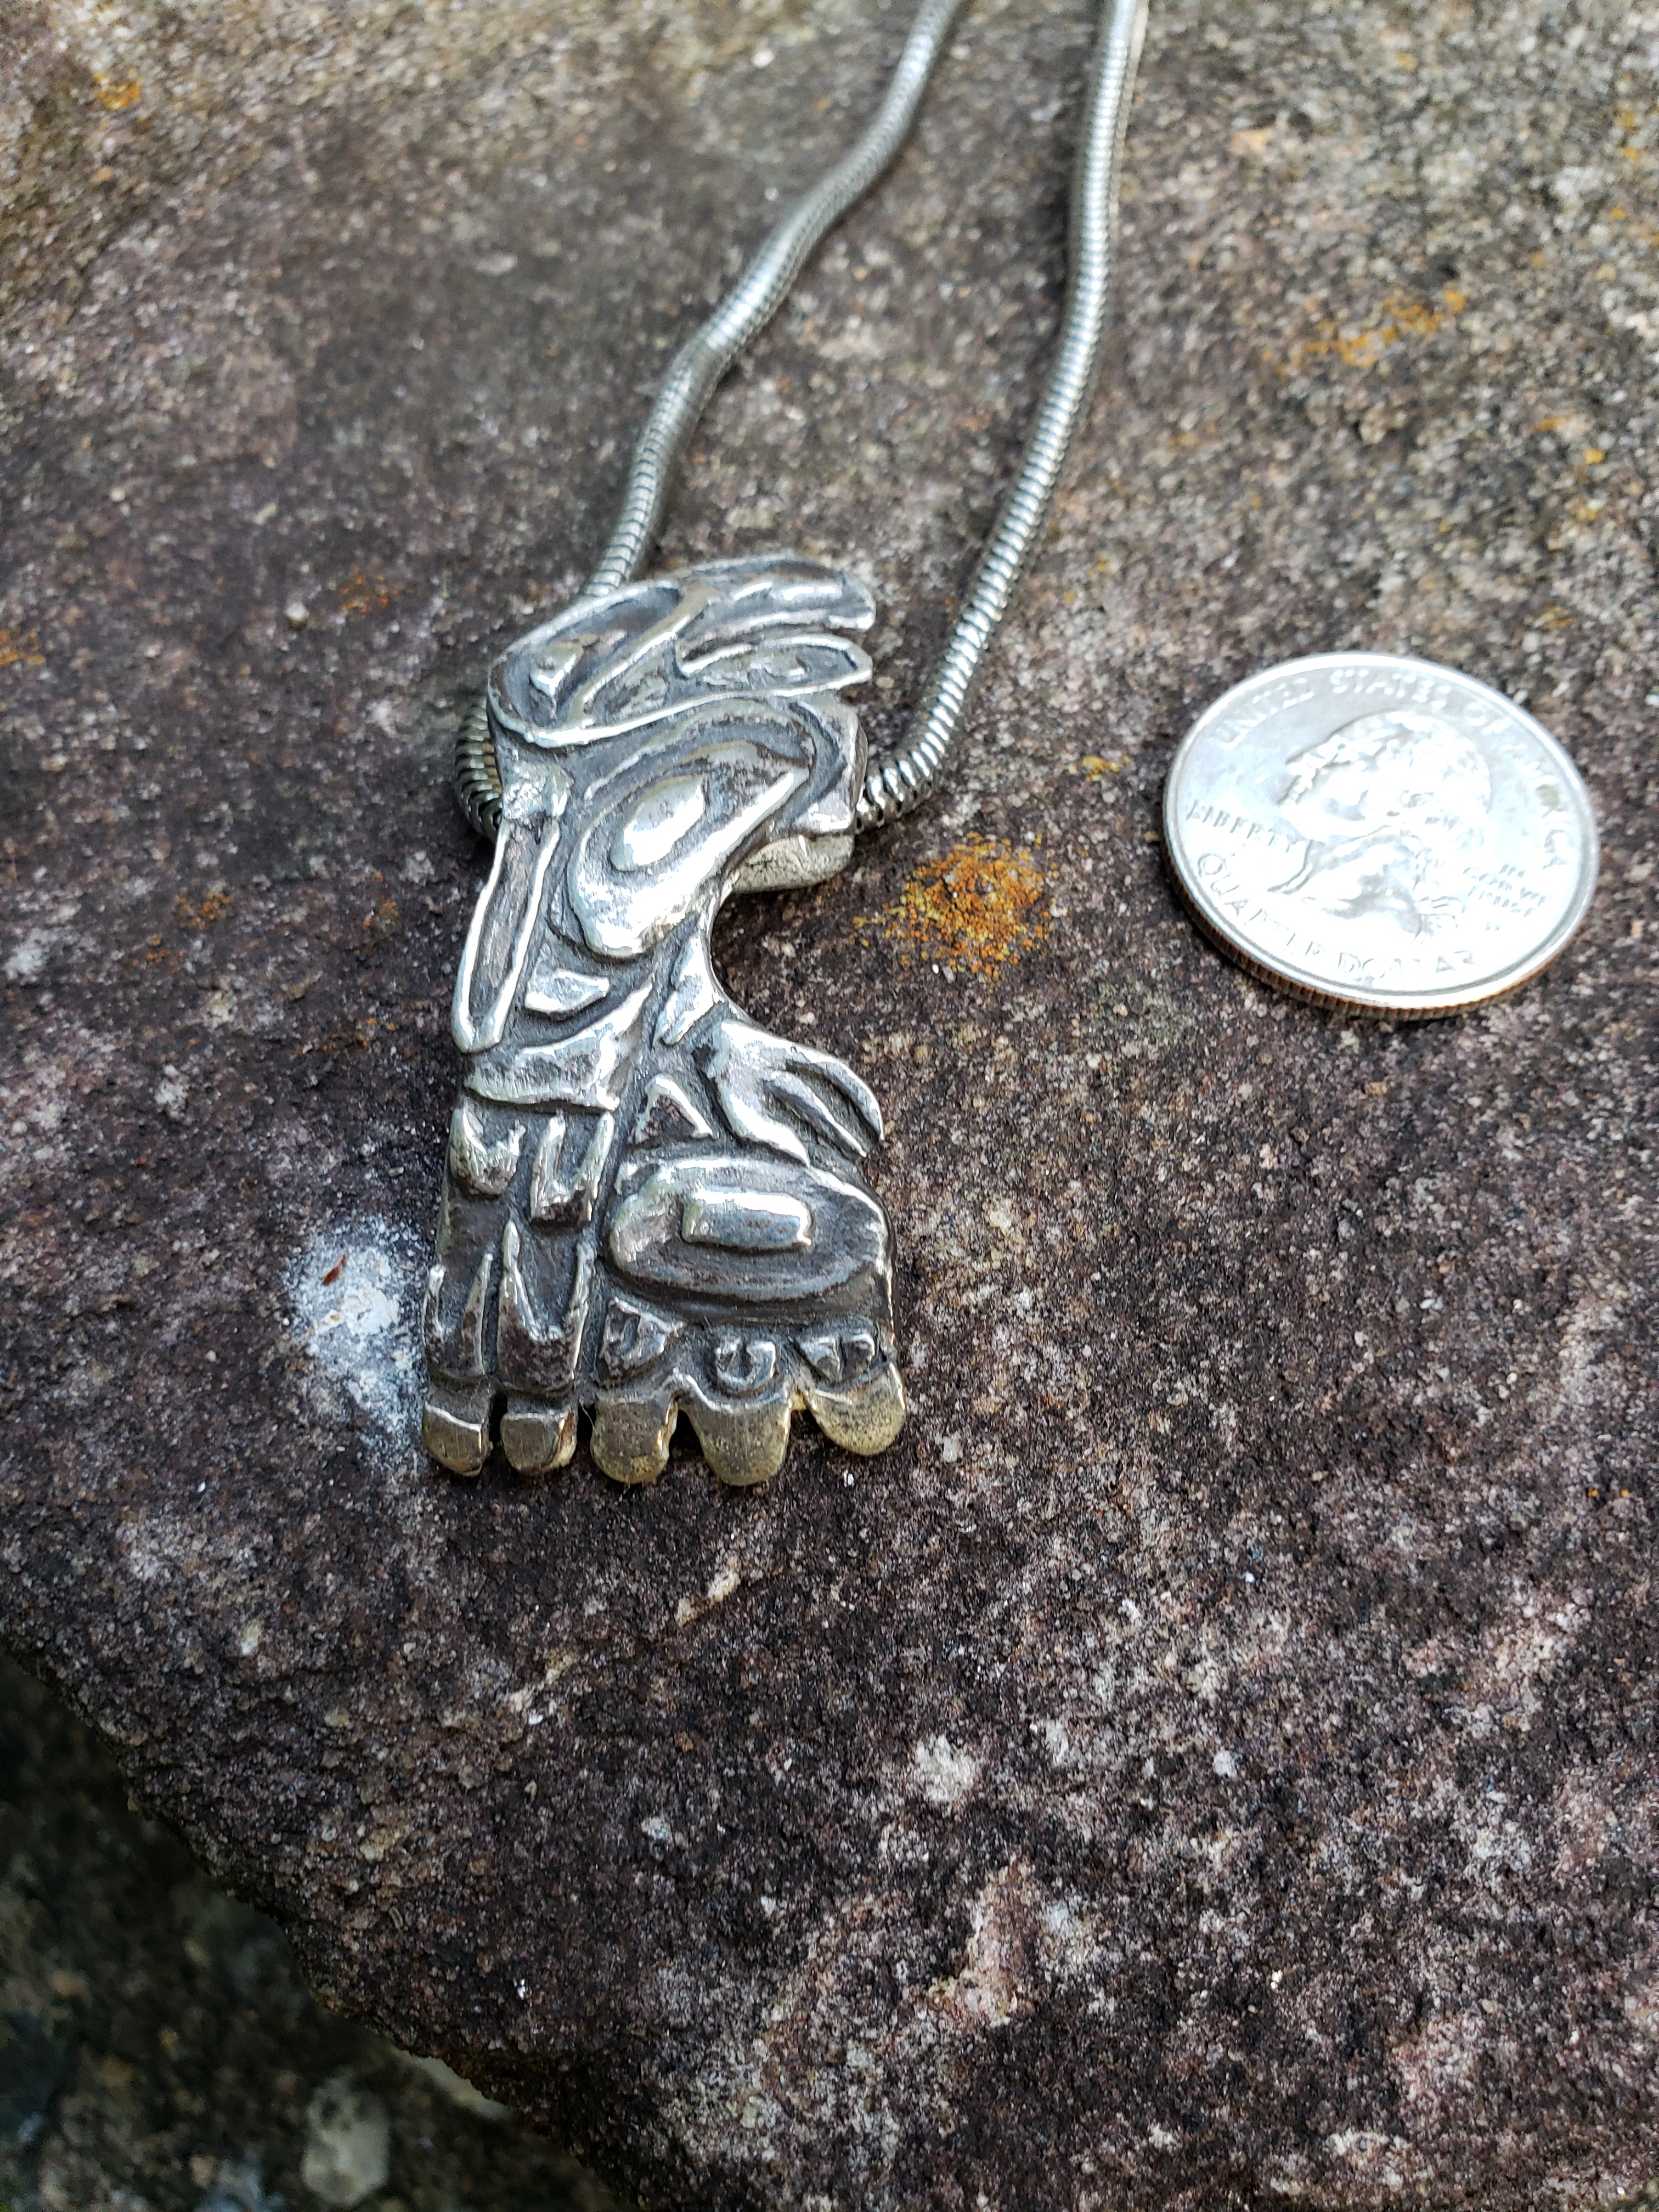
The finished piece, with a coin for scale, appears above.

The moral of this story is ‘if you think you have to turn down a commission because of time, rethink — if the client will accept molded pieces, you can hurry things along.’

I hope I have inspired you to think of ways that, if you need speed to meet a client’s needs, you can find a way to do it.

Brooms!


I spent the last week at the John C Campbell Folk School, in Brasstown NC. On a whim, I did a broom making class. I thoroughly enjoyed it and will probably take another broom making class. However, I did not expect broom making to be as physical as it was. The class ended four days ago, and I am still tired and still have many sore muslces. Broom making  involves a great deal of holding the cords that hold the broom corn onto the broom under tight pressure while one works.

Amazingly, I made twelve brooms in the week. Three of them appear below. From left to right, they are: a besom, or ceremonial broom; a standard floor sweeper; and a cobweb broom, designed to remove cobwebs from ceilings and other difficult-to-reach places. The cat, of course, is inspecting my work. He wants to make sure it meets his standards of quality control 😉

Steampunk Without Gears

TI was recently asked to make a pendant that was recognizably steampunk, that did not include gears, and was fairly small. I was only too happy to take up the challenge.

Other than gears, what imagery says ‘steampunk’? There are top hats and monocles, but I chose to not use those. Octopi are also common in steampunk iconography. I chose to focus on an octopus. I wanted to punch up my octopus with something that said ‘Victoriana’, but was not common. After looking through a great deal of historical images, it hit me — a pennyfarthing bicycle. Pennyfarthing bicycles had a large front wheel and a small rear wheel. That was a place to start. After thinking about it, I decided that I needed an octopus riding a pennyfarthing bicycle.

Historical pennyfarthing bicycles had the seat directly above the front wheel. I decided to move it back a bit, so the image would be less one-sided. I also decided to make the wheel sizes a bit less different than they were historically, so the rear wheel would not be too small to see. The first step was to make a background of silver clay and add wheels.

20181104_135428

Of course this is greenware, and will need considerable clean-up before it is finished. Following this, I made the rest of the bicycle. The frame and handlebars were rolled snakes. The seat was made from a bit of clay shaped using a clay shaper.

20181104_143404

The octopus body was made by embossing (roll out clay, cover the clay with plastic wrap, put a template atop the plastic wrap, push the template down, trim off the excess) an ellipse. I made the eye by embossing a circle, punching a depression in the middle, and using a rolled snake of clay for the pupil. I gave the octopus body some texture by stippling with a piece of wire.

20181107_194043

Tentacles could be made of rolled snakes that were thick on one end and thin on the other. How to incorporate eight tentacles was a challenge. My solution was two tentacles on each pedal (making sure the ones behind the bicycle line up), two for the handlebars, and two waving wildly.

20181111_093038

Now it was time to do final clean-up of greenware. All the little dings and irregularities could be filed away, filled in with syringe, or smoothed away by (gently) using a damp make-up applicator.

Once that was done, I added a bale and put my maker’s mark on the back. If you don’t have a maker’s mark, I suggest you create one. It is a way to sign your pieces so they can be recognized as your work. You can either make your mark something easy to carve (like I did) or you can have a stamp made of it.

20181113_185413

The piece was then fired, brushed, tumbled, and patinaed. I chose a very light patina. The coin is for scale.

20181121_143921

I titled this piece ‘The League of Octopus Wheelmen’, ‘wheelman’ being a Victorian term for bicyclist.

The person I made this for wanted silver. Also, the person I made this for had no qualms about me making copies of this of other metals and selling it. Since brass is popular with the steampunk community, I made a mold of the piece.

20181121_135908

I have not yet made brass copies for sale, but I intend to do so.

When one designs jewelry for a specific market niche (like steampunk), one needs to stay within the confines of that market’s imagery. However, the more original one can be, the less competition one will have. When designing for a particular market niche, I encourage you to think creatively. It will help you sell and create a striking piece.


Patina: Simple Color on Silver

After the migrating snow goose, I felt like doing something simple. To make it a bit more interesting, I thought I would add color with Liver of Sulphur (LOS). I’m going to take this opportunity to discuss how one puts color on silver with LOS.

First of all, LOS can turn silver (or most other metals) black. However, with silver, LOS can also be used to provide other colors. To produce a solution that will induce color on silver, add a pinch of salt, a dash of clear ammonia, and LOS to warm water. I give no proportions because, in my experience, controlling proportions and temperature does not give you as much control as you would expect. In short, colored patina really seems to be up the to will of the patina gods.

A quick dip will give a gold-like appearance. A bit more than that will yield a bronze/brass color. A long soak will yield gun-metal gray, and a slightly longer soak will yield black. In between, one can get blue and purple. Very occasionally, red or turquoise will appear.

For my example, I start off by showing you some simple pieces just out of the tumbler.

20181021_095636

The pendant in the middle has a bezel cup.

I gave the earrings with the birds a very quick dip (gold). The earrings with the botanical design got a longer treatment (bronze). The pendant with the geometrical design got a longer treatment (purple). The very small pendant got a longer one still.

20181021_101443

Because the person I was making these for likes ‘shiny’ jewelry, I removed most of the patina with a polishing cloth. That leaves the pieces very shiny, while, leaving the patina in crevices. I put a moonstone in the tiny pendant, letting the pale stone contrast with the dark background. The result appears below:

20181021_104215

One warning about LOS-based color on silver: the patina is not static. Eventually, the color will change. Sometimes the change is for the better, sometimes not. However, I have had patina colors remain unchanged for years. And, if one is not happy with the color, one can remove the patina by (assuming no gems) a quick trip through the kiln or (if there are stones) lots of rubbing. Then, one can patina again.

I encourage you to experiment with LOS and colors. Maybe, with luck, you will even achieve the elusive turquoise 😉

Migration: A Southeast Alaska Style Snow Goose

I have been doing quite a bit of work in the style of southeastern Alaska art. I was recently asked to create a migrating snow goose. I want to detail how it was created, and how you can create your own similar work.

20181014_134106 (002)


The first step in creating anything in the southeastern Alaska style is to create (or use a copyright free image) to work from. Using a copier, resize the image to how large you want the piece to be (allowing for shrinking). You will need several copies of the image. One will be used as the guide, and the others will be used as described below.

You will notice that the style consists of the outline with many stylized decorative bits. The key to producing southeastern Alaskan style art is to use a craft knife to cut out the outline of your image. If you want the piece to be flat, you can dry it flat. If you want it domed, you can dry it on a domed shape. I used a tap light.

20180916_133749

Carefully study your image. You will see that the decorative parts stack. Carefully choose the ones that go atop the outline. Using a craft knife, cut there pieces, one at a time, from your image. Roll out a thin layer of metal clay (thickness depends on how you like to work — thinner is harder to work with, thicker makes the piece heavier and takes more clay). One at a time, cut the decorative pieces out and, using the original image as a guide, place the pieces. I said you will need several copies; as you cut out more and more pieces, your original will start to fall apart, and you will need to shift to a different copy.

With the first pieces added, it looked like this:

20180920_153037

Some parts can be done with rolled roped of clay (the neck). Some parts can be done with syringe (the feet). Others will need a clay shaper to get them to be just the right shape. Now other layers can be added. At each stage, keep looking at your original. Keep cutting out pieces as you need them, until you have the entire piece in greeenware.

20180923_145814

20180926_194941

20181004_070725

Like any greenware piece of metal clay, it will need considerable refining. With a piece this detailed, refining can take a long time. Be patient.

To make an asymmetric piece hang evenly, place a triangular hidden bail on the back, with the wide end toward the top.

Firing, tumbling, and applying patina is like any metal clay project — although bulky pieces like this should not be fired with smaller pieces. Smaller pieces might fail to sinter, if mixed with heavier pieces like this.

The finished work looks like this:

20181014_134127 (003)

While you are certainly free to make your own goose, one should not be limited to animal styles. Traditionally, Alaskan art is limited to people and animals. However, if you choose to use the style to make something else, no one is going to stop you ;-). Be creative!

I hope I can encourage you to try creating art in the southeast Alaskan style. It takes care but, if one is cautious, it is not as difficult as it might look!

But I Wanted a Smaller Pendant!

After finishing the piece below, the client decided she wanted a smaller version, and with a moonstone instead of an opal.

20180907_105035I could have just started over. However, there is a better solution. (I sold the piece above, sized as is, to someone else.) The solution to the original client wanting a smaller version of the same pendant was simple. And now, I share the information with you, in case you ever need to do the same thing.

I made the original piece of PMC 3, my usual silver clay. Fortunately, I let the client see the piece before it was patinaed or had the the opal put in place. I knew the client wanted a smaller pendant. And so, before applying patina or the opal, I made a mold of the piece using a two part molding compound. The picture below depicts the mold and the original silver pendant, fresh out of the tumbler.

20180906_182654

FYI Silver Clay is not a brand that I use very often — nothing against it, other than I am used to working with PMC and Art Clay. However, FYI silver shrinks by about 25% when firing. I bought some FYI clay and used it with the mold above. The molded version, in greenware and with a bezel cup attached to hold the stone, appears below.

20180930_102203

It was fired according to package directions (FYI requires a higher firing temperature than PMC 3 or Art Clay silver). It was then tumbled, in the usual manner. The fired and tumbled piece appears below.

20181004_154430

I decided to make the new piece different from the original in ways other than just size. I made a  liver of sulfur solution and added clear ammonia and table salt. This combination can produce lovely colored patinas. However, the color that you wind up with is somewhat unpredictable. At best, one can influence, and not control, the color. This time, the color came out nicely — a brilliant blue with some purple highlights. As the client’s request, I used a moonstone — Raven Steals the Moon, an equally important myth of the native people of south-eastern Alaska.

20181004_160500

As you can see, the resulting piece was about 25% smaller than the original (both the original and the piece made with the mold are photographed with a coin, so you can see the size.) The client was happy. I was happy, because I had sold two piece from what was originally supposed to be one.

So, if you find yourself in the position of needing to make a smaller copy of a completed piece, I recommend the following steps: using two-part molding compound, make a mold; use a clay that shrinks considerably with the mold, and make a copy; finish, fire, polish, and patina the resulting piece as you would any work in metal clay. Who knows? Maybe you, too, will be able to sell two pieces when you intended one 😉

RAVEN STEALS THE SUN

The native peoples of Southeastern Alaska have a unique artistic style – animals, often with exaggerated features, with their forms filled with stacked ovals, u-shaped filigrees, l-shaped filigrees, and other geometrics. Even if you think you are unfamiliar with it, you have seen the style if you have ever seen travel posters for Alaska. Fortunately, this style adapts extremely well to metal clay.

One of the best-known myths of Southeastern Alaska is ‘Raven Steals the Sun’. In this myth, Gray Eagle hates people so much that he hides the sun and moon, so people have to live in darkness. Raven, the trickster figure, devises a plan to steal the sun and moon (either together or separately, depending on whom you ask) from Gray Eagle. Raven carries out his plan, and places the sun and moon in the sky.

I am going to describe creating an Alaskan style image of Raven Steals the Sun. Initially, an outline of Raven is cut from 0.75 mm thickness silver clay (I used silver – copper or bronze would work as well, but would require more work to affix pieces together). Note the exaggerated beak – this is both to emphasize the sun that Raven carries and to make the piece more consistent with the Raven masks often worn in ceremonial dances. I used a bezel cup to hold the gem that will represent the sun (red opal). Of course you could use bezel wire, or could use a stone that will fire without damage.

20180819_084757

The geometric infills are then done one step at a time. Most are 0.5mm thick, although some are thicker (some 0.75 mm, some stacked to higher than a mm). A few were embossed, to give them rounded edges.

20180820_182144

20180820_182144

20180825_133850


Afterward, I sanded, fired and tumbled the piece. I decided to make a mold of it, since I had a request for a smaller copy of the same piece. By using a clay that shrinks quite a bit, I could use the mold to make a smaller copy without having to start over.

20180906_182654

I applied a light patina, and polished the raised parts. Finally, I applied the opal to the bezel cup. The coin is for scale. If you are interested in making a ‘Raven Steals the Moon’, a moonstone would be a natural choice. Of course, you can use any stone you like — an Alaskan style human face, in place of the sun/moon, would be in keeping with Alaskan tradition.

20180907_105035

I hope I have inspired you to try some Alaskan-style art. It is a bit tedious, but it is not as difficult as it looks. The admiration that the finished piece usually gets is well worth it.

A Gap in Posting

I have a nice metal clay project in progress which I will post on soon. While waiting for that, I that I would mention some of the activities that have prevented me from posting.

I attended the John C Campbell (https://www.folkschool.org/) Folk School’s annual Scottish Heritage Week. For those who don’t know, the Folk School teaches various arts and crafts in a non-competitive environment. One can accomplish an amazing amount in a week if all one’s needs, other than art, are taken care of.

Scottish Heritage Week is just what it sounds like: a week in which all the classes are devoted to arts associated with Scotland. I took a class in willow basketry.

I had done basketry before. Baskets made from reed or sea grass or lathes are a different animal from baskets made from willow branches. Willow requires a substantial amount of physical effort to get in place.

At the start of the week, everyone made a similar bread tray.

20180903_092553.jpg

The tray was about three inches deep. Since I chose to put the ends of the willow shoots on the inside, I chose to photograph the outside.

After that, people were free to go in their own direction. I chose to make a historic piece — a willow basket of the type that was used to gather wool that sheep leave behind on brambles and trees. To keep the wool from blowing out, the opening is small. The basket itself is fairly deep, to hold as much wool as possible. Historically, this type of basket has no handle. I’m not sure why, but I made mine similarly to respect my source.

20180903_092620.jpg

Most people made three baskets. I only made the two because the wool basket was, honestly, above my skill level as a basket maker. However, I chose to do it anyway from interest in history.

If you have a chance to visit the John C Campbell Folk School, I encourage you to do so. They teach metal clay. However, they also teach many other arts.

A Northwest Pacific Art Inspired Eagle

I’ve posted about Northwest Pacific art before. I want to say more this time, and describe the construction of an eagle pendant in this style.

Northwest Pacific indigenous art focuses on animal imagery (occasionally humans). While I am not an expert, I know of no representation of inanimate objects. The artistic style focuses on creating an outline of an animal, and then creating the animal’s image with stylized geometric forms (mainly ovals, s-shaped curves, l-shaped curves, and u-shaped curves). I decided to create an eagle in silver.

The first step was to create the eagle’s outline. It is one mm thick, in silver clay.

20180726_150111

After creating the outline, I added details in the Northwest Pacific style.

20180801_195319

Then more details.

20180805_104420

Then more, refining the work as I went.

20180808_184349

It still needed some more work, so I put more effort into polishing.

20180811_091152

While it now had the Northwest Pacific look, I felt it needed more (there is a hidden bail behind the piece you can see). I added some rose gold to the feathers. I have discussed adding rose gold before. One fires, but does not brush, the silver. Then several layers of a paste of rose gold is added where you want to add highlights. The piece is then refired in charcoal. The firing schedule for rose gold is somewhat complicated, since rose gold is a gold-copper alloy. I have discussed that before, and so will not go over it again. However, after applying the rose gold paste (and before second firing), the piece looked like this:

20180812_082545

After firing the rose gold, burnishing the gold, brushing the silver, it looked like this:

20180812_131900 (002)

I was still somewhat unsatisfied with the piece. The silver had too many rough places on it that, while I could not see in greenware, I could see after it was fired.  To fix this, while being careful to protect the rose gold, I sanded the piece, using progressively finer grades of sandpaper. That did the trick! All that remained was doing a patina and adding a chain.

I did, and the completed work appears below. The coin is for scale.

20180815_191948 (002)

Like the salmon I discussed earlier, Northwest Pacific art provides endless inspiration for metal clay artisans. I hope you, too, will choose to experiment with it.