

As the title says, work doesn’t need to be complicated to be appealing. Here, I am going to dscribe how to make a very simple, yet effective, pair of earrings.
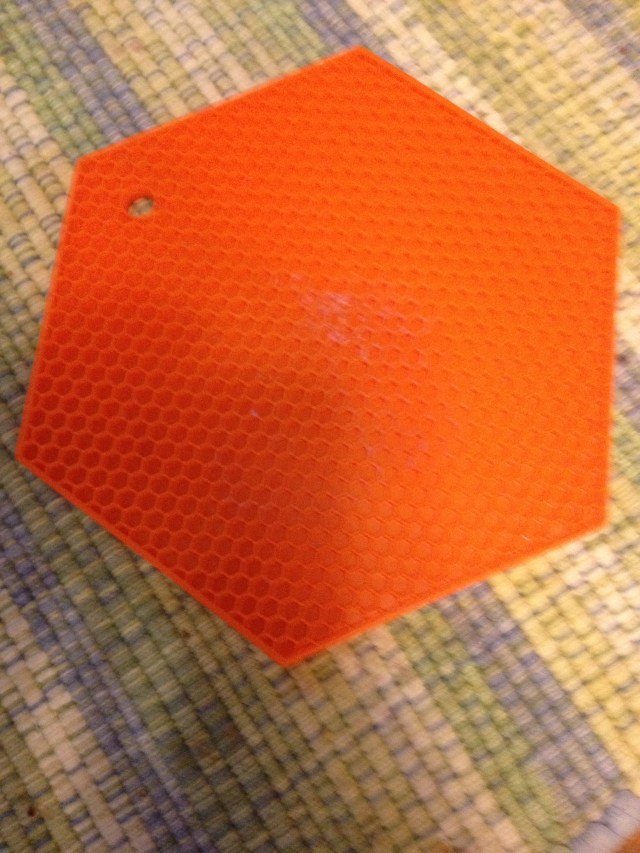 This is a silicone pot holder. I found the hexagonal pattern to be quite attractive. I thought I could use it. Of course, nothing I say here is peculiar to this pot holder. You could use any texture you find around the house or in nature that appeals to you — lichens, a clean scrubbing pad, almost anything.
The first step is to acquire some two-part molding compound. Two part molding compounds are available from almost all sources that sell metal clay. As the name suggests, they come in two putty-like parts. The trick is to never combine the two parts unless you mean it — they will set up hard in a few minutes. Using two different spoons, one for each part, remove approximately the same amount of molding compound from each jar. Flatten them together, and work them with a roller or your hands until the color is uniform (usually, one part is white and the other is a pastel). Once you have that, you have a few minutes of working time. You can use the molding compound to make a mold of almost anything, except human skin. Here, I used the pot holder, pushing the molding compound mixture down into it and removing it after the compound had dried. This made a mold I could use with metal clay.
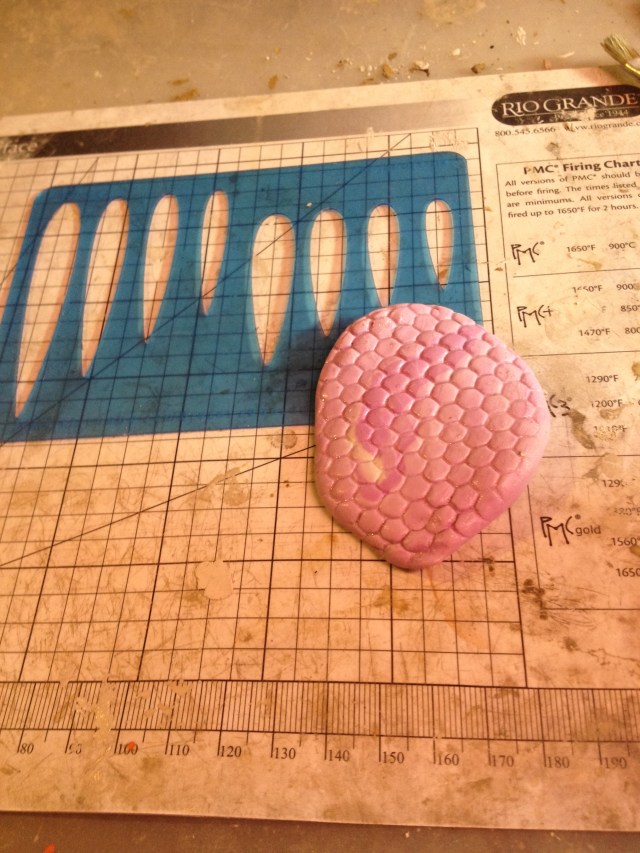
This picture depicts the mold I made, and the template I originally intended to use for the earrings. I later changed my mind and used a different template. However, that doesn’t change any part of what I have to say. I used the mold as a texture sheet — rub it with a lubricant (I use Hattie’s No-Stik ™) and roll metal clay out on it. Remove the metal clay and use your template and cutting tool to cut out your earrings, being careful to punch holes for the ear-wire (I use cocktail straws).
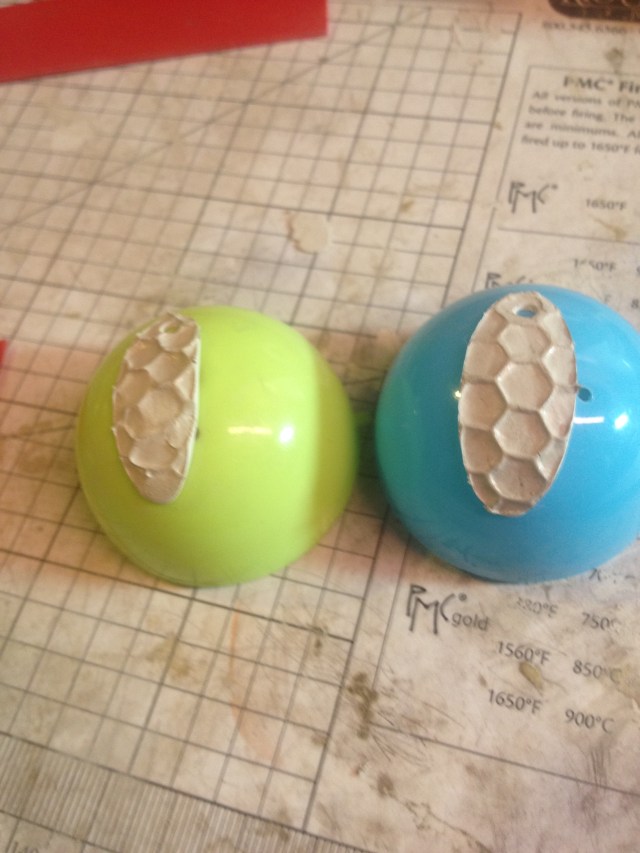
I used silver clay. Obviously, bronze, copper, gold, or any other metal would work — the only real difference would be in the firing schedule. I decided that the earrings lacked a bit of visual interest if they were flat. I put them atop plastic Easter eggs and air dried them. If you live in a climate where air drying is difficult, you only need to dry them enough to hold their shape. Then you can transfer them to a dehydrator. The next step was greenware finishing, which was just like every other piece of metal clay. I then fired, brushed, and tumbled the earrings.
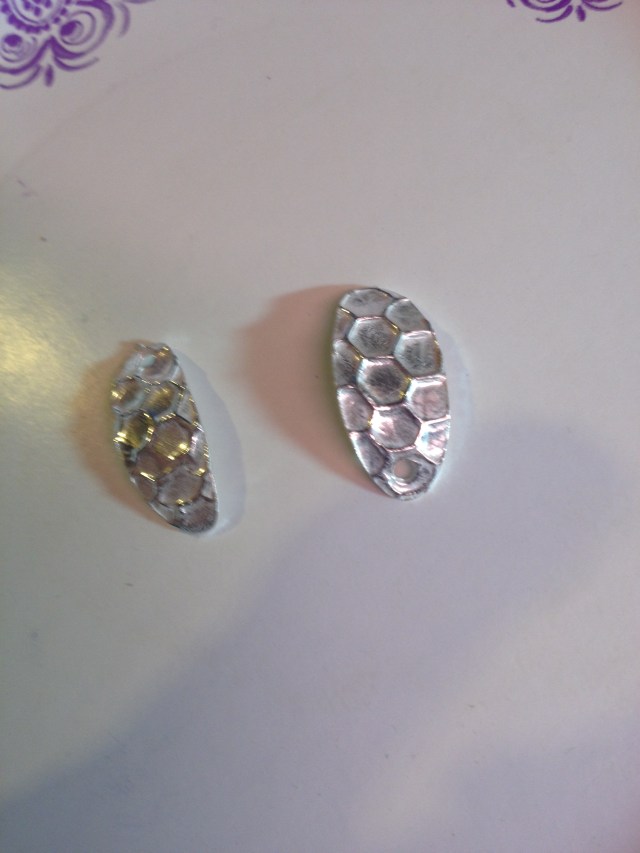
This is what they look like out of the tumbler. I prefer to patina my work. That is, of course, optional. I used Black Max(tm) patina. Had I wanted color instead of simply darkening the clay, I could have used liver of sulphur.
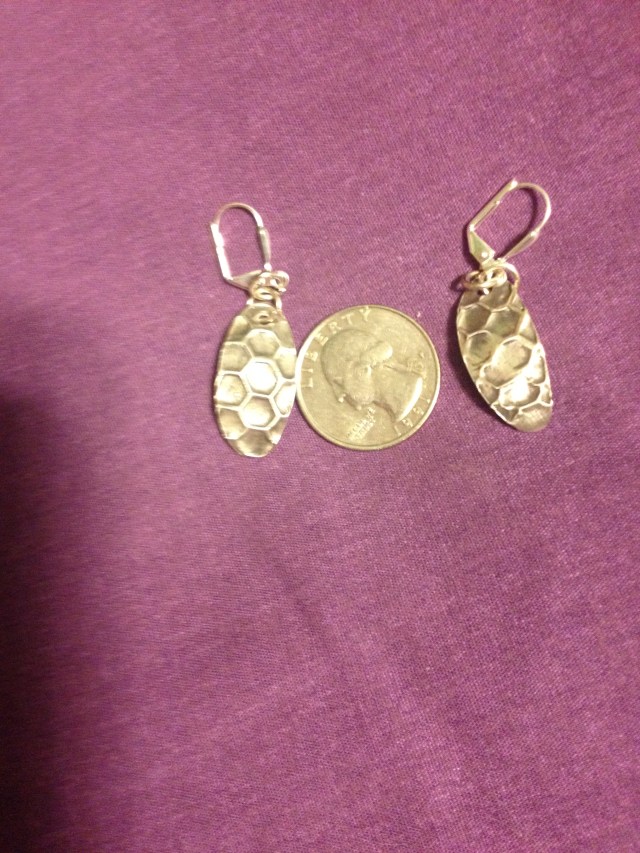
Here are the earrings, patinaed and with ear wires attached. I photographed them with a coin to provide scale.
Again, the point of this post is to emphasize that you don’t need to do complicated work for it to be attractive. I made my own texture sheet using household materials. I did a simple ‘texture, cut, shape, fire, polish, and patina’. You can do the same! The only limit is your imagination.
