

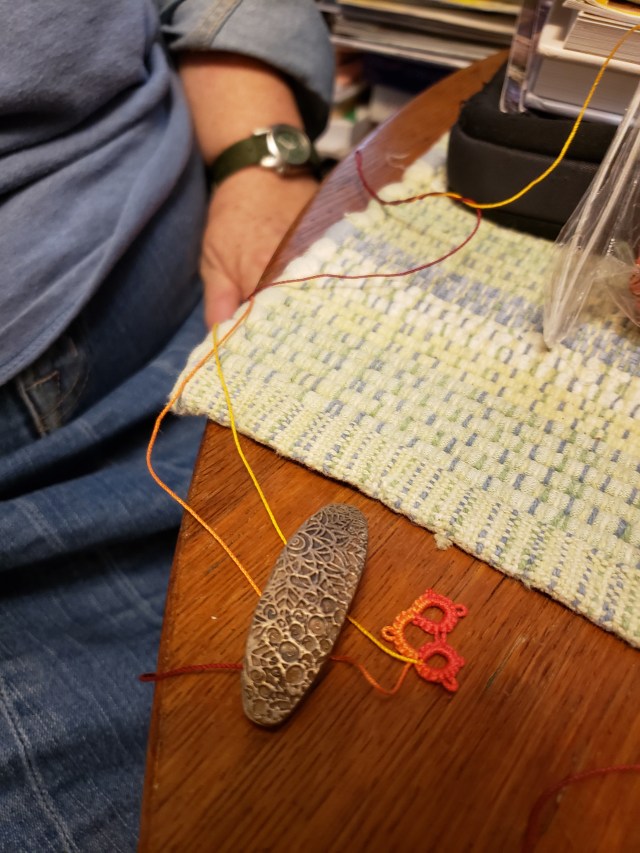
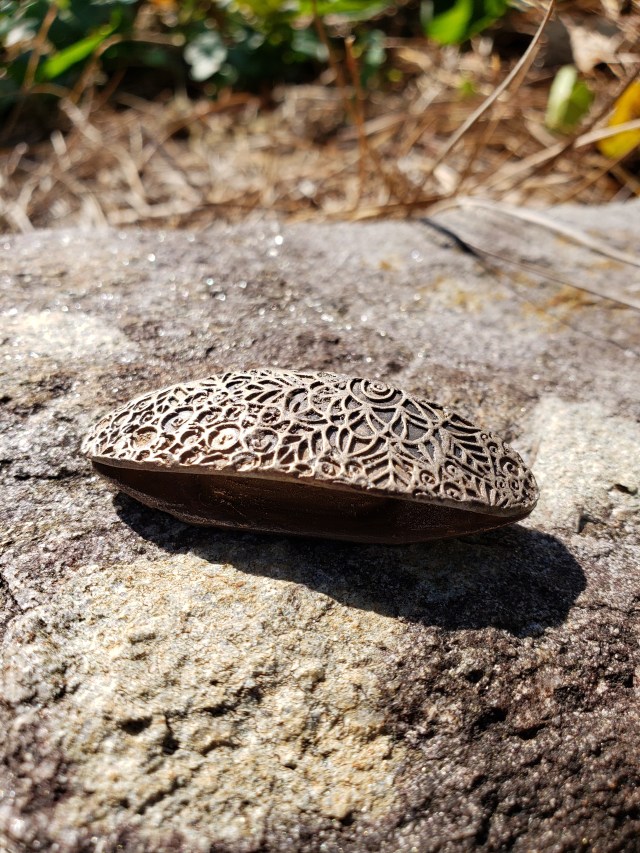
Tatting is a form of Victorian (although it is still practiced today) lace making. Tatting requires the use of a shuttle. In Victorian times, shuttles were made of German Silver (silver coated base metal), wood, or horn. Today, they are usually plastic. A client asked if I could make a bronze tatting shuttle. My answer was, “I don’t know, but I will try.” As the picture above, which shows the completed shuttle and a small amount of tatting shows, I was able to do so. Here, I am talking about how the shuttle was made.
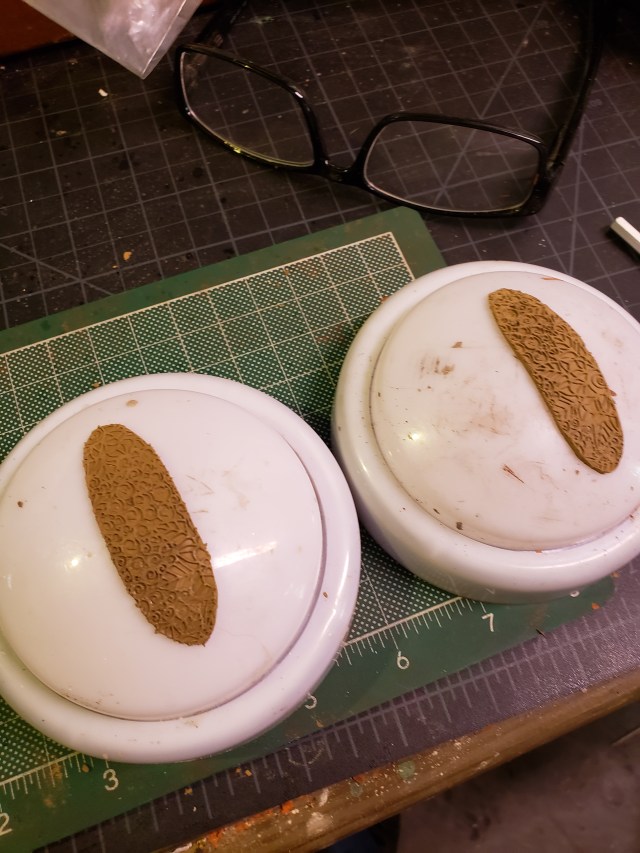
Tatting shuttles consist of two curved forms (usually identical, although one end of one form can have a hook on it). I decided to omit the hook for my first try. I used heavy cardboard to cut out a template. I rolled out One-Fire Bronz clay to a thickness of 1 mm, then textured it on a commercial texture sheet at a thickness of 0.75 mm. I cut out the shapes, using the template I had made, and placed them on domed closet lights to dry, so they would have a reasonable amount of curvature.
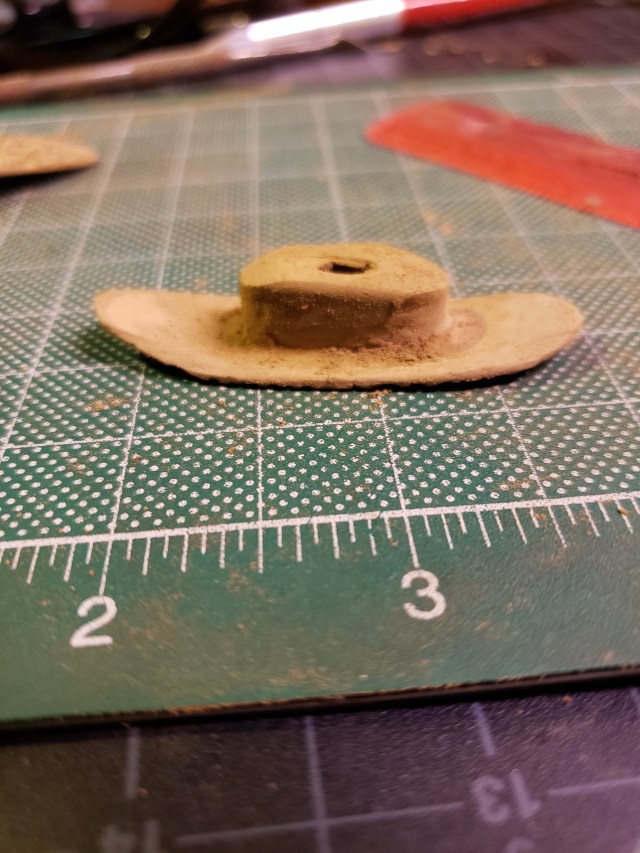
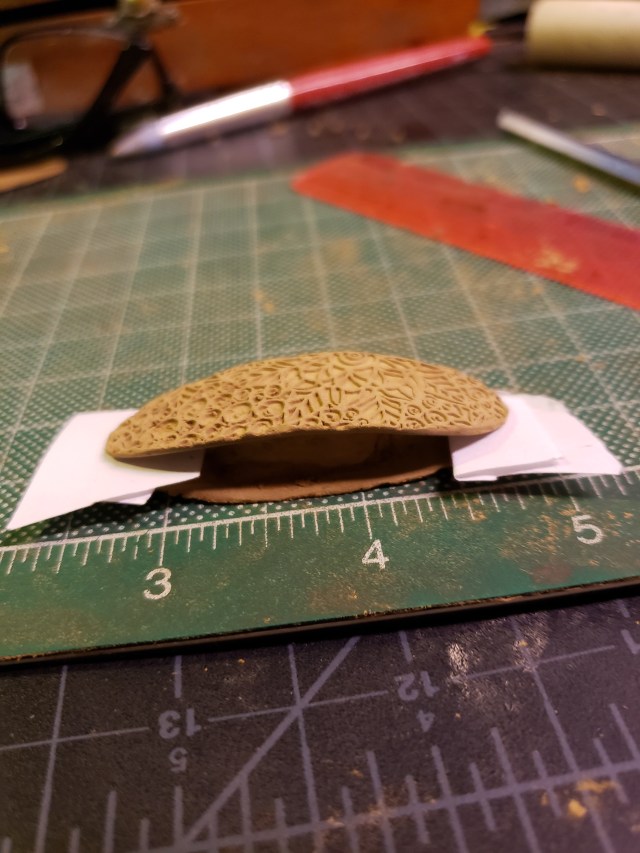
Between the two leaves that make up the shuttle, tatting shuttles have a place for wrapping thread. This is often oval in shape. It is important that the two ends of the shuttle touch, so that thread can be slipped through it, but so that the thread will not go through without being pulled. To reduce weight, I made the central post hollow. Making the post of the correct shape, so the two leaves would just touch and so there was nothing on which the thread that will be wound around the post will catch on, was a matter of trial and error. The bottom leaf, with the post but without the top leaf, is pictured below.
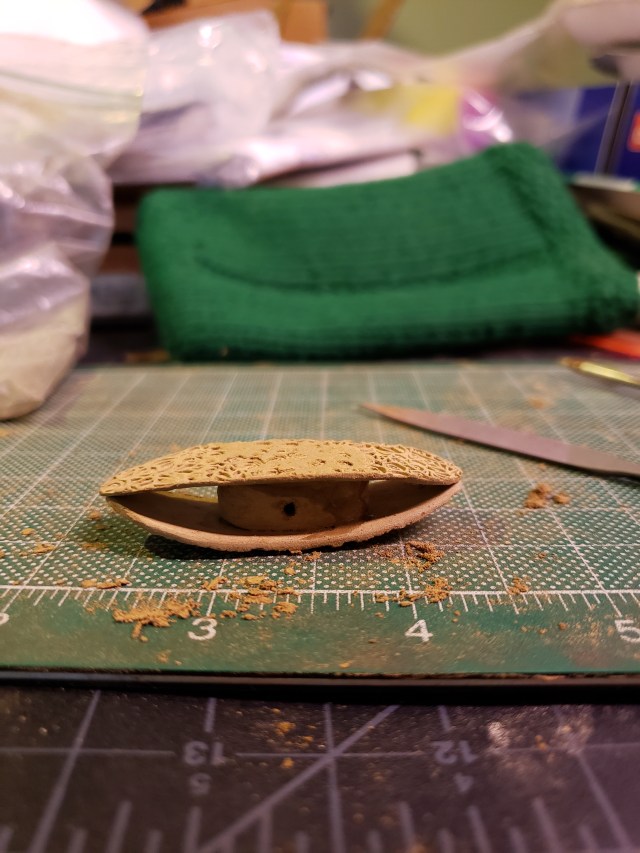
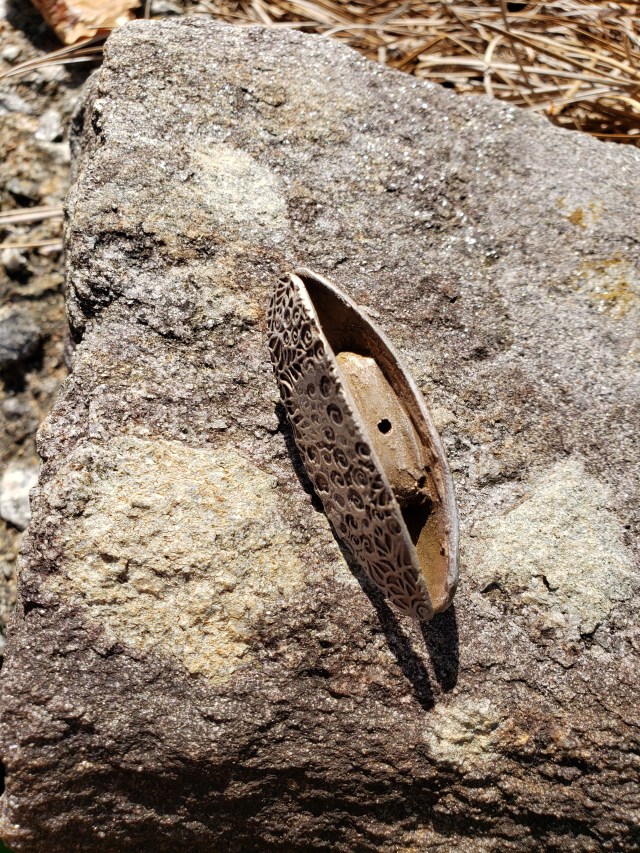
When this had dried, I carefully attached the top leaf. I drilled a hole through the post, so that thread can be slipped through it (some tatting shuttles have this hole and some don’t). However, the piece was not yet ready to fire.
While the tips must touch for the shuttle to be used. However, I was concerned that they might fuse during firing. The solution? Place a small piece of paper at the tips of each leaf, preventing them from touching each other.
The piece was ready to fire. I fired it according to package directions, tumbled it, and lightly patinaed it (I used a light patina because I did not want it to come off on the user’s hands). I sprayed it with a protective coating, and the shuttle was done.
While this shuttle is usable, it was not ideal. For one thing, I made the post so large that not much thread could go on the shuttle. I am currently working on tatting shuttle Mark II. I will report on that when it is done.
In the meantime, keep on working in metal clay! And, if you tat, consider making yourself a shuttle 😉
