

There are many things you can do with metal clay and rings. Today, I am going to talk about two ring-making topics: making rings from molds and repairing cracks that appear when your ring is in the kiln.
I have posted on ring-making before. Usually, I treat a ring like any other metal clay product. However, rings can be made from molds.
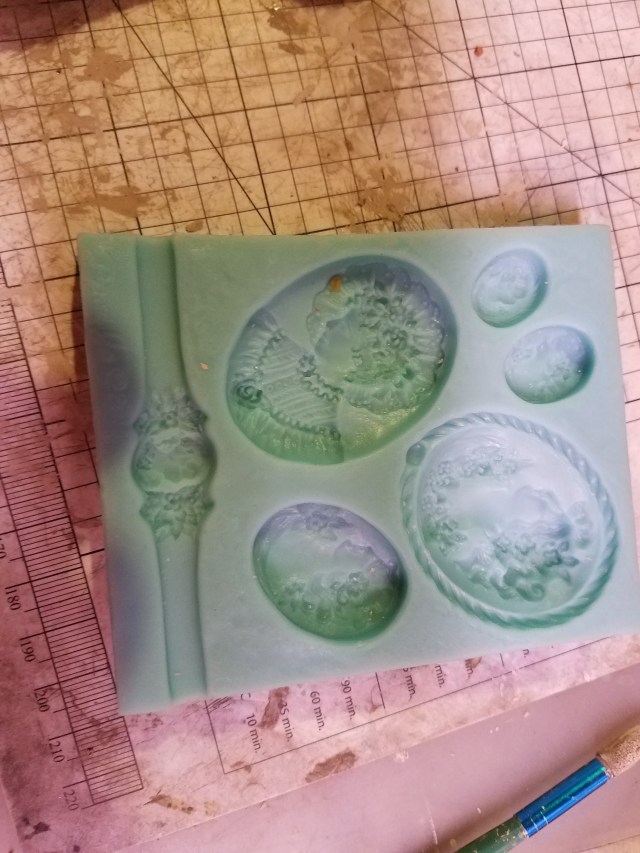
You can treat this like any other mold — lubricate the mold so that the metal clay will not stick, roll out your metal clay to the desired thickness, force the clay into the mold, and then scrape the excess clay off the top so the back of your piece is smooth. Then, remove it from the mold. The wet clay can then be treated like any other ring; place it on a mandrel of the appropriate size (being sure to allow for shrinkage) to dry. My experience is that bronze and fine silver shrink two sizes, and sterling shrinks 1.5 sizes. For this ring, I used sterling.
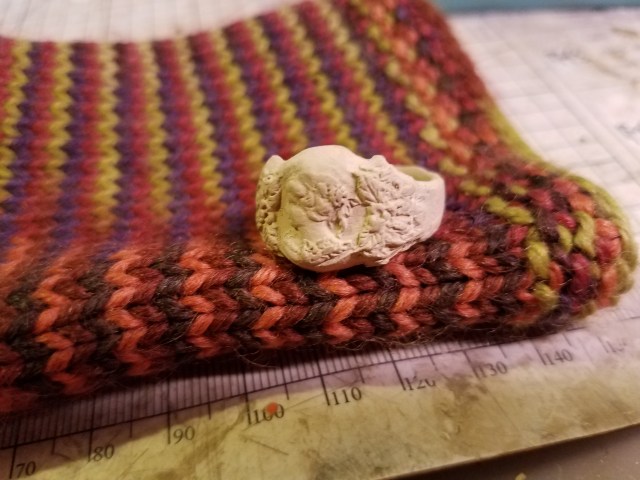
The ring, in greenware, looked like this:
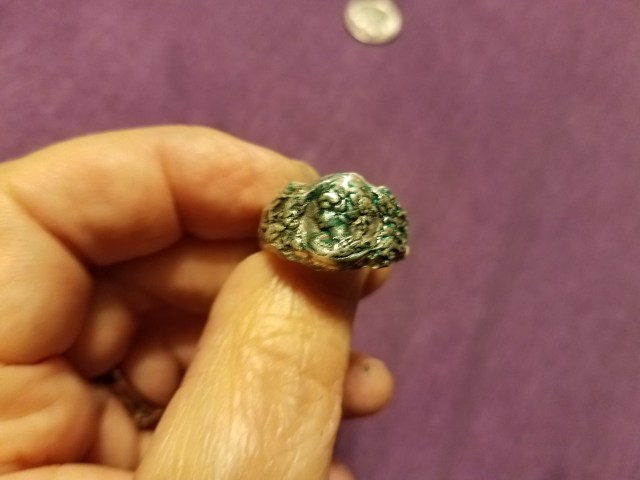
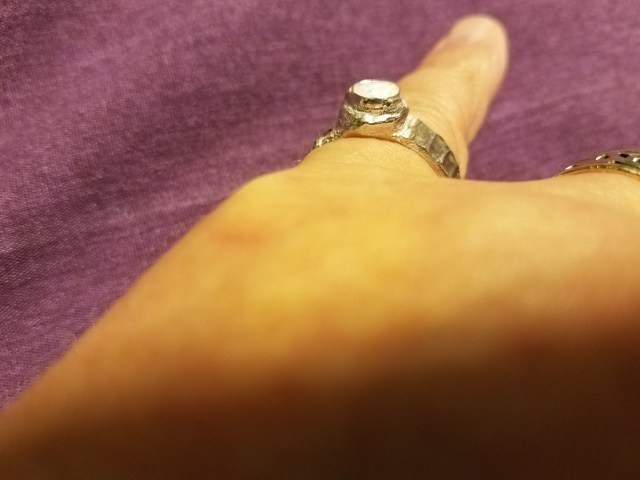
I finished it like any other metal clay, fired, and tumbled it. I then applied a bit of patina to the cameo, so the face and decoration around the face would be obvious. I left the rest shiny. Then I decided that the regular patina did not show the face clearly enough. I then added a drop of alcohol ink, then rubbed off the excess. The result was:
The second topic is what to do when a ring cracks during firing. The greenware I was working with was:
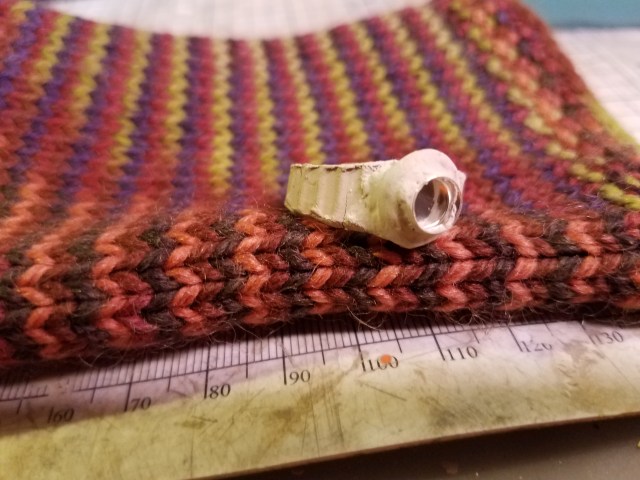
It is a pretty standard ring, with a textured band and a bezel cup intended to hold a stone. It was made of sterling clay. So far, so good. However, when I fired it, there was a large crack in the banc. (My apologies for not having a photo of the cracked band.) Did that mean that the piece goes into recycling? Certainly not!
As you probably know, the white color that comes out of the kiln is made up of tiny pieces of silver sticking up. This is important, as you will see in the next paragraph.
I made up a bit of paste with fine silver clay. Before brushing (so the clay would be able to adhere to the tiny pieces sticking up), I applied the paste to the crack. I filled the crack and put a thin layer around its outside. I made the layer very thin, so it did not change the size of the ring. Then, after drying, I refired. The fine silver adhered, fixing the crack. I could have used sterling, but fine silver is much easier to fire, no one will be able to tell the difference in such a small area, and I was in a hurry. The bottom line is that the crack had been repaired, in such a way that no one could tell the difference.
I brushed, tumbled, and patinaed the ring. Then I fitted the bezel cup with a white opal. The result:
Don’t be afraid to try molded rings, and don’t be afraid to fix a ring if it cracks while firing! And most of all, keep being creative with metal clay!
