

Most of us make rings from silver (soft, but will work if you don’t wear them every day) or sterling (more resilient, but a bit harder to work with). Well, why not copper? Here, I’m going to talk about making a copper ring, making it a bit less vulnerable to denting/bending, and making it wearable without discoloration of the skin.
My experiments with pure copper rings found them to be a bit too soft. However, bronze is much sturdier than copper. After some experimentation, I found that mixing one part fast fire bronze clay with six parts of copper clay yields a metal that looks like copper while being more resilient. How do you fire such a chimera? I confess that I did not do extensive experiments. I fired at bronze temperature (1525 degrees in my kiln, although you need to determine the right temperature for bronze in your kiln my experimentation), in coconut charcoal. I held the temperature for three hours. That resulted in fully sintered metal. Could it have been fired less? Could I have used another form of charcoal? I do not know. I’m only reporting what I did, and that it worked.
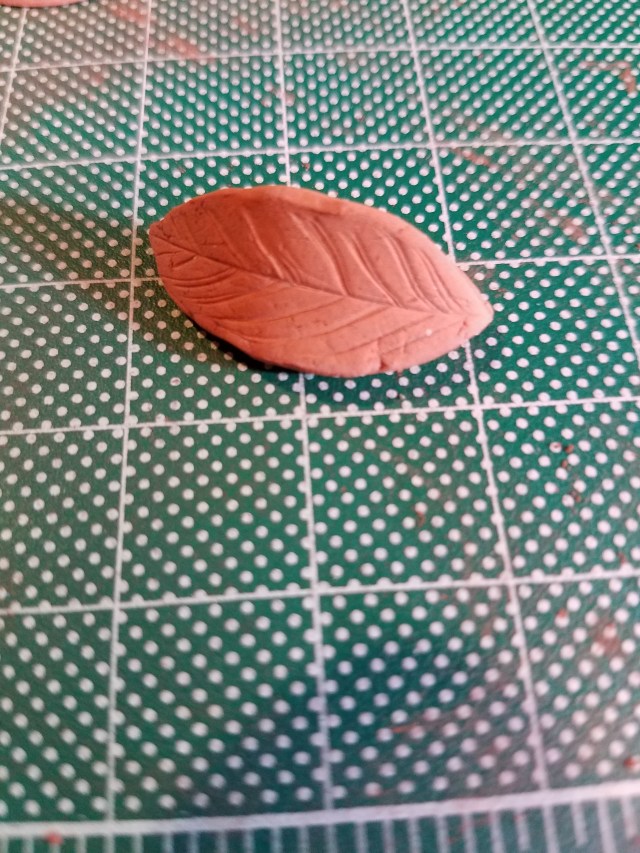
Since this was an early experiment in making a copper ring, I did not try to set a stone. Instead, I made a decorative piece that would serve as a stone by using a mold of a leaf.
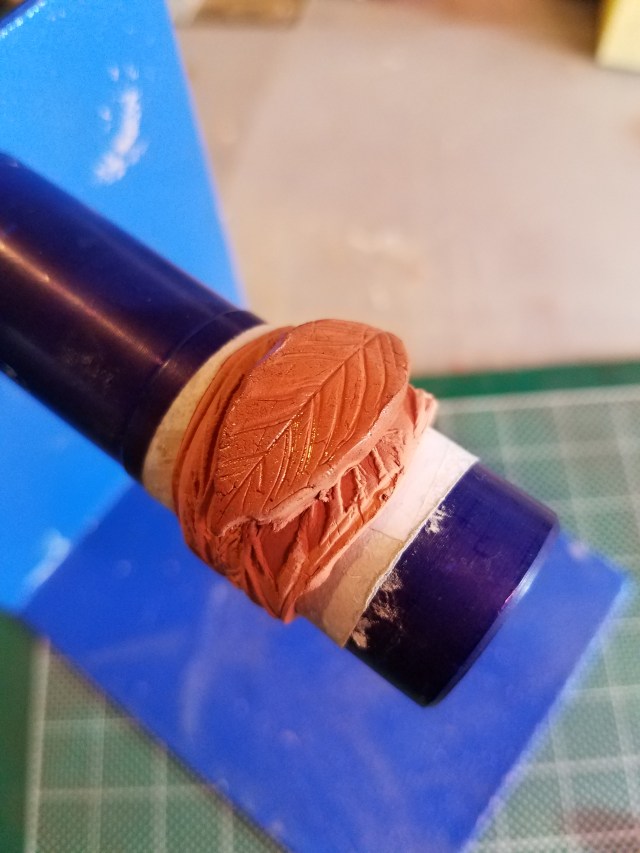
I made a ring shank by the usual methods. This picture shows the ring shank, with the decorative leaf atop it, in the wet clay state. The ring shank was textured using a commercially available texture sheet. It’s a matter of taste, but to me, untextured copper isn’t visually appealing. With silver and gold, you can get by without texture. You probably can with bronze, it depends on the piece. But I believe copper really needs a texture.

After the clay dried, I attached the leaf by making a paste of copper clay. The picture above is the ring prior to greenware clean-up.
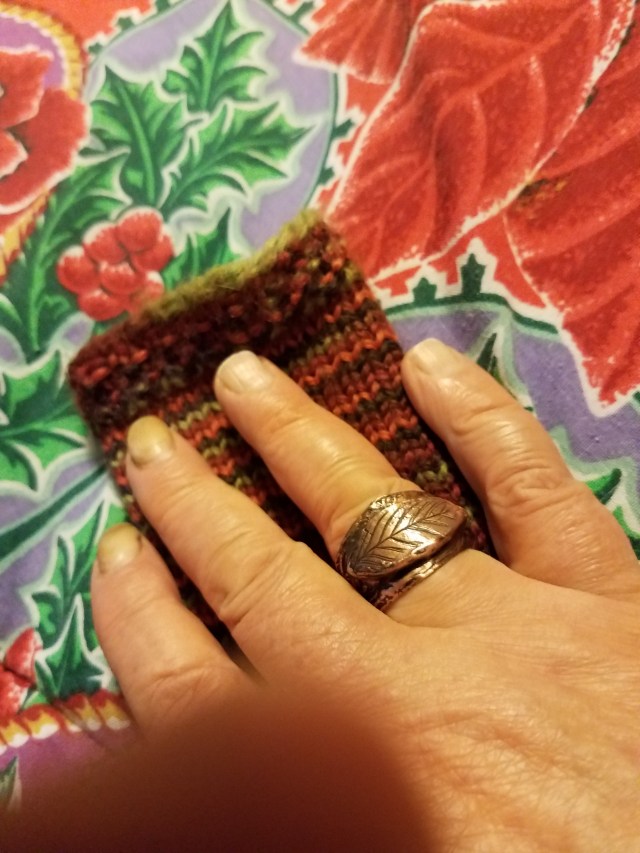
Greenware cleaning, the most laborious part of any metal clay project, was done in the usual manner. The ring was fired, as described above. I tumbled it in a shot tumbler for four hours. The reason for the relatively long tumble is that it just didn’t seem shiny enough after two hours. Leaving for another two did the trick.
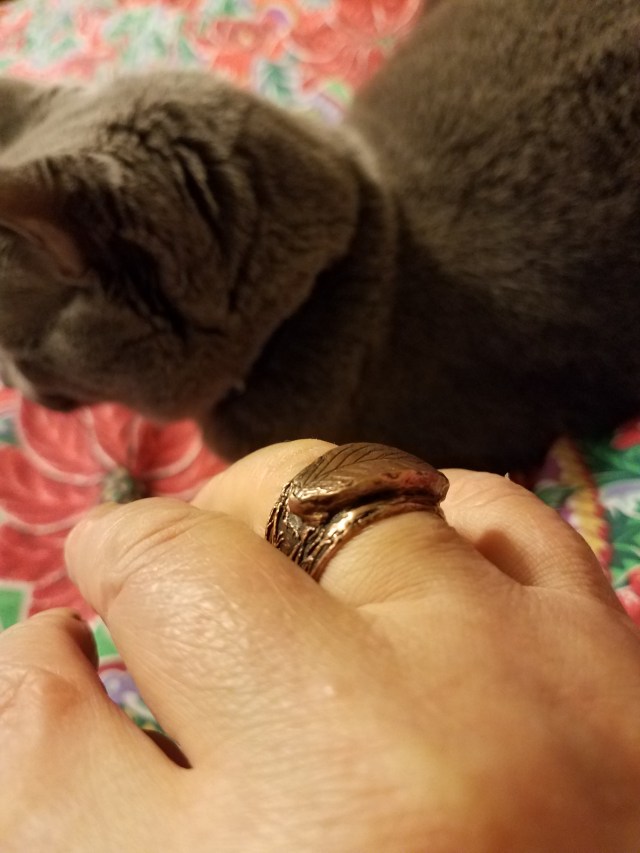
I used Blackmax brand patina to color the copper, and used a nail block (reserved for that purpose) to remove most of the black, leaving the raised parts of the metal to show.

One step remains before the ring becomes wearable. Copper will tarnish and discolor the skin. There are at least two ways to avoid this. The most reliable is to buy a spray bottle of the substance that musicians use to prevent brass instruments from tarnishing. Taking the spray bottle and the jewelry outdoors (because the spray smells terrible), spray and then let dry. Repeat the process. Turn the jewelry over. Spray and let dry twice more. However, you might not have access to this spray. There is a lower-tech solution. Coat the copper jewelry with clear nail polish, and let dry thoroughly. The nail polish will eventually wear through and have to be replaced, but it takes a while. Also, the nail polish, to my eyes, slightly dulls the color of the metal. The difference is small, and it might or might not matter to you.
So there you are, a copper ring. I hope this encourages you to add copper to your list of ring making materials, if it isn’t already there.
