

We all love the luxurious shine of gold. The problem: it’s expensive. Especially gold clay. There is a work around, a Korean technique called Keum Boo that lets you fuse gold to fine (not sterling — it can be done but it’s harder) silver. Here we are going to discuss making a pair of earrings that are mostly silver but have some gold to give them that extra something.
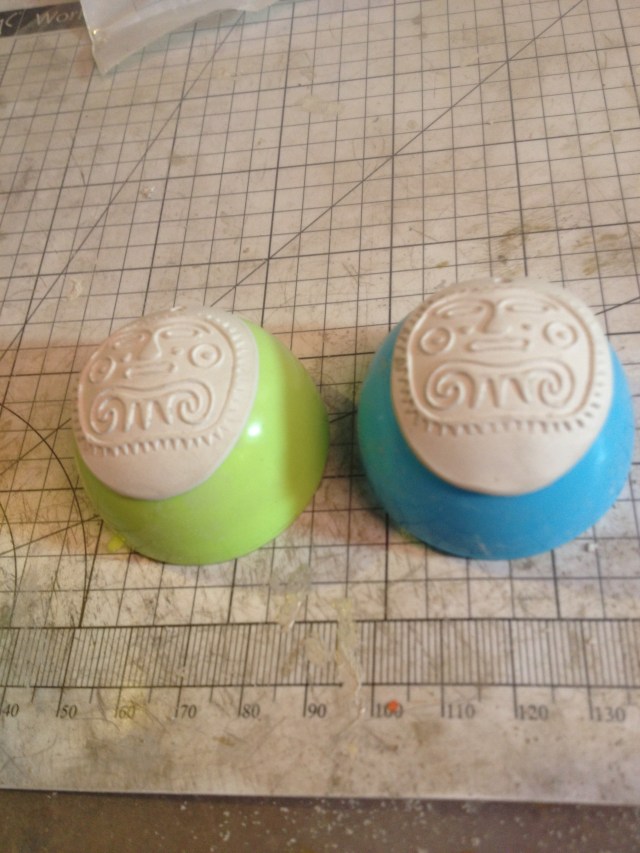
Step 1. Make a pair of earrings from silver clay. Some texture is OK, but too much will make applying the gold difficult. No texture makes the piece lack interest. I suggest choosing a piece that has some texture, but not too much. The picture above depicts a MesoAmerican design (yes, I know keum boo is Asian, not Native American). I dried the clay on plastic eggs to give them some shape. That is not necessary — flat is fine if that’s what you prefer.
Step 2. Finish the greenware. Fire the earrings, but do not brush (yet).
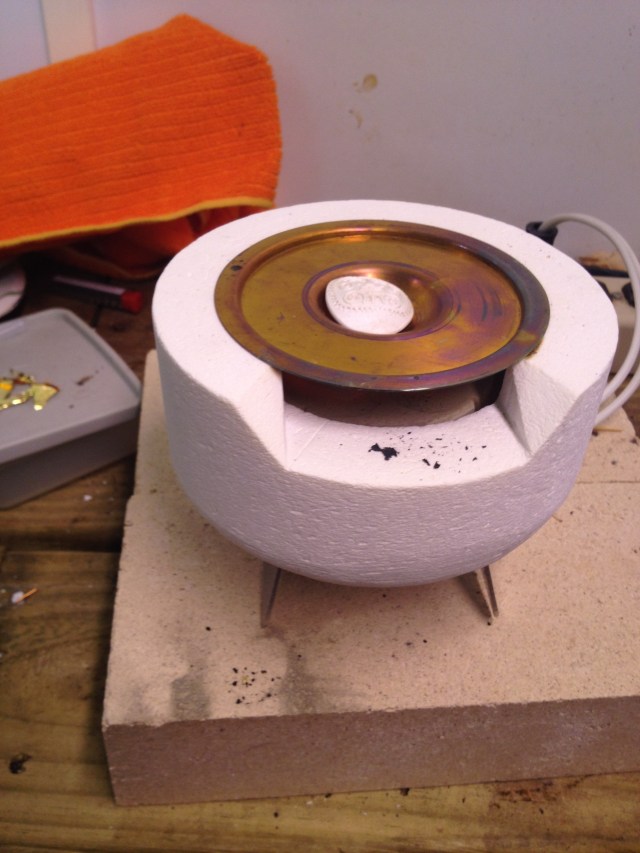
Step 3. Obtain the use of a beehive kiln. They are inexpensive, and many come with brass plates just for doing keum boo. Place the piece to which gold will be applied on the brass plate. Heat it until it will char a toothpick at a touch. If you are measuring temperature, you are looking for 600-800 degrees F. However, I have found that the toothpick method is just as good.
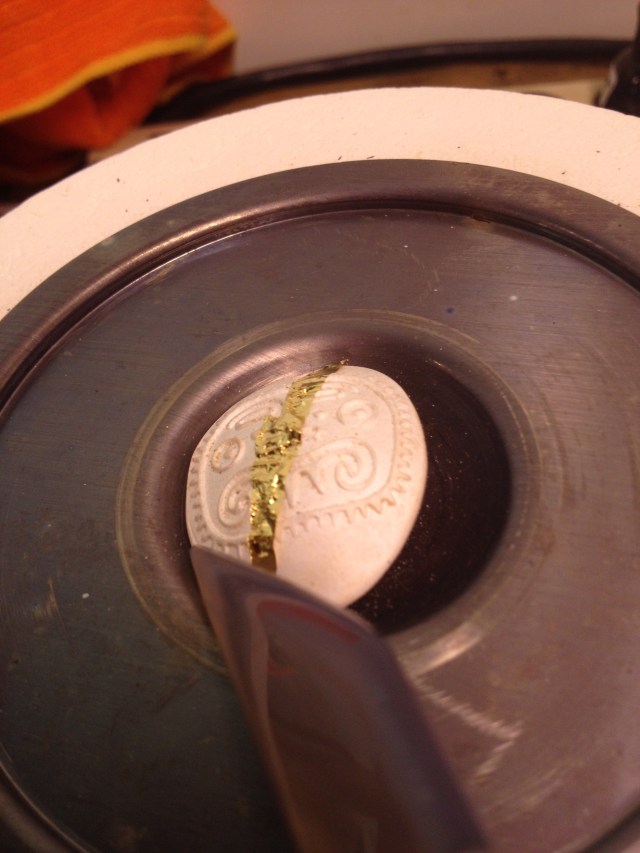
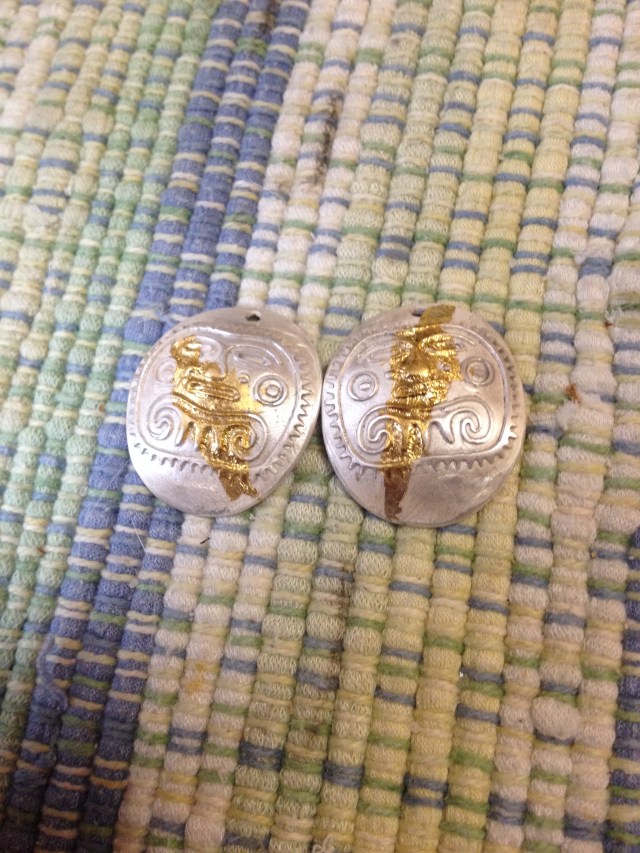
Step 4. Apply gold foil (not gold leaf) to the unbrushed piece. Use tweezers to apply, both because the foil is too delicate to handle and because the piece you are working with is hot. Once it has been applied, use an agate burnisher to tap the gold down onto the silver. If it’s not sticking, keep going. Enough light pressure at the right temperature, and the gold and silver will bond. If you choose to use multiple layers of gold, you get an even deeper color. The picture above uses two layers.
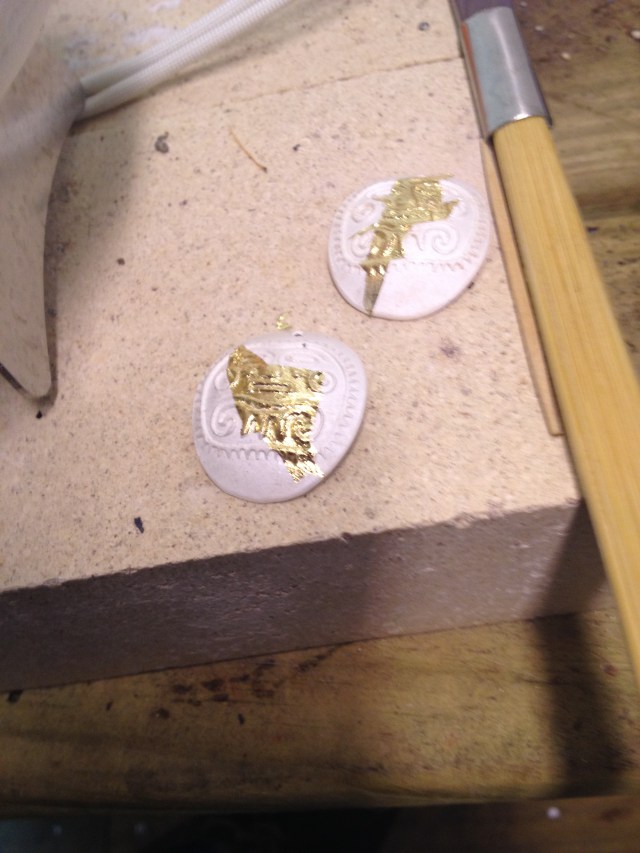
Step 5. Here is what the gold looks like when it is attached to the (still unbrushed) silver. In the picture, the earrings are resting on a fire brick (they are still hot). You can see the handle of the agate burnisher I used and the toothpick I used to determine if the silver was hot enough.
Step 6. Brush the product like any silver clay. The gold will adhere if you have done it correctly. If you are nervous, cover the gold with your thumb while brushing. Then tumble. The gold will not come off in tumbling if it is solidly joined to the silver.
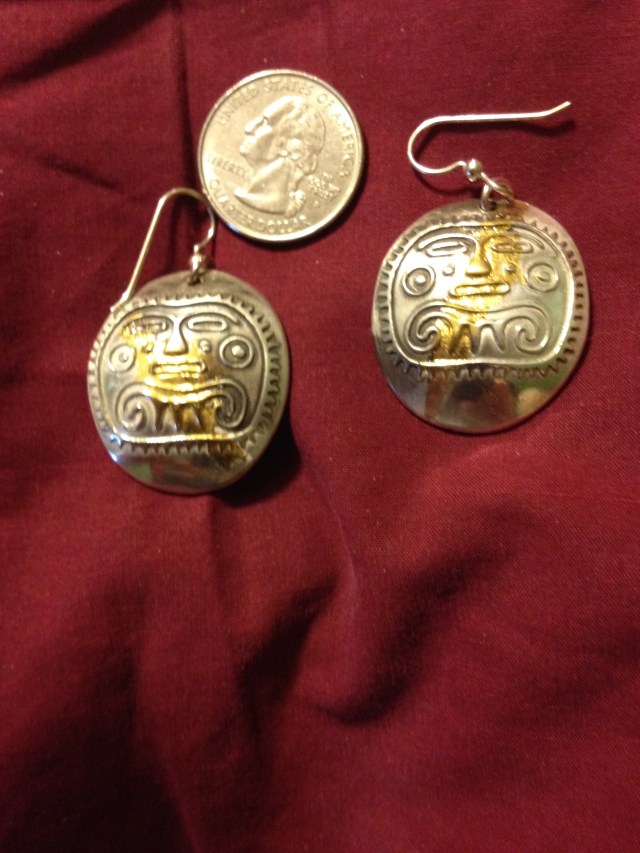
Step 7. I applied a dark patina on one side of the gold. I polished the other side to make it as bright as possible. And there you have it, a pair of silver earrings that display shiny silver, darkened silver, and the luster of gold. It’s not as hard as it seemed, is it? I encourage you to try it for yourself …. incorporate gold into you silver clay work without spending a fortune!!
