

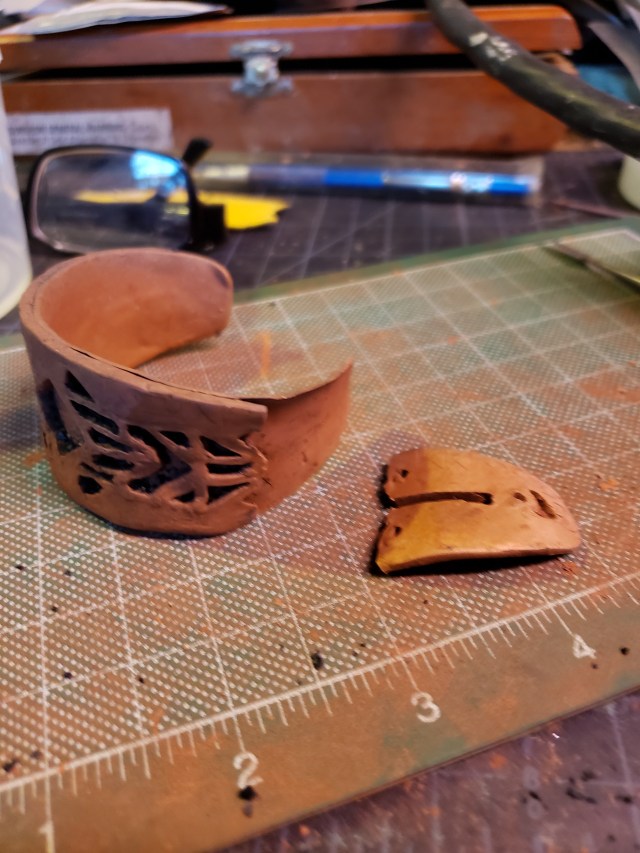
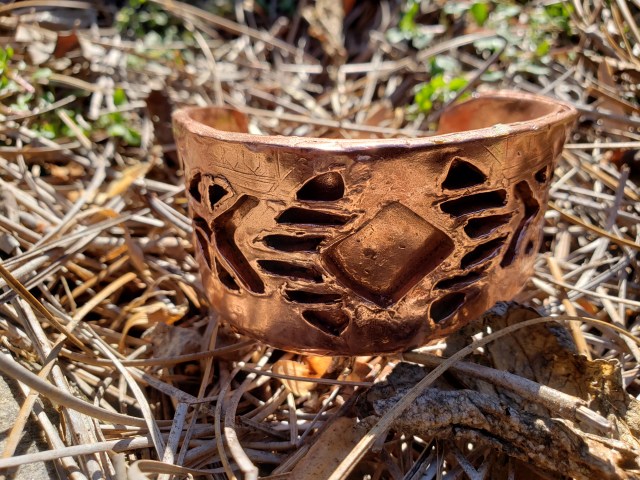
My intention was to post about making a Navajo style cuff. As you can see in the picture above, it didn’t work out. I decided to still post about the process and how I recovered from this disaster. I wouldn’t sell theopiece, but there is no reason not to keep it.
A Navajo style cuff is a cuff with geometric cut-outs, and a layer below the cut-outs. While these are traditionally silver, I chose to use copper. This was the first one I ever made, and I didn’t want to invest too much in case it didn’t work out.
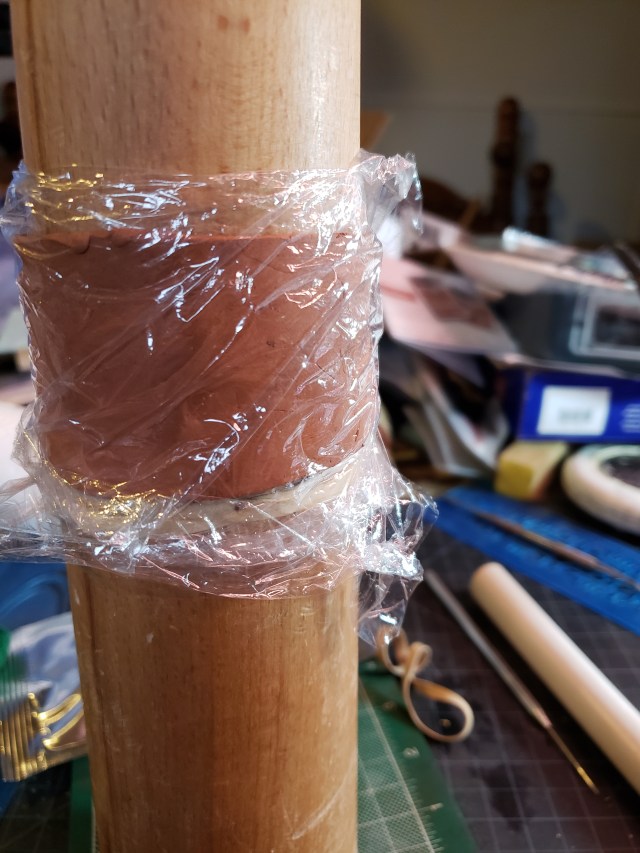
The first step is cutting out the shape of the cuff. It needs to dry around a bracelet mandrel. To do this without squishing the clay, I placed it around a mandrel, then fasted plastic wrap to the mandrel with rubber bands. The clay will only dry to leather hardness this way. That’s not a problem. When it reaches that stage, take it off the mandrel and let it finish drying in the normal way. The leather hard stage will stand up by itself, so that is not a problem.
The next step is to cut out another thicker form for the cuff, cut the geometrics into it, and then let it dry in the same manner, attached to the lower layer by copper slip.
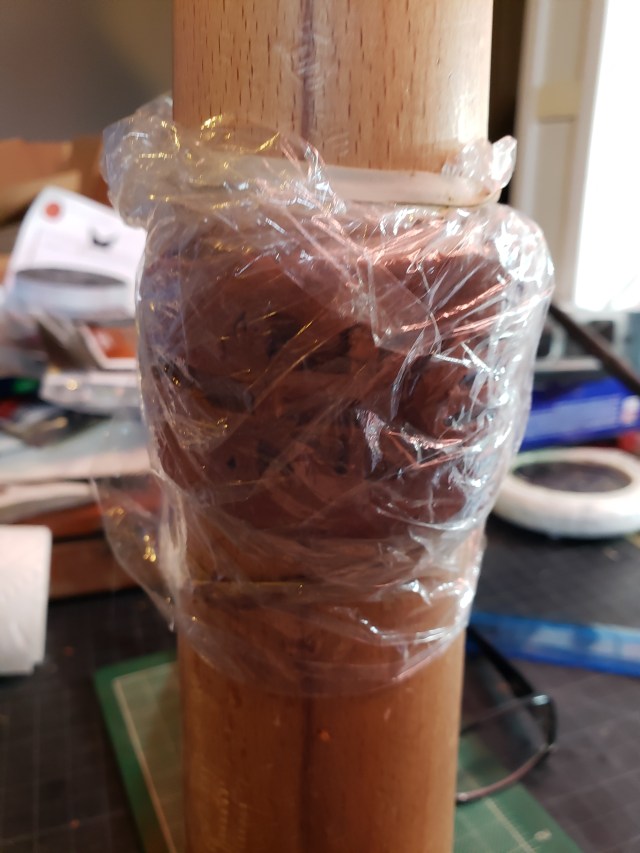
This layer has the same drying issues as the first layer.
Once both layers have dried, one finishes the greenware with the usual methods. The layers might not match perfectly. A bit of sanding can make them match. Any gaps between the layers can be filled with slip.
I then fired the clay according to package directions. When it came out of the kiln, the layers had separated and a piece had broken off. Had I been using a one-fire clay, I would have fixed it with slip and refired. However, I was using Cyprus brand copper, which has a two stage firing. I was afraid that fixing it with slip and then doing the first firing would result in so much firescale that I would never clean the piece.
Why did this happen? My best guess is that I did not apply enough slip along one edge. While the piece shrank from firing, the thicker and thinner pieces shrank at different rates and pulled apart. The lesson from this is, in my next cuff, to be very generous with the slip joining the layers.
I resorted to metalsmithing to bend the pieces so they matched, tumbled the two sections, redid a bit of bending to make them fit, and then used two-part epoxy to join them.
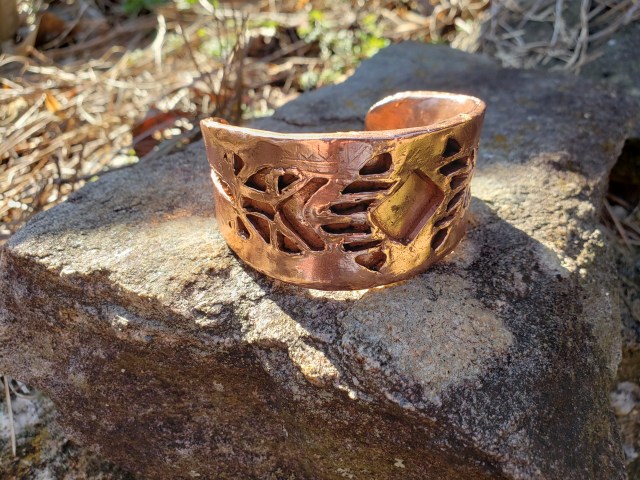
I wouldn’t sell a piece like this, since I don’t sell work that I have glued together. However, I can use this as a learning experience. Soon, I will try another cuff. With what I have learned from this one, I can do a better job.
