

After making a number of bronze tatting shuttles, I was asked to make a silver one. Well, why not? At the outset, I made two design decisions: (1) Instead of texturing the shuttle, I would leave it plain. That means it can be as shiny as possible, while still looking finished. (2) Since I didn’t want it to be too plain, I decided to ornament it with a bit of gold.
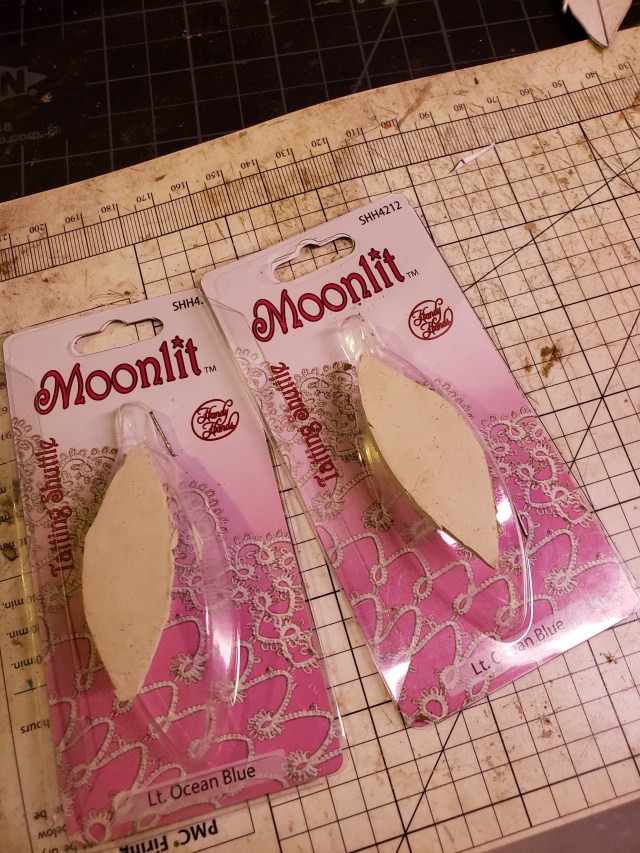
Since I last posted about making tatting shuttles, I have made a discovery. Earlier, I dried the exterior of the shuttle on a dome light. That works, but it winds up having a bit more curvature than necessary. An idea for an improvement hit me: but a commercial tatting shuttle that comes in a plastic case and use that case for drying. It already has the desired curvature. The result is pictured below:
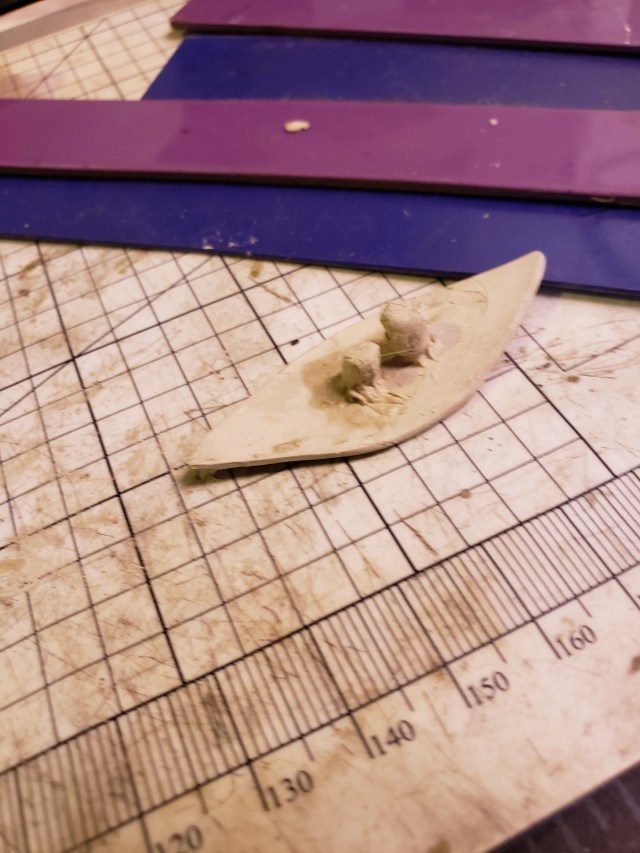
When these dry, one can sand them to even them up and use paste to fix any gaps in the shape. The next step is to create the interior of the shuttle. I have tried both making one post and drilling a hole through it, and making two smaller posts side-by-side. According to the tatters I have worked with, the latter design is preferable. Thus, I had this:
After it dried, I sanded out the unevenness, added a bit of clay to make the posts the same height, and added the top, attaching it with paste. After it dried, I did a bit of last-minute sanding. Then it was ready to fire. You don’t want the ends of the shuttle to fuse. I slipped a piece of paper between the top and bottom. This paper will burn out during firing.

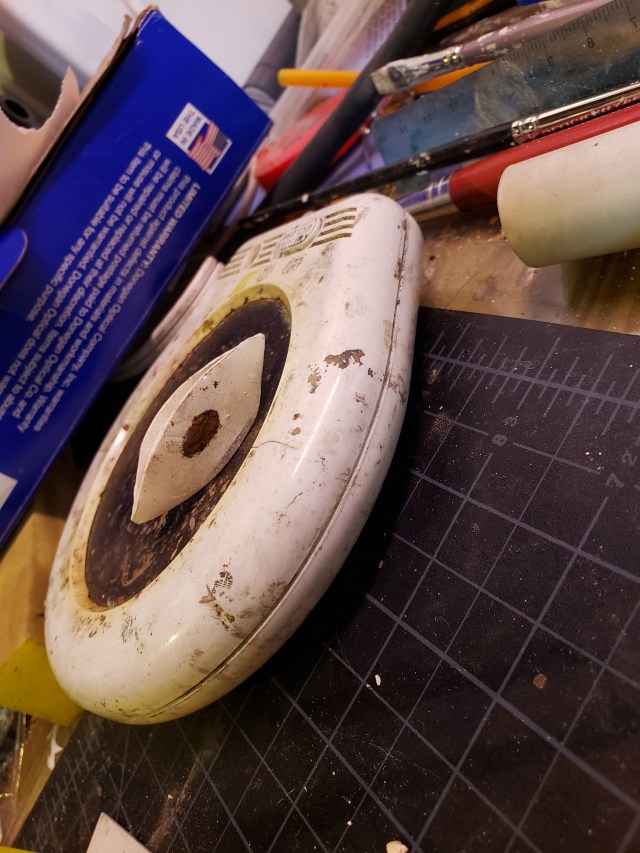
After firing (but before brushing or tumbling(, I was ready to add gold. I decided against Keum Boo, because getting something this heavy up to temperature would take a while. Instead, I used accent gold ( https://www.metalclaysupply.com/Accent-Gold-for-Silver-p/50442.htm). I decided to not make it too complicated, so I simply painted (prior to brushing, so the gold has something to cling to) a gold oval in the center of each side. The picture below shows the shuttle sitting on a cup warmer to encourage the drying of the gold paint. I then sanded away the few drops of gold paint that were not where I wanted them.
I refired according to package directions. Then I brushed the silver, burnished the gold with an agate burnisher, and tumbled the piece.
At that stage, it was technically ready. I say ‘technically’ because the two leaves must be close enough together so a thread will not easily slip through, but far enough to that the thread can be pulled through without stressing the thread too much. My leaves were too close together. I solved this by a metalsmithing approach — using a jewelry saw, I sawed down between the two leaves, widening the gap by a about a quarter millimeter. That did the trick.
The completed shuttle appears below, with a coin for scale:

While metal clay is wonderful for jewelry, it also can be used for a variety of other purposes. I hope I have inspired you to consider non-jewelry applications of metal clay.
