

Silver, copper, and bronze clay are familiar to most of us. There are other metals on the market. I’m going to describe my experiences with Goldie Brass clay. Note that yours, should you decide to give it a try, might differ.
First of all, Goldie clays come as powders, not premixed. This is both an advantage and a disadvantage. The disadvantage is that it adds an extra step. The advantage is that you can make the clay you need, and not be left struggling trying to figure out what to do with what is left over, which can happen with premixed clay.
To mix the clay, pour a small amount of the powder into a clean bowl. Add a few drops of water, using an eyedropper or spray bottle. Using an appropriately sized metal spatula, stir until the powder and water are thoroughly mixed.
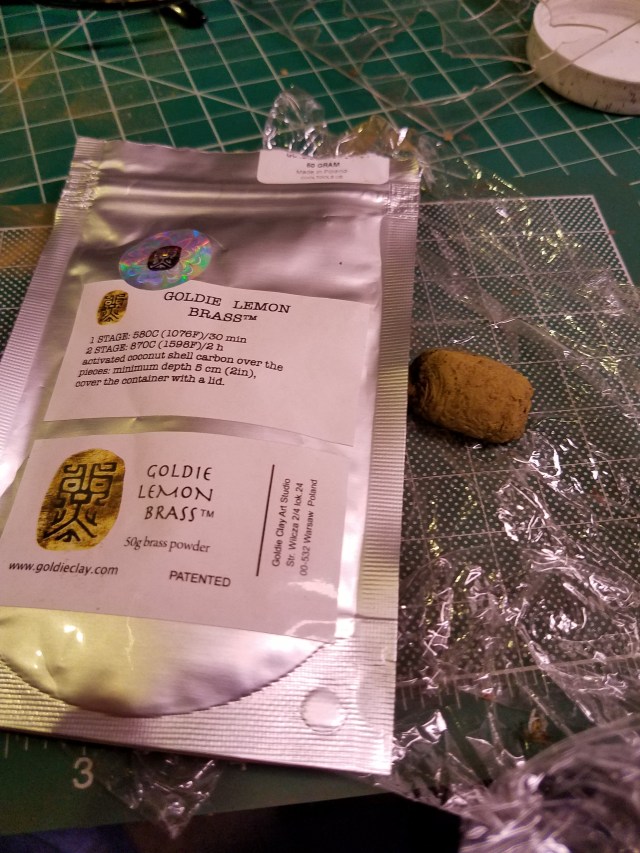
The instructions say you do not have to use distilled water. Since distilled water is cheap, I decided to use it anyway – inexpensive insurance. How much water to add is subjective. However, it isn’t as challenging as it might sound. Does what you have look too dry? Add more water. Does it look too wet? Add more powder. Does it look like metal clay? You are close enough to right to go ahead. The picture above depicts the envelope the power came in, and a small amount of mixed clay.
After the clay is mixed, let it sit (wrapped in plastic wrap) in an airtight container. This allows the clay to become smoother and easier to work with. Because it is important not to have air bubbles, roll it out very thinly. Repeat this process several times. You are then ready to work with the clay.
Working the clay is, essentially, little different from working with bronze clay. I’m not going to go over texturing, shaping, sanding, etc. Instead, I will simply describe the differences I observed between brass clay and other clays.
First of all, if I tried to make something thinner than 1 mm, it cracked during drying. Since I usually make earrings 0.75 mm thick, this was originally problematic. However, I had no trouble drying items that were 1mm or thicker. Since the brass turns out (getting ahead of myself) to be quite light after firing, 1 mm thick earrings do not pose a problem.
Since I had no experience with this metal, I chose to make extremely simple pieces (texture and cut or mold). That was to keep things simple.
I found firing not to be particularly simple (spoiler: I finally figured it out). Goldie bronze has a two stage firing process. This, in itself, is not problematic. However, even after adjusting for my kiln’s tendency to fire a bit cooler than it says it is firing, pieces were still not sintering. It took some trial and error to find a firing schedule that will work. The schedule that worked for me (something else might work for you) was: first stage, fire 40 minutes instead of the 30 the directions say; second stage, fire three hours instead of the two the directions say. For me, nothing sintered at two hours, some pieces did and some didn’t at 2.5 hours, and everything did at 3 hours.
Brass is an alloy of copper and zinc. After firing and cooling, there was a crumbly white residue inside my firing container (zinc oxide?). It might look alarming, but it comes off easily.
I dried the earrings on a tap light, so they would be curved. However, post-firing, they were completely flat. That was easy to fix by dapping, but I learned that one might as well work flat with brass and add curvature later.
After firing, the pieces needed a bit of brushing. Getting them shiny required quite a bit of tumbling. I will describe the three pieces I made, with pictures, below and describe how I finished them. In all pictures, the coin is for scale.
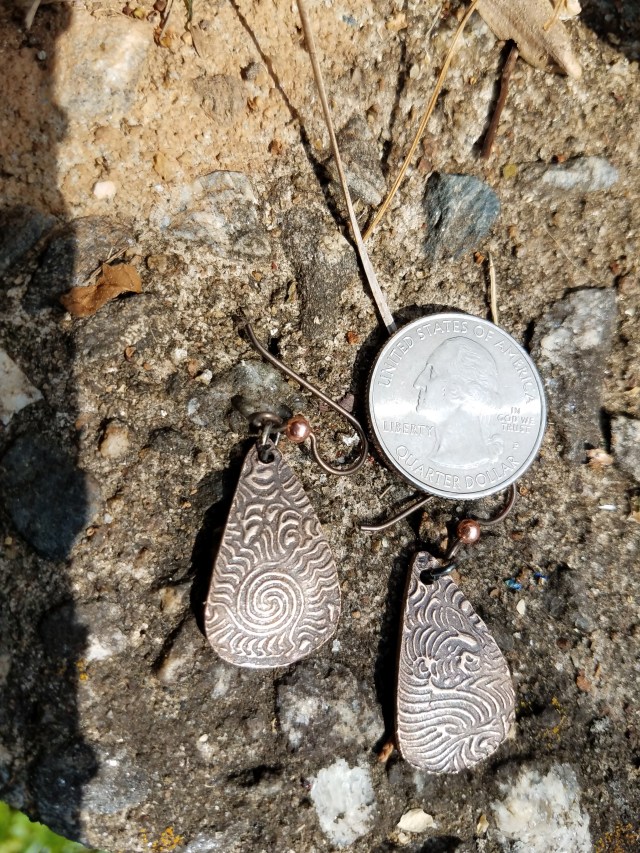
Earrings:
These pieces were heavily patinaed with Black Max. In fact, I turned them completely black. I tried polishing them with a polishing cloth. It did not work. To get the texture to show, I needed to polish with a rotary tool. The rotary tool resulted in a nice finish. The photo does not do justice to the contrast between the shiny and the dark.
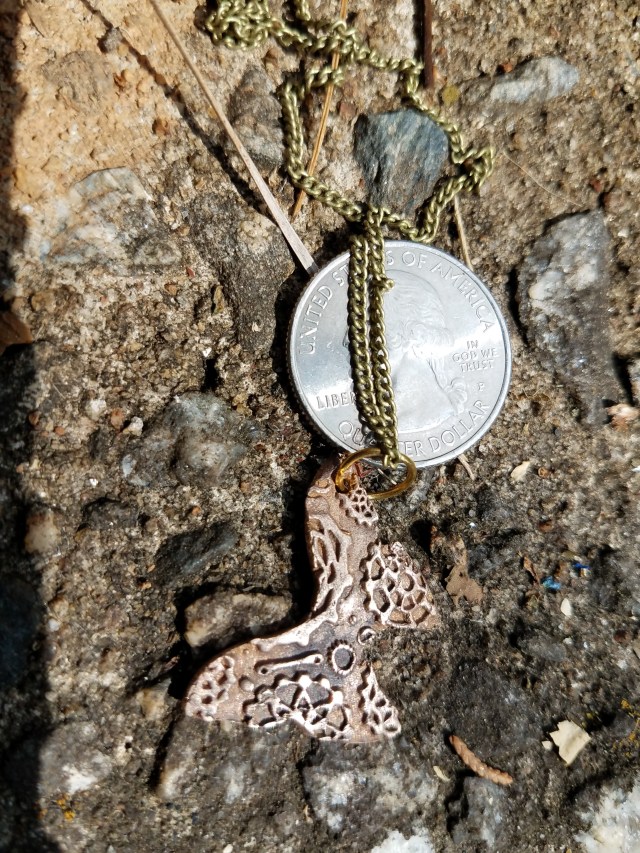
Butterfly pendant:
This was supposed to be a pair of earrings. However, this piece came out of the 2.5 hour test firing. One butterfly sintered and the other did not. I could have made another one and kept the piece as earrings, but I decided to go ahead and make it a pendant. I used a brass jumpring as a simple bail.
For the finish, I applied a tiny amount of Black Max. This could be removed with a polishing cloth. It made the texture visible, but did not give the strong contrast of the deeper patina.
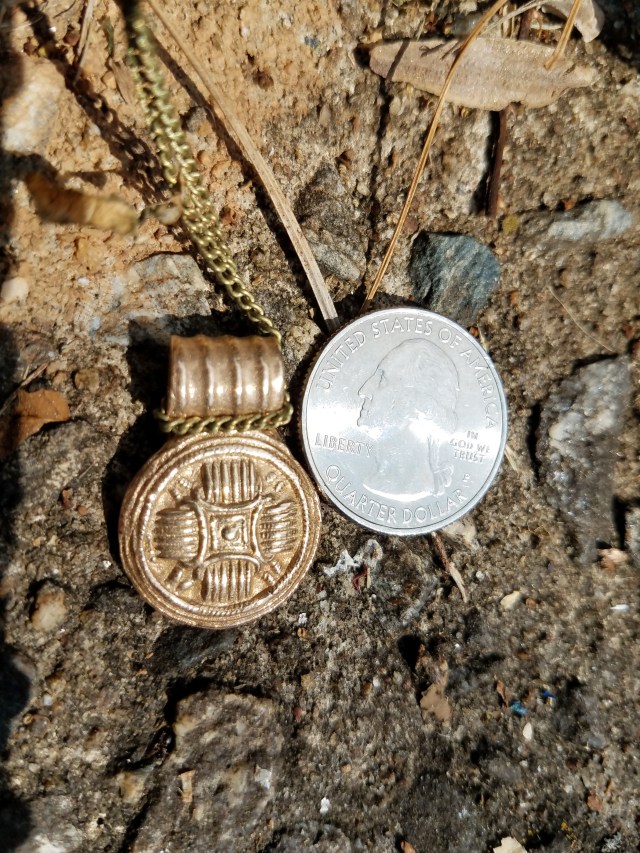
Button pendant:
The third and final piece is made from a mold that seems to be derived from a button. Attaching a bail was easy, essentially no different from attaching one to a copper or bronze pendant. For this piece, I decided to leave it as it came out of the tumbler. The photo does not do how shiny it is justice.
If you feel inspired to tackle brass clay, don’t be intimidated by it. It’s a bit more challenging than bronze, but not by all that much. Polished brass gives you a shiny appearance
