

I have been experimenting with Five Star brand bronze. Up until now, I have only worked with one color at a time. However, Five Star bronze clays allow co-firing and have the same shrinkage rates. Therefore, it is possible to combine both clays in one piece. I’m going to tell you about two experiments, one of which worked and one of which didn’t. That way, you can avoid my mistakes.
Success: I started off with the notion of including splashes of light bronze in a red bronze piece. My way of doing this was to roll out some light bronze to a thickness of 0.5 mm and some red bronze to a thickness of 1.5 mm. I then cut some strips from the light bronze. The colors of the wet clays are quite similar, but you can tell which is which from the description.

I then placed the red bronze atop the light bronze, and rolled to a thickness of 1.0 mm. I packed this into a mold, making sure that the strips of light bronze made up some, but not all, of what would come out of the mold. This takes a leap of faith, since you can’t see what is going on inside the mold, and cannot tell much difference in the color of the clay once it dries. The greenware, after finishing and attaching a red bronze bail, was as follows:

Five Star clay says to fire the piece at the lowest temperature of the clays, but to increase the firing time to 2 hours. I did this. After tumbling, the dragon looked like this. It might be difficult to tell the difference in the bronzes from the highlights, but the light streak down the dragon’s face and back are, indeed, the light bronze.

I chose to patina the piece, using a very light patina of Maxblack ™. After doing so and adding a chain, it looked like this:

The patina somewhat obscured the difference between the two bronzes. However, the difference is much more apparent in person than it is in the photo. I’m not sure why that is, but, in reality, the light and red bronzes are quite distinguishable.
In short, this produced a nice piece that highlighted both bronzes.
Failure: Now I am going to briefly describe something that did not turn out as well. It is possible to inlay copper and bronze by making one clay into a paste, covering the piece, and then sanding away most of the upper layer. This is supposed to leave the paste filling the depressions on the clay. It works great with copper and bronze. Why not two colors of bronze, I asked myself? Well, I found out.
I made a disk of red bronze clay and textured it with a radiating pattern. I then make a paste of light bronze and covered it.
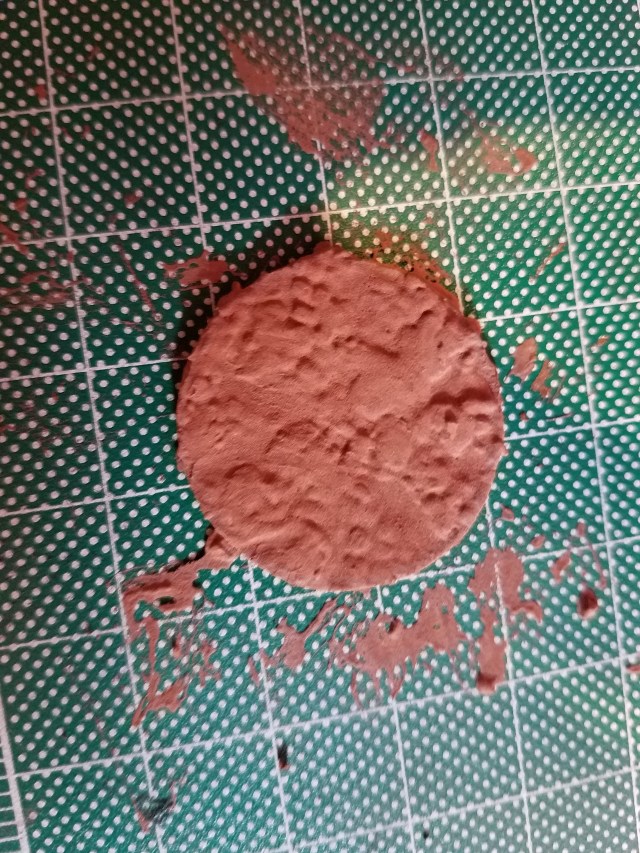
I sanded the paste away, until the disk was smooth, with the light bronze filling the depressions and the red bronze covering where the original pattern did not have depressions. To decorate it a bit more, I made a Celtic design of red bronze and added it on. The greenware looked like this:
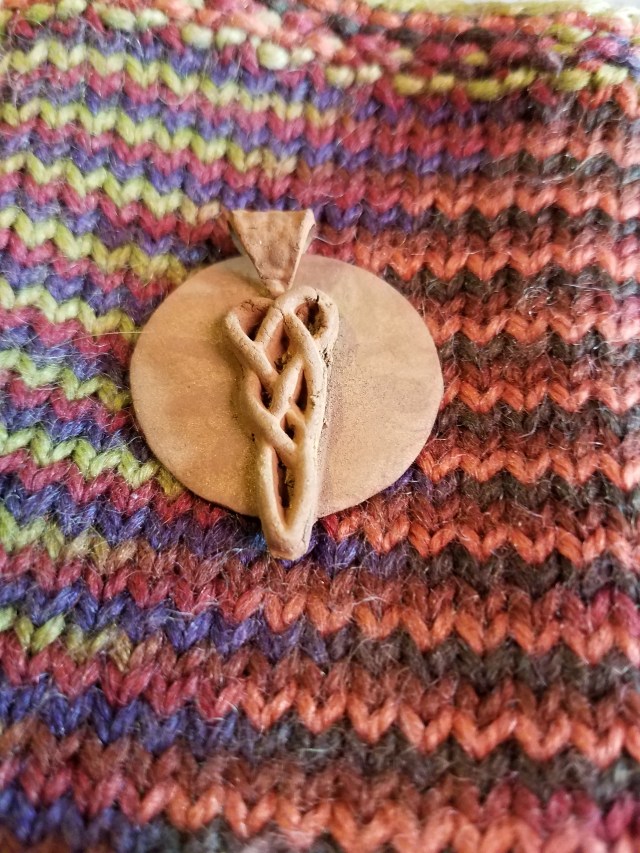
At this stage, the faint distinction was not alarming. After all, the copper and bronze pieces don’t look impressive at this stage either. I fired the piece.’
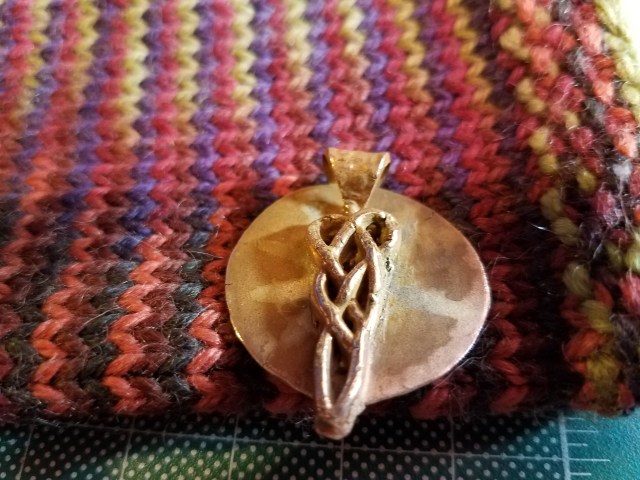
Now you can see the difference, but the difference is subtle. Also, I do not know why one edge came out so different in color from the other. It was a bit discouraging, but you never know what patina is going to do. I tumbled the piece. Then I patinaed it with Blackmax ™.
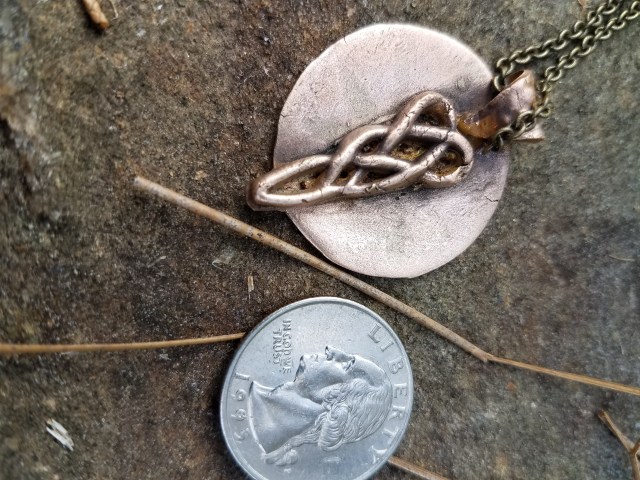
While the Celtic decoration looks OK, the mixed bronze was totally lost. That’s how one learns — don’t do that again.
Bottom line: Red and light bronze can work very nicely together — particularly when the light strikes the piece so that the red bronze is bright red. However, do not do something that depends on contrast. The contrast is there, but it is subtle, and can easily be lost.
