Texture sheets are a major part of the metal clay world. I would never advocate that anyone stop using them. But … what if you want a particular texture and it just isn’t out there? You can mold some textures (I’ll discuss molding in another post). But suppose what you want exists only in your imagination? I’m going to tell you how to make your imagination a reality.
First, your texture sheet needs to be made on something. I used a block of linoleum. However, hard rubber works just as well (caveat: If you use rubber, scrub it thoroughly with a toothbrush before using it with metal clay — this step is not needed with linoleum). And you need a set of carving tools, of the sort used for woodcarving. You don’t need very many tools, just a few. My set is pictured below.
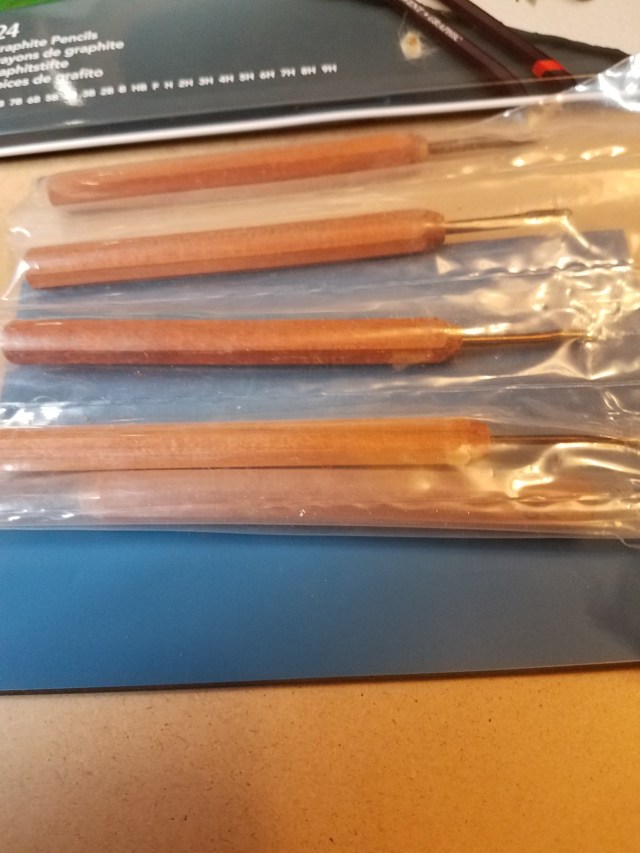
Four tools, that’s it. Two wide and two narrow blades, one that carves a U shaped valley and one the carves a V shaped valley. And, truth be told, I only used one tool in this project, so you don’t even have to have all four.
I could have done an abstract or semi-abstract background. Instead, I wanted a representational image — a cartoon sheep (I was making this for a knitter). I drew a cartoon sheep on my linoleum.
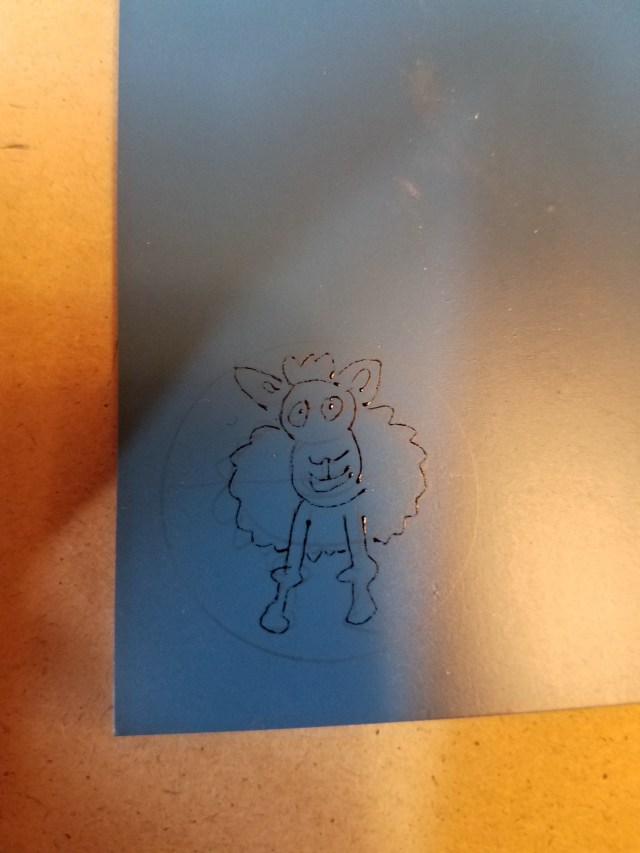
If you don’t draw, don’t worry. I could just as easily have traced a copyright free image. I drew the image in pencil and then went over it with pen so I could see it better. Next comes the carving.
You might be tempted to hold your carving tool like a pencil. Don’t. That will gouge the background material instead of carving. Hold the blade as close to parallel to the surface as you reasonably can. Take your time, particularly if you are not used to carving. If you want to practice, I suggest using a cheap rubber eraser. And, if you make a mistake, linoleum and rubber are cheap — just start over.
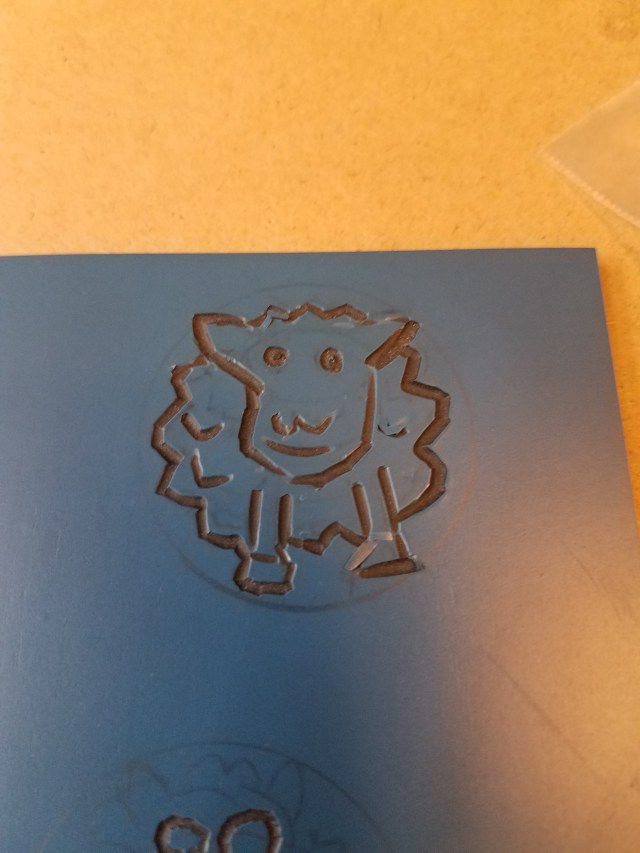
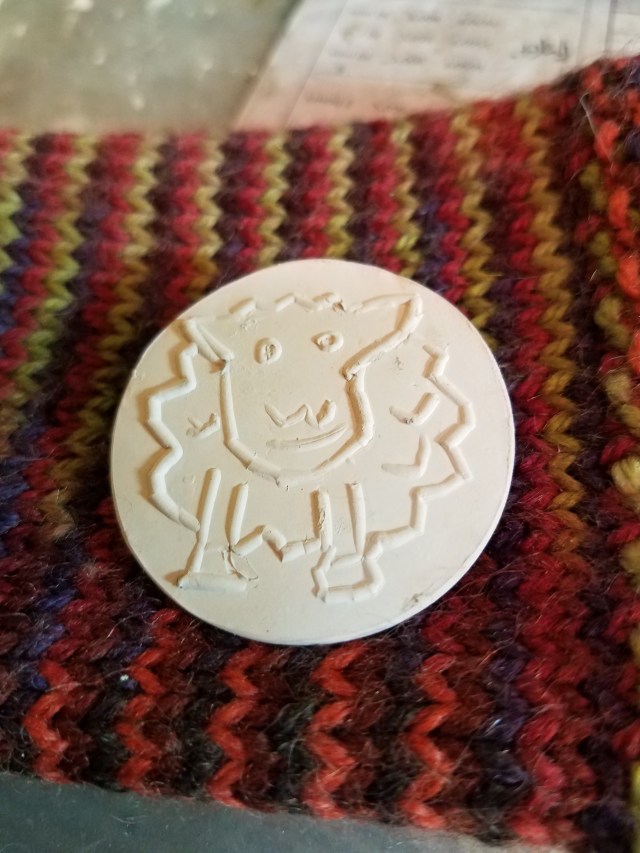
Here is my carved figure. At the bottom of the picture, you can see a carving that I abandoned when it started to go wrong. Once the carving is done, you have a texture sheet (although, if you used rubber, you will have to be careful to remove all the small pieces clinging to your sheet before you use it.) Not sure how it will look with metal clay? There’s an easy fix — Silly Putty. If you push Silly Putty into your sheet, you will get the same image that you will get with metal clay.
Now treat your texture sheet exactly like you would treat a commercial product. Lubricate it, roll out your clay, and roll the clay onto the sheet. I used silver for this project.
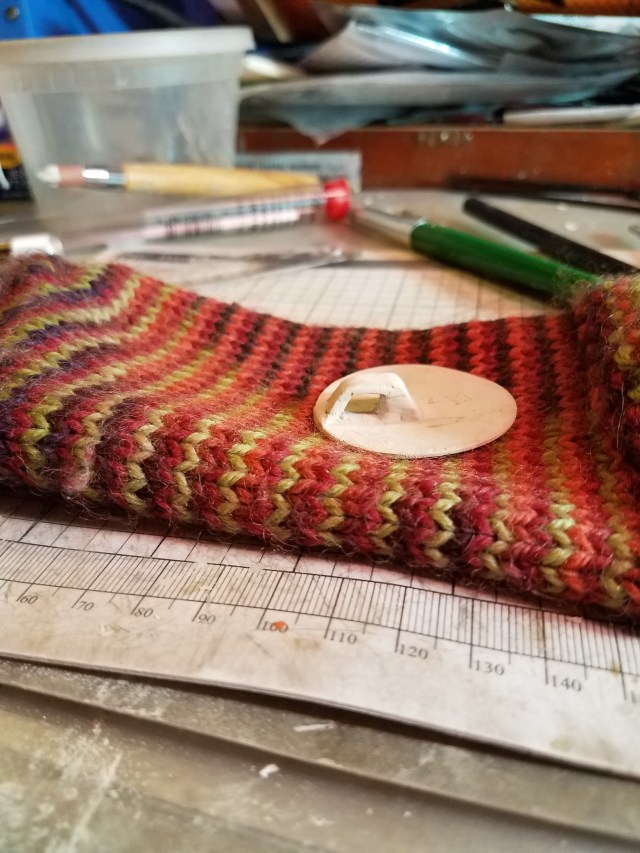
I chose to apply an invisible bail (meaning that it won’t show when the piece is word) to the back.

After I had done that, I realized that my bail was a bit too big. This is potentially bad because, if there is too much room for the chain to move, the pendant can flip over. I fixed this by adding a bit of silver clay to the bottom of the bail.
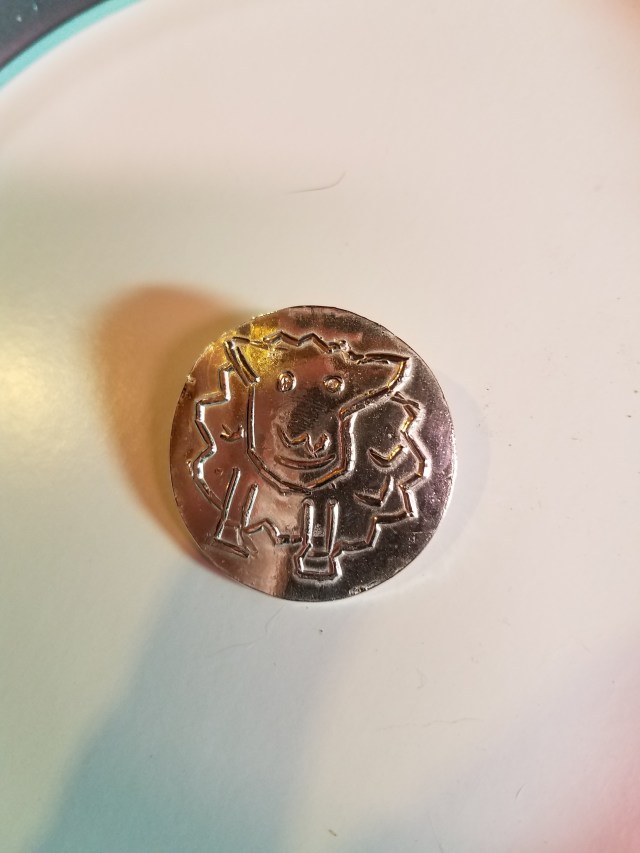
After finishing the greenware, I fired and tumbled the piece.
I decided it needed some color. I patinated with liver of sulfur. While liver of sulfur can give you a lovely aged look, there are ways to make it give you bright colors. A dash of salt and ammonia added to the water will give bright colors. When using this technique, I prefer to use water that is moderately warm instead of hot. The reason is that warm water gives you slow color changes, and you can stop the color changes by dipping the piece in cold water.
Caveat: I have heard many people say that the colors from the liver of sulfur, ammonia, and salt treatment don’t last. I suppose that is true. However, my experience is that the color change is gradual (meaning that the color can last for years) and that, when the color changes, it changes in an organic manner to a different attractive color. Also, if you don’t have stones or glass in your piece, you can always remove the patina with heat and then repatina.
Second caveat: As you silver sits in the patinaing liquid, it changes color in the following order: gold, bronze, blue, purple, red (requires near perfect timing to achieve), gunmetal, black. The idea is that you watch you piece closely, and remove it the instant it turns the color you want. The problem is that you can’t guarantee the color you will get. Sometimes the patina gods smile and sometimes they don’t. That is, sometimes the color is really nice and sometimes not. Again, if you don’t like what you have, you can remove the patina and start over.
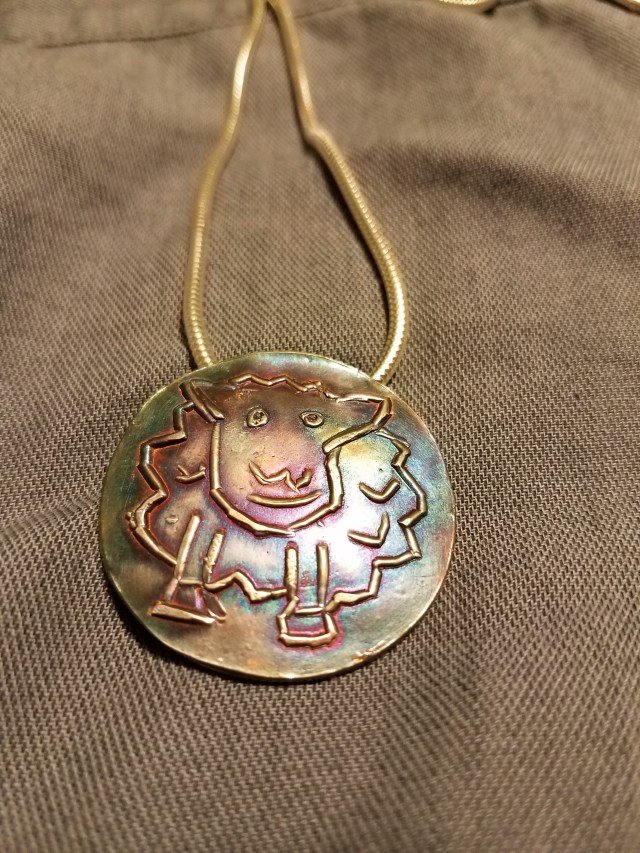
This piece turned out a lovely shade of purple with some blue. I removed the patina from the sheep itself, so the silver would be shiny and the sheep could be easily seen.
So there you have it. If you want a texture sheet that is not on the market, make your own!
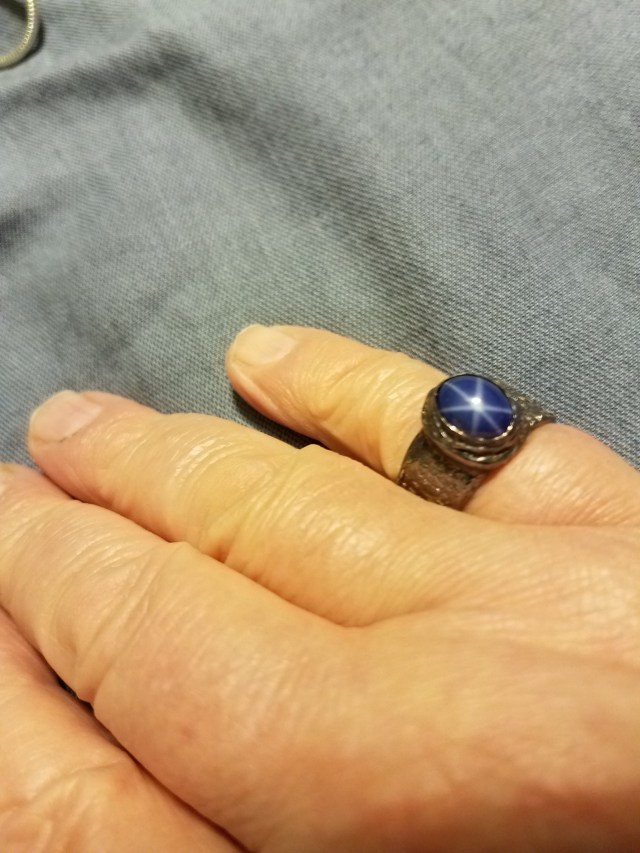
Final remark: While I was making this piece, I also made a star sapphire ring. Just as a bonus, I include a picture of the ring below: