Scrimshaw, an art probably created by 18th century whalers, is the act of inscribing images in ivory or bone. You obviously can’t put ivory or bone in a kiln, so what is the connection? We’re going to talk about combining scrimshaw into a metal clay piece.
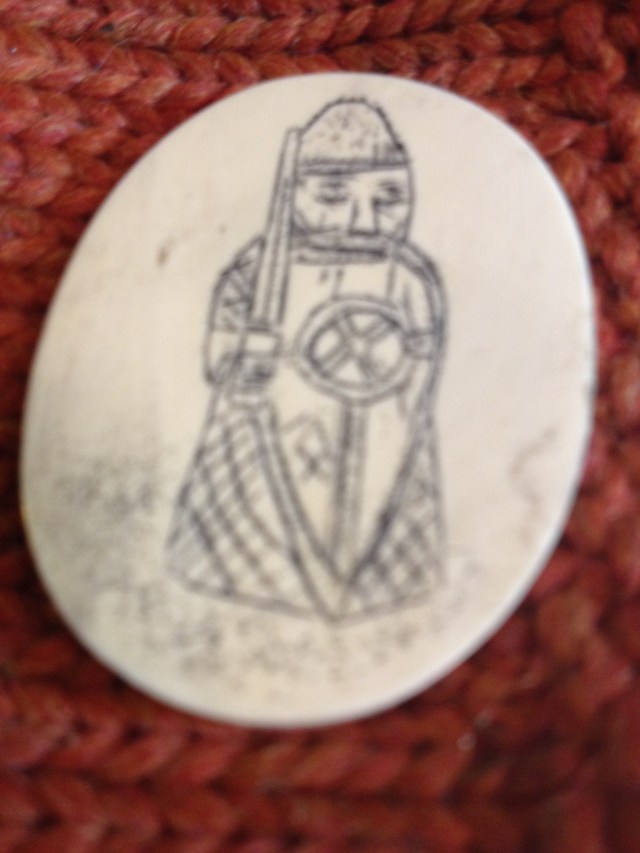
First, let’s look at an example of scrimshaw I made. This fellow is a copy of one of the Isle of Lewis chessmen, a Viking berserker warrior. I put him standing at a bit of an angle because a vertical figure tends to look dignified, while one at a slight angle tends to look threatening. A Viking berserker shouldn’t look dignified.

The key to combining scrimshaw and meta clay is the appropriate bezel wire. Bezel wire is wire that you use to hold a cabochon. It is often difficult to use with metal clay, because it must be fit to the stone to be set, and it tends to warp when fired. However, there is a solution. Metal clay findings (http://www.metalclayfindings.com/bezelwires.aspx) has introduced a type of beze wire, pictured above that warps relatively little in metal clay.
As with any form of bezel wire, the wire must be shaped to fit the piece. You can use spring tension to hold the bezel wire together, putting the seam in an inconspicuous place. Although I did not do it with this piece, another alternative is to use syringe to hide the seam.
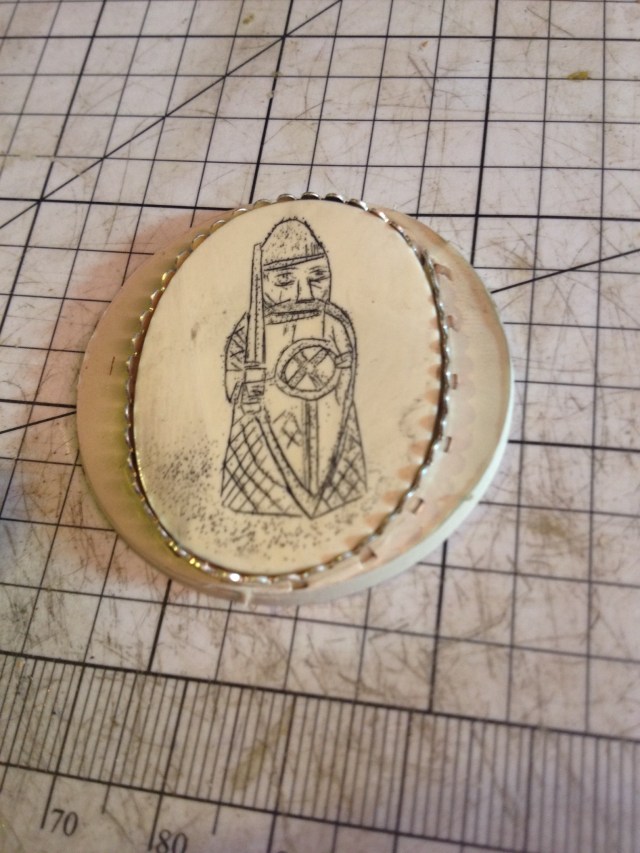
The next step is to roll clay to at least 0.75 mm thick (here, it is 1 mm). Cut out the piece. Insert the bezel wire using the protrusions on the bottom, making sure that the piece you intend to set still fits. The piece within the bezel wire can be easily removed at this stage by either using a thin wire to pry it out, or by placing a piece of dental floss behind the piece to be set.
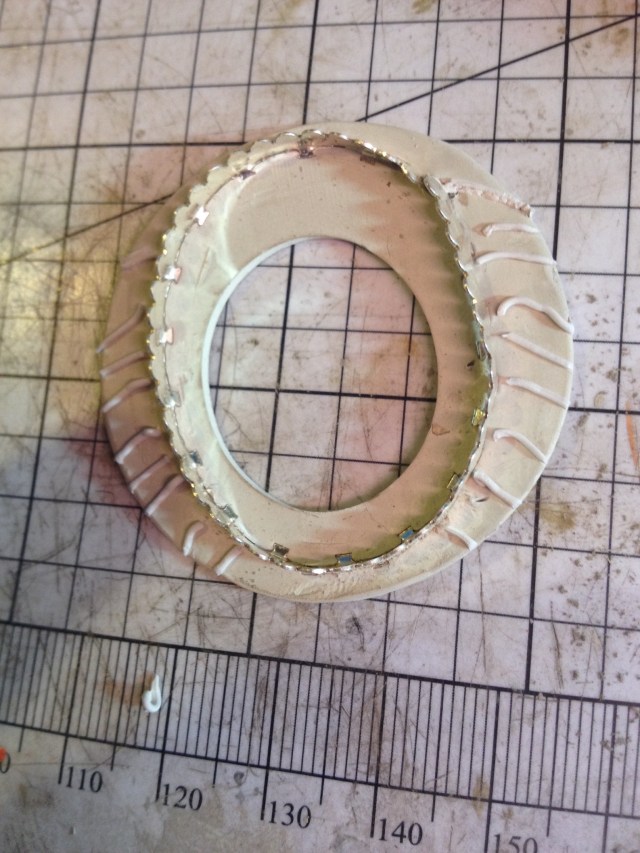
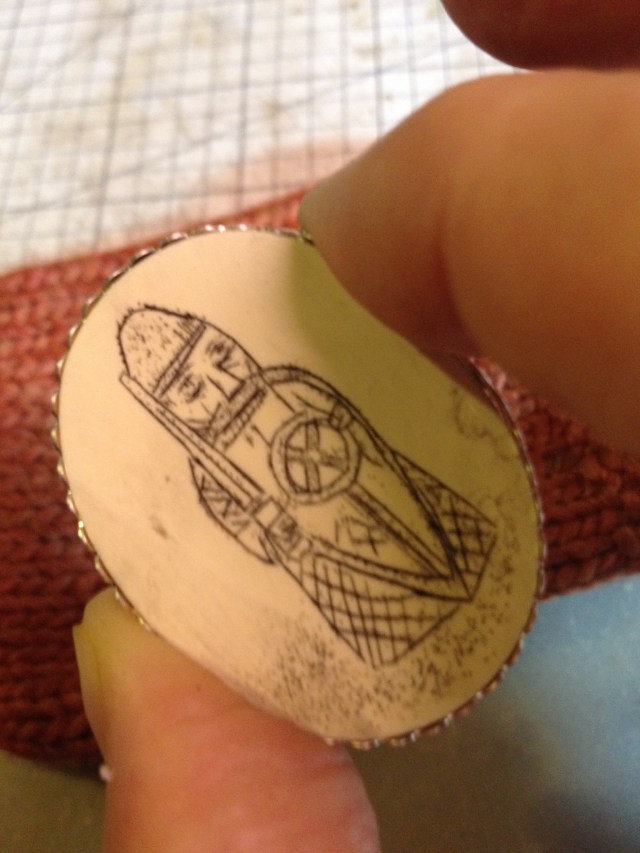
Remove the scrimshaw. Cut an opening in the back of the piece. This reduces weight, and saves meta clay. All that matters is that you leave a lip where the scrimshaw can sit. Finish and decorate the greenware as you wish. I used a bit of syringe.

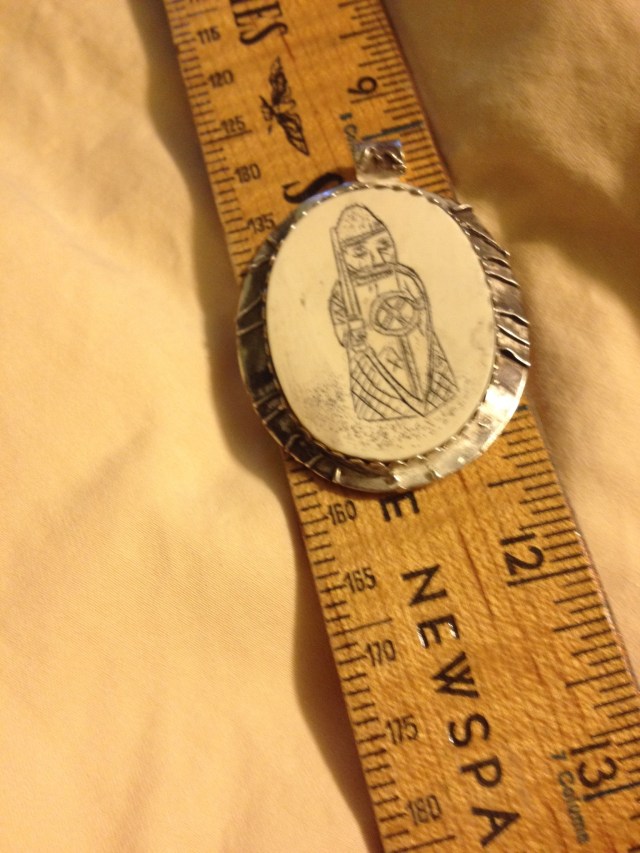
Here is what the metal clay piece looks like after brushing and tumbling. If you are going to patina, do it now. The next step is to insert the scrimshaw. (Although it probably wasn’t necessary, I used a two-part epoxy prior to affixing the scrimshaw with the bezel wire.) Using a metal burnishing tool, bend the edges of the bezel wire over. This will fix the scrimshaw in place.
There you have it. While I made a very masculine looking piece, with a Viking warrior, you can use any design you wish – flowers, birds, or the most traditional scene for scrimshaw — ships, whales, and other nautical scenes. In any case, scrimshaw and metal clay have a lot to offer each other. I hope you explore the possibilities.