

I’ve been curious about gold clay for some time. With an upcoming anniversary, I decided to go for it. Here is the account of my first time using gold clay. I have a picture of the finished product in chronological order, but I thought I would include one here so you know where we are heading.

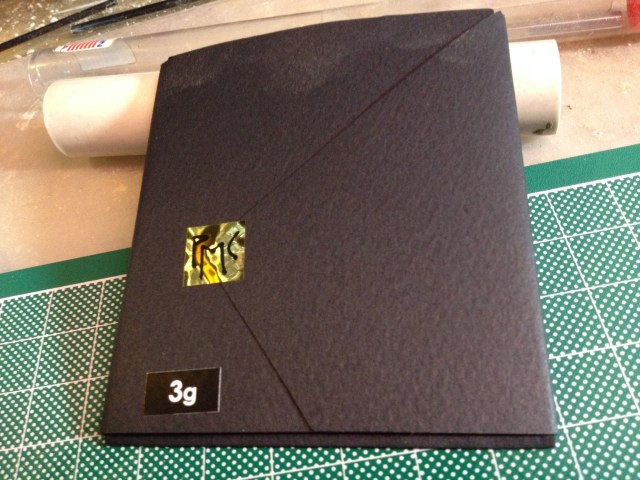
Gold clay comes in some pretty impressive looking packaging (as well it should). A three gram package (unopened) looks like ….
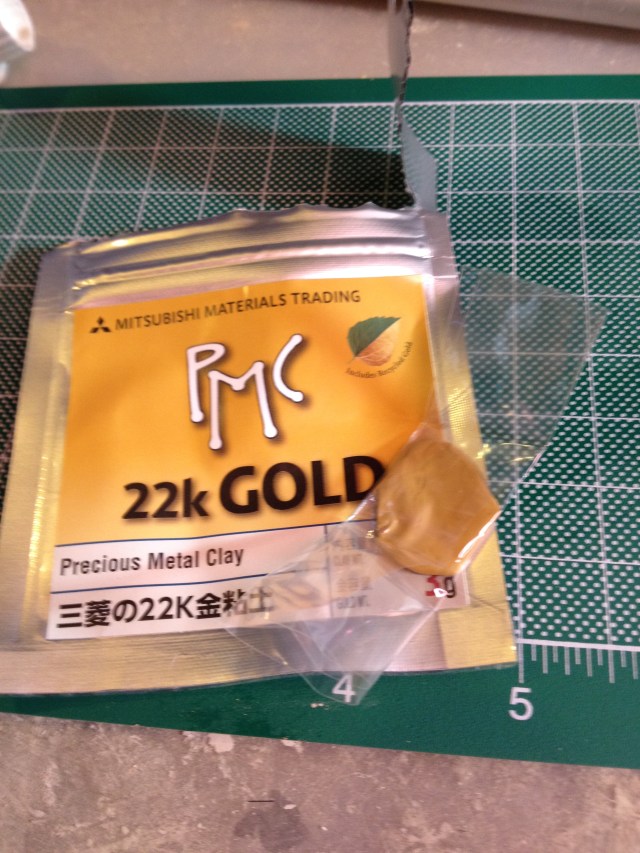
I opened it, and found what was inside. Three grams of gold clay. It’s a bit more than one needs to make one small earring. Gold clay is quite stiff, so it needs to be worked (inside the plastic wrapping) before you start to do anything with it. That was surprisingly easy. A few minutes of pressure with fingers, and it was at least as easy to work as copper clay.
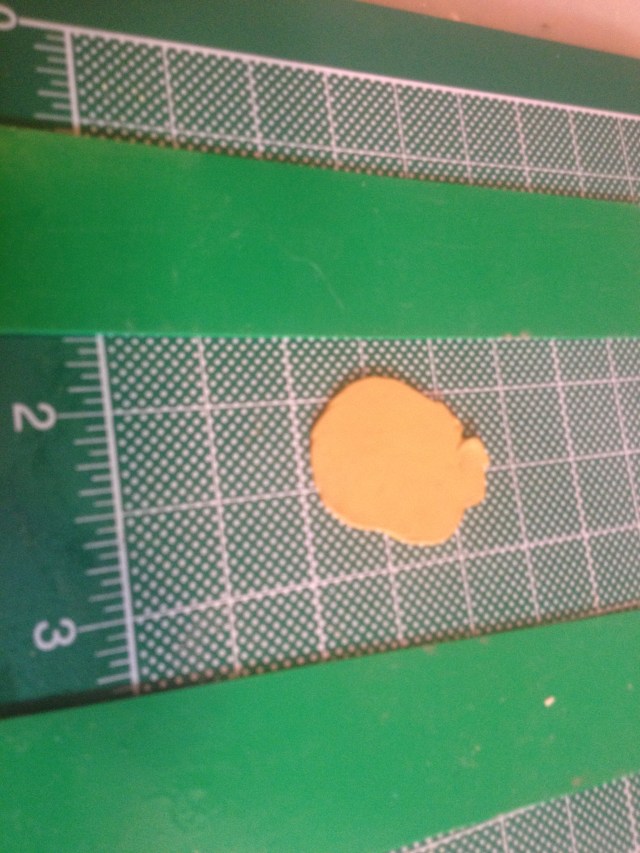
I rolled it out to 0.75 mm thick. That’s a good thickness for an earring and doesn’t use too much clay.
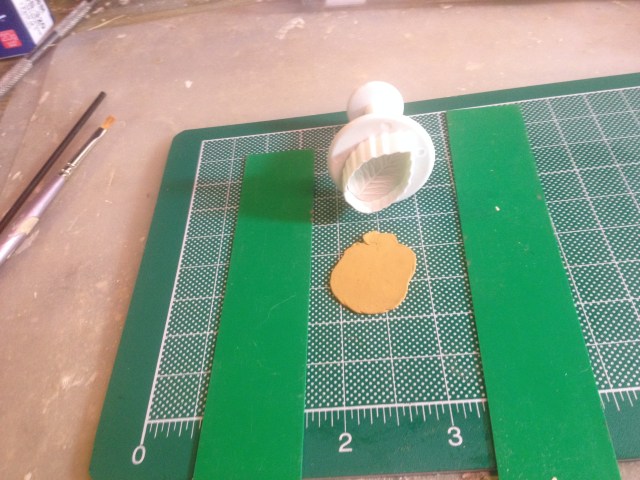
I used a Lisa Pavelka rose leaf stamp (lisapavelka.com). Usually, I prefer to be more imaginative than using a commercially available stamp. However, I didn’t want to take a chance that the piece might not work out.
This is what a stamped leaf looks like. The circle was punched out to make an opening for the ear wire. Of course that went back into the stock of gold clay.
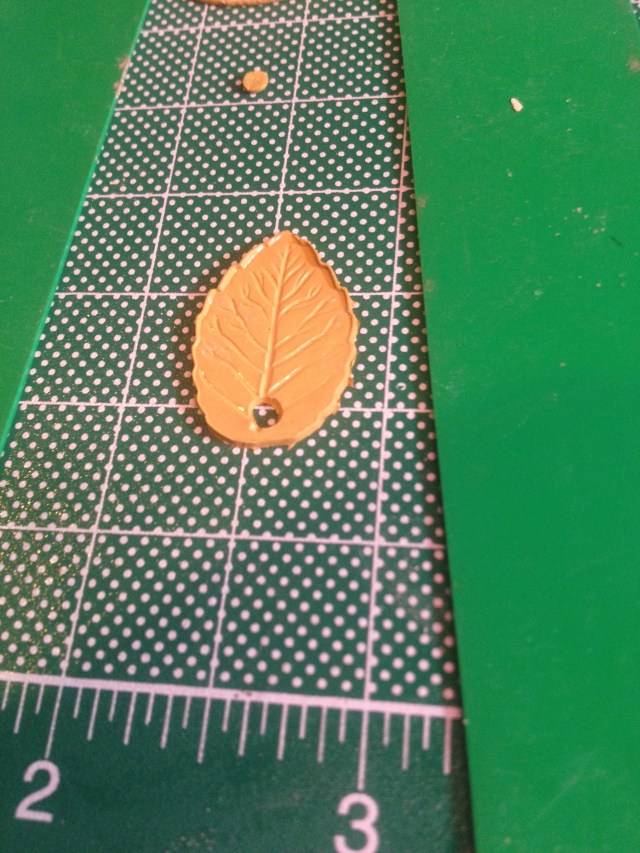
I made two of them and put them on plastic Easter egg halves to dry. I wanted the leaves to have three dimensionality, and plastic eggs is a good way to achieve that. One of the leaves has a bit of extra around it. I trimmed that off after I took the picture.

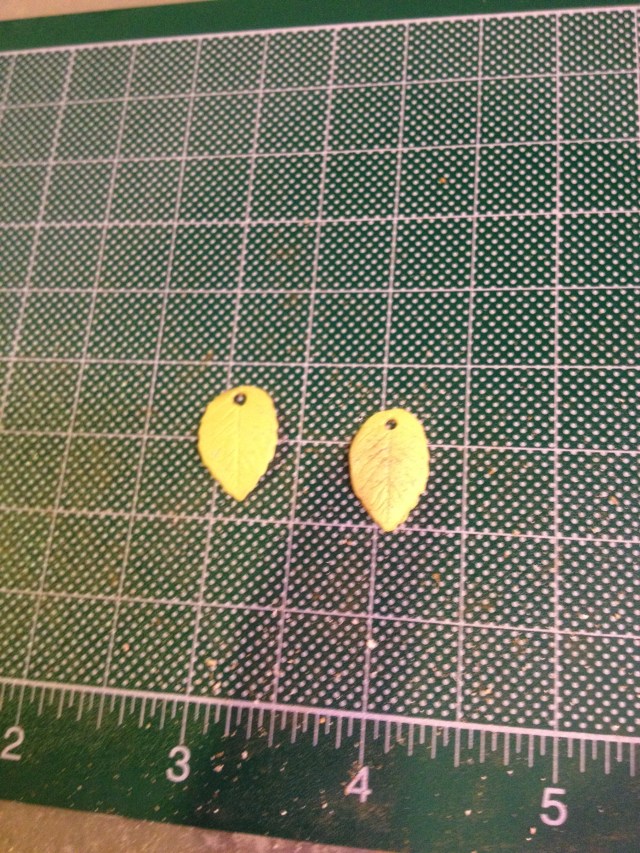
Here are the leaves after being green are finished and fired. Since these are pretty simple shapes, greenware finishing wasn’t all that hard. They aren’t all that impressive yet.
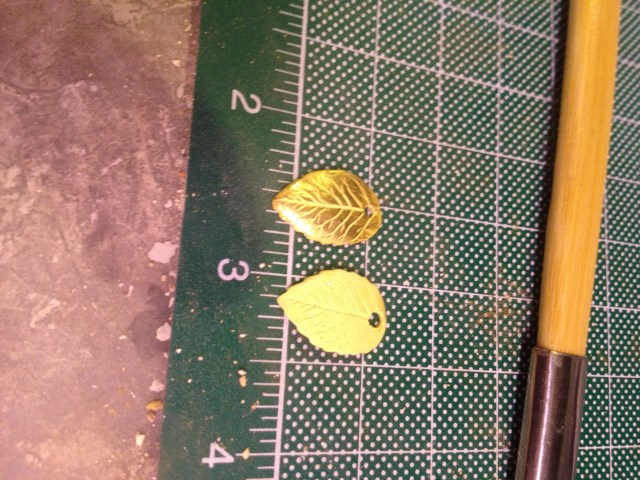
Making them shine requires burnishing with an agate burnisher. One leaf in this picture has been burnished and the other hasn’t. Obviously, I burnished both. However, photographing them like this makes the difference clear.
After they are both burnished, here is the final product. I used bronze ear wires and jump rings so that the contrast with the gold would not be too large. I had a little over a gram of gold left over from my initial six grams after making the two earrings. That gold will not be wasted. Similarly, I made sure that what I filed off was saved. The coin is for scale.
Review: Gold clay gives you a really impressive finished product. I’m not sure it is any better than using gold paste atop silver, so I might or might not ever do it again. Still, it’s probably worth it for a metal clay artist to have made at least one gold object.
