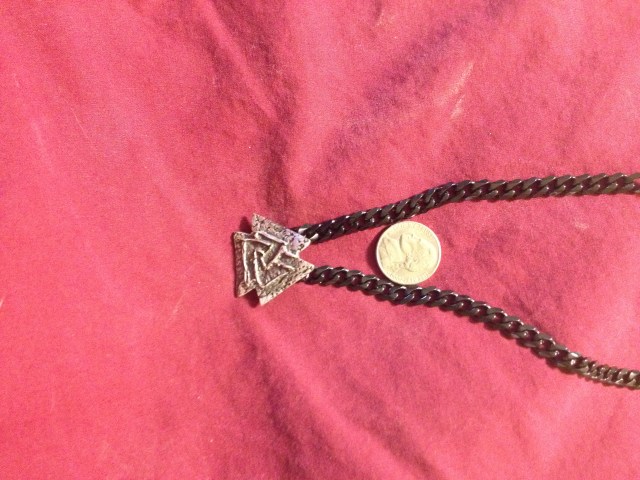
 Finished product (the coin is for scale). A valknut, three interlaced triangles, is a symbol of the old Norse gods. You might or might not want to make a valknut. However, the point is not making a valknut. The point is that you can make your own templates of anything you choose. The best news is that they are easy and inexpensive.

The first step is to choose an image that you want to work with. You might need to resize the image, because metal clay will shrink after firing. Once that is done, tape the image to a stiff piece of cardboard. As you can see, I used a piece of a frozen food container. These tend to be a good stiffness, but are often too slick to work with. To address the slickness, tape a piece of plastic notebook divider to the cardboard atop the image. Plastic notebook dividers are quire cheap, particularly in back-to-school sales, and have a number of uses — they don’t stick to metal clay much, which makes them (with the addition of a tiny amount of lubricant) good working surfaces.
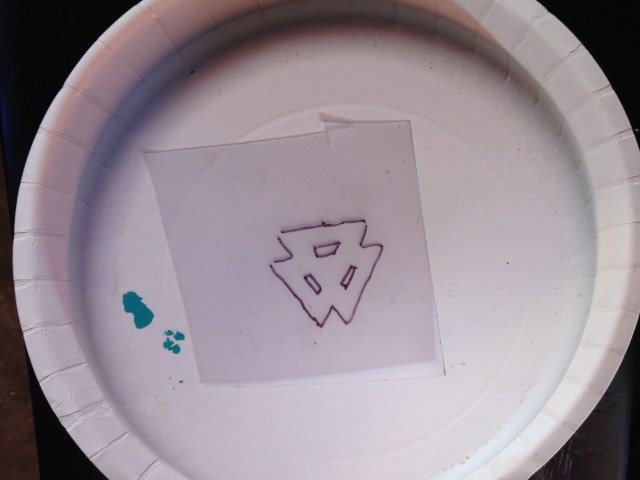
Quilters use what they call quilting template plastic. It is also good for metal clay. It doesn’t cost very much and you can make many templates from a single sheet of it. Tape a piece of it atop your plastic notebook divider. You will be able to see the image. Trace the image with a sharpie or other similar pen. Remove the quilting template from the image. Cut out your template with a craft knife. Your template isn’t perfect? Here’s the really great news: it doesn’t matter. Rough edges can be fixed in the greenwear stage.
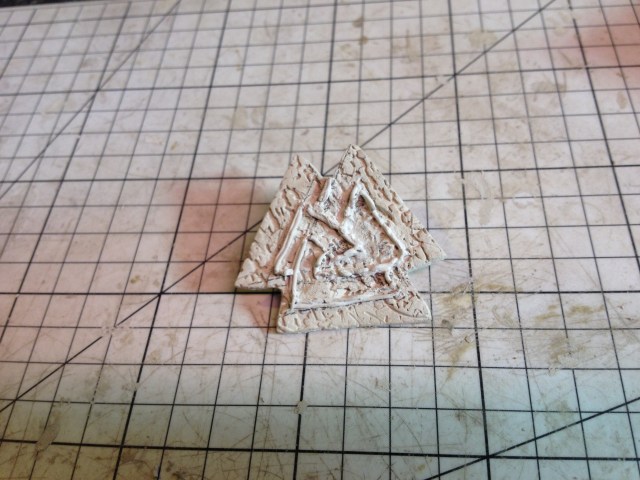
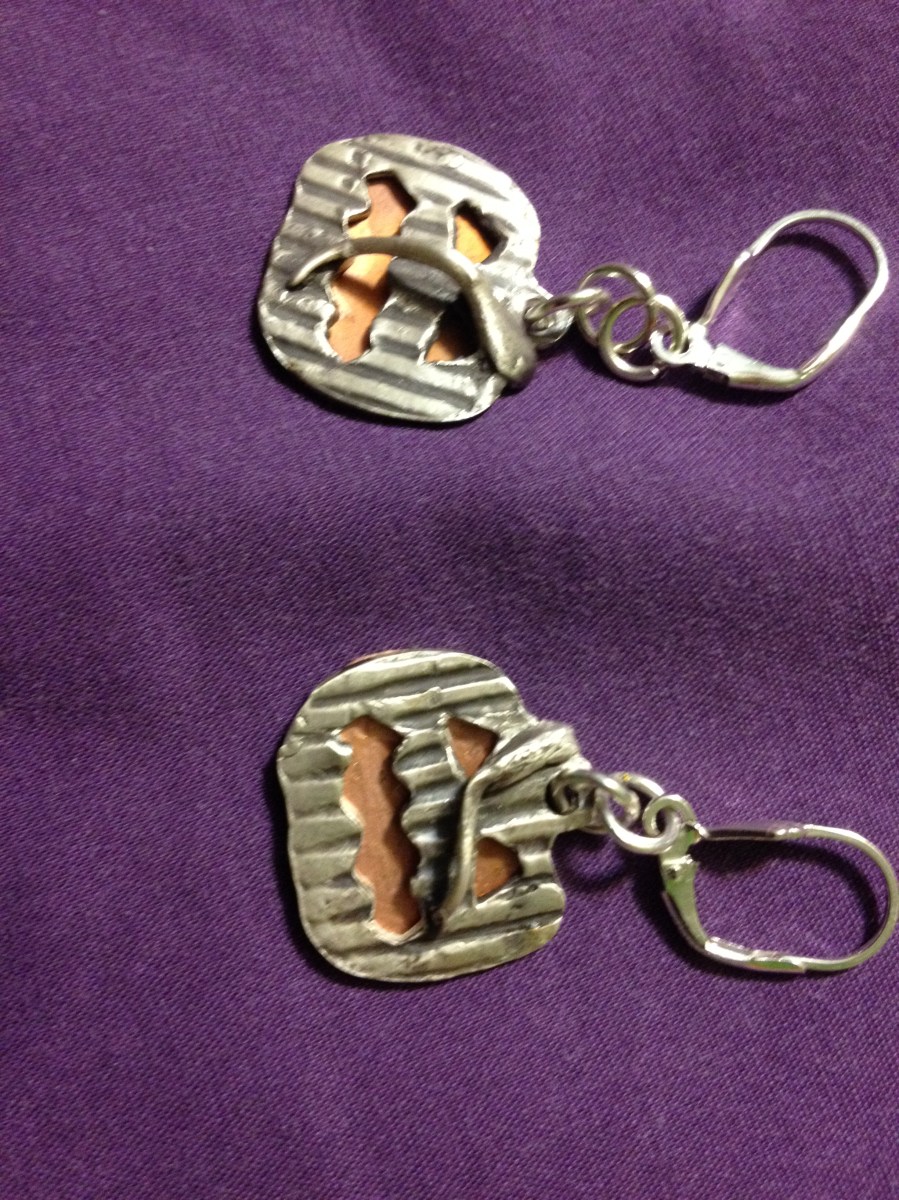
Now that you have your template, use it like any other. I cut our my valknut, decided I didn’t like the holes, and filled them in. I decided to make the interlaced triangles with syringe. If the syringe isn’t perfect, it isn’t a crisis. It’s handmade art, so no one expects perfection! Besides, most Swamp Ape products have that ‘archeological dig’ look, and this is no exception.
I put an invisible bail on the back. I cleaned the greenwear using standard methods. I fired in vermiculite, to make sure the bail did not collapse. I used a heavy patina, so the piece would look genuinely old. That was it — finished.
Again, these techniques work for any design you like. All you need is a piece of quilter’s template plastic (quilting shop), a craft knife (a craft shop), a sharpie, a piece of notebook divider, and some imagination. Do you ever need to buy another template? Maybe not …